

Hanging Bookshelf From Crib Bumper
Ever wonder what to do with those crib bumpers? Now you could be like me, and use them in the crib (even though they say not to) until you feel your child is big enough not to get stuck in the crib rails. (My guy was little when he was born, so it took him a few months to catch up in size.) The other option for a crib bumper is to turn them into some cute hanging bookshelves for your wall!
I have been working on a fire truck room for Aiden for the last few months. (See post The Fire Truck Room #1.) I have been taking it slow…mainly because this pregnancy of mine won’t let me do anything fast, but also to gather ideas. I looked and looked for a toddler bed set for my son’s room. It turns out they don’t have really any cute toddler bed bedding sets for fire trucks. There are a few out there, but I wasn’t a real big fan of any of these. I like the red, white, and brown coloring of this crib set so I decided to purchase it. The quilt and the bottom sheet fit the toddler bed and I really like the window valance….but what to do with the crib bumper and diaper holder….

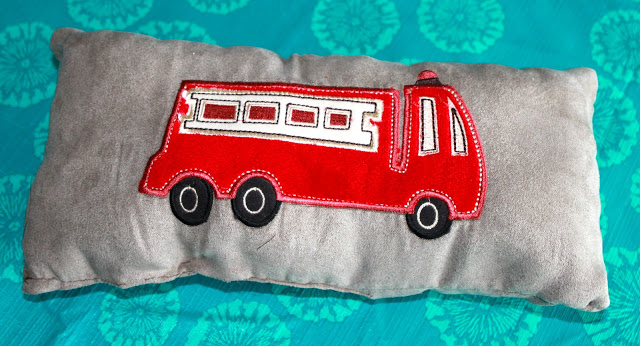
Now I could use the diaper holder, but I don’t really like them. They seem annoying to get the diapers out of. So I cut the top off it and made it into a nice accent pillow.

Also, I have all these crib bumpers and have no idea what to do with them. Until, I ran across this picture on Pinterest:

Now I love this blogger’s idea, but I didn’t use her tutorial as I decided to make mine from the crib bumpers. The idea is genius and I invite you to check out her blog, especially if you want to make these from regular fabric. This is a very simple sewing machine project.
You will need a few items to get started:
Crib Bumpers
Scissors
Seam Ripper
Iron
Sewing Machine
3/4″” Wooden Dowels (2 per book pocket)
Dowel Decorative End Caps (2 per dowel)
Double Curtain Rod Brackets (2 per book pocket)
50 Pound Wall Anchors (2 per curtain bracket)
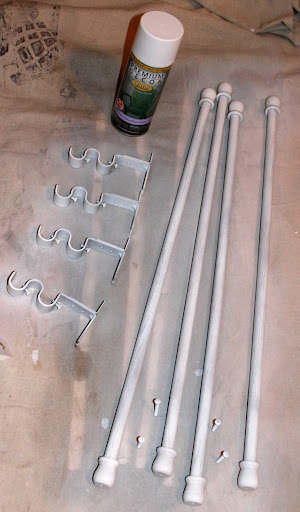
Spray Paint
Wood Glue
Hammer
Phillips Screw Driver
Saw to cut dowels down to size (I used our miter saw)
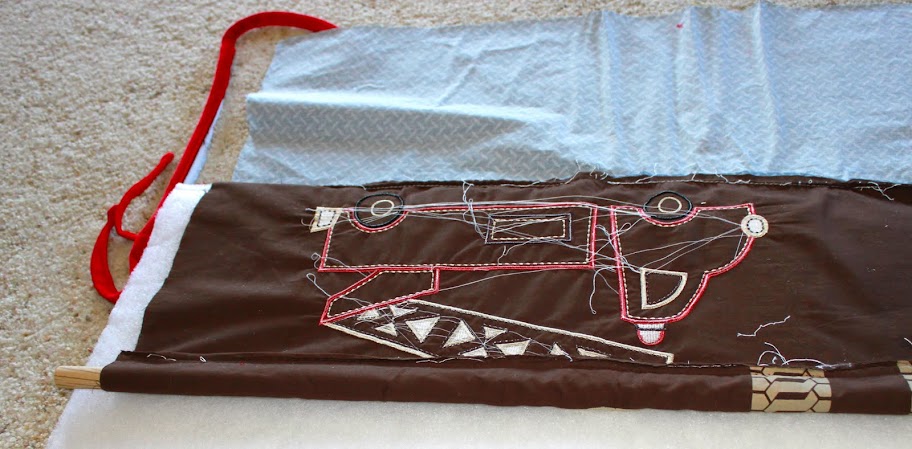
To start, layout your bumpers and decide if you want to use parts or all of them.
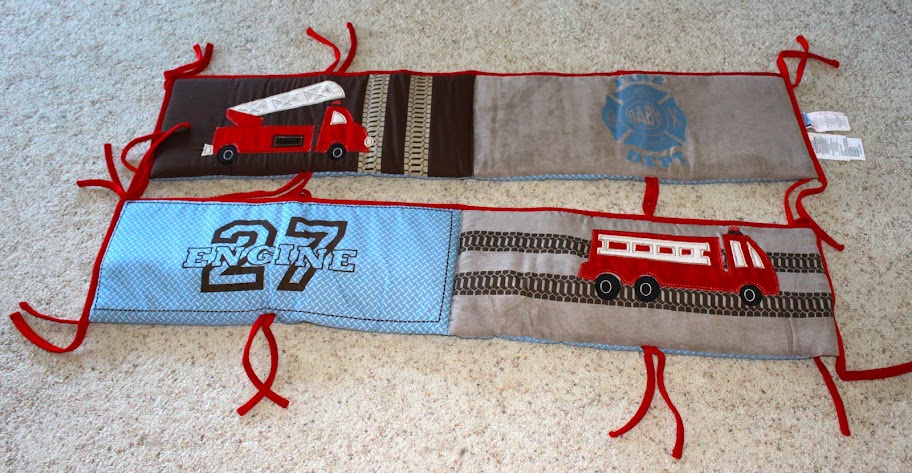
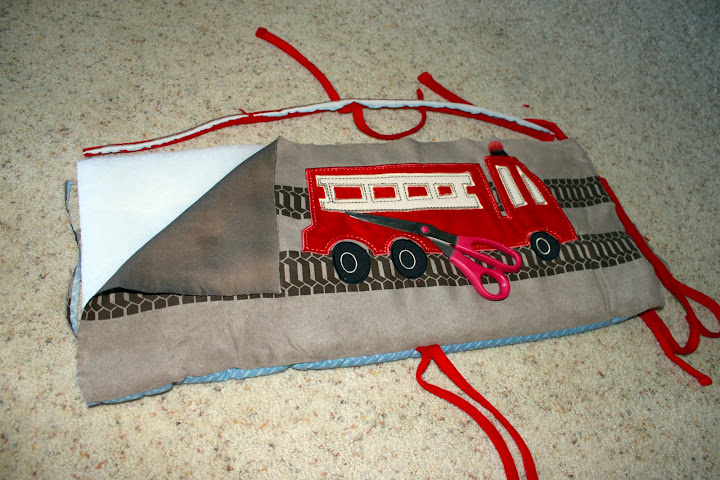
I just wanted the fire truck parts, so I cut them apart and also cut the sides off the top and the edges. Leave the bottom in tact, as this is your pocket for books. Also, you will need to remove the batting on the inside. I had to remove mine at the bottom with a seam ripper.
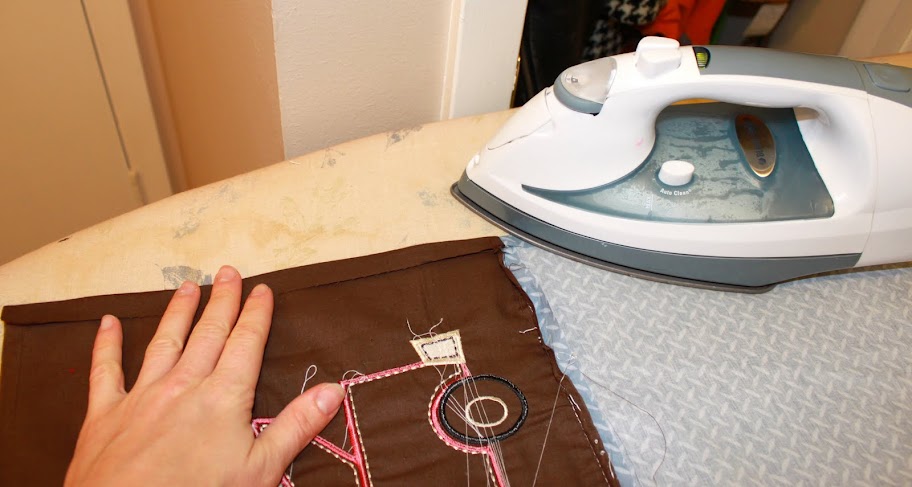
Once you have the batting removed, decide your desired width. I only wanted mine to be about 22″ wide, so I trimmed my material down. Take an iron and iron down the edges of the book pocket to be about a 1/4″ hem. This just helps with the sewing.
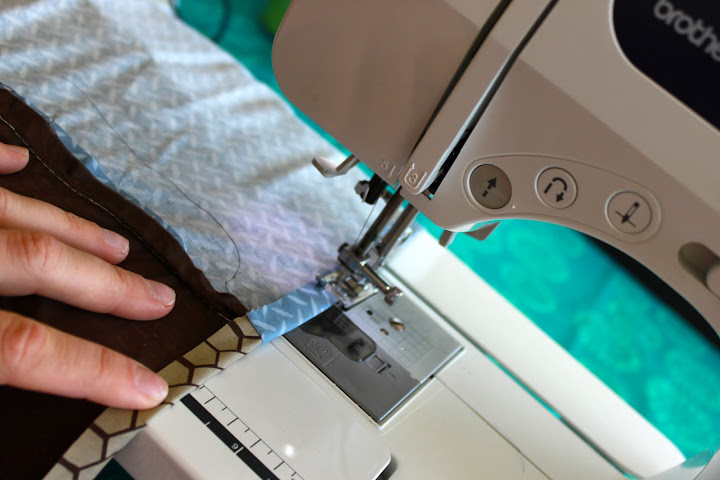
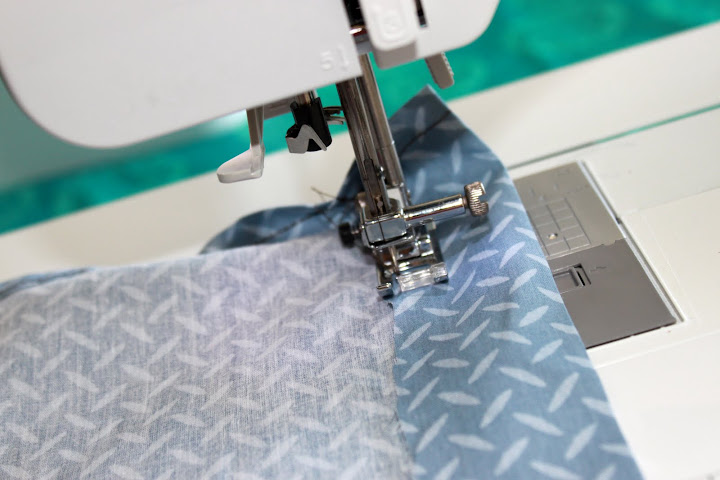
Sew the hem on the sides.
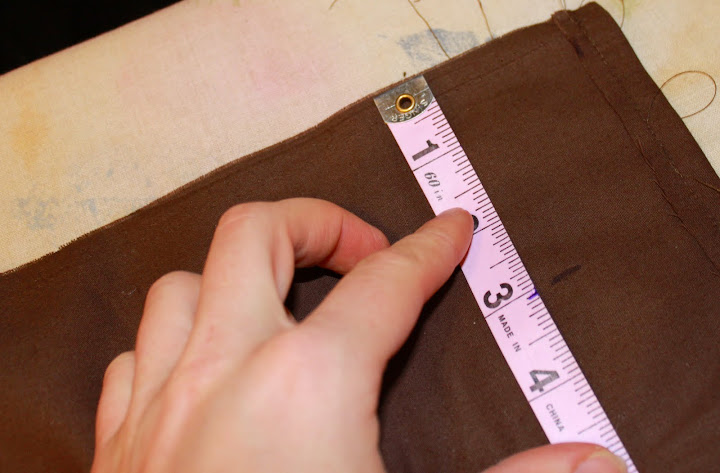
Next, you need to determine your pole pocket height. Place the wooden dowel on the material and fold the material over it.
Measure were the pole pocket should end and mark it. I had 3″ pole pockets for a 3/4″ wooden dowel.
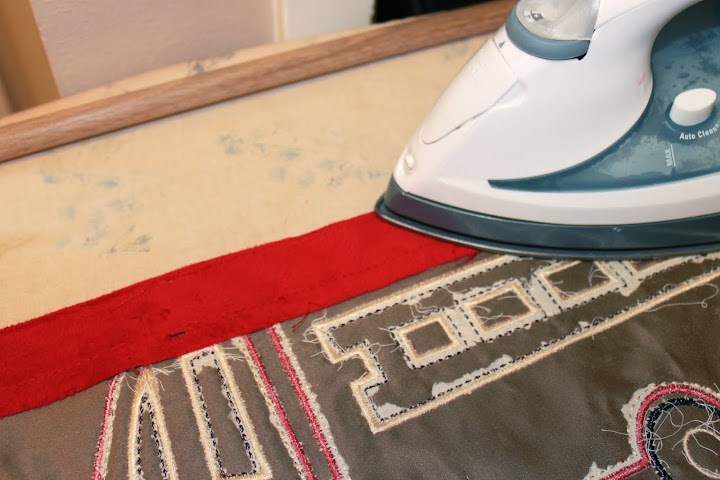
Use your iron again to press where you will have your sew pocket. It’s also a good idea to put the dowel back in at this point to make sure it will fit with a hem line.
Sew the wooden dowel pocket.
Place your wooden dowels in all the pockets to make sure they fit.

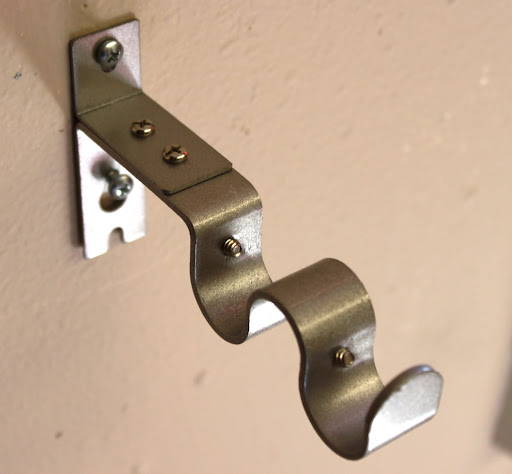
Next hang the brackets to see how much to cut off the wooden dowels. Hang your curtain brackets using 50 pound wall anchors. The ones that come with the curtain rods are not strong enough to hold books. These are very simple to use. Hammer it in the wall until you hit the threads of the anchor and then use a screw driver to make it flush with the wall.
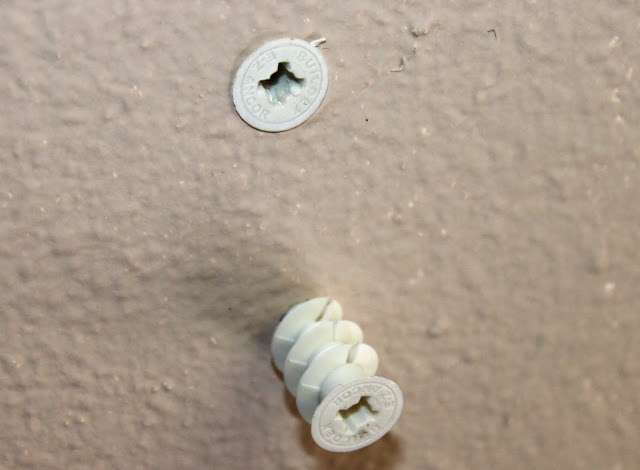
Install your window curtain brackets.
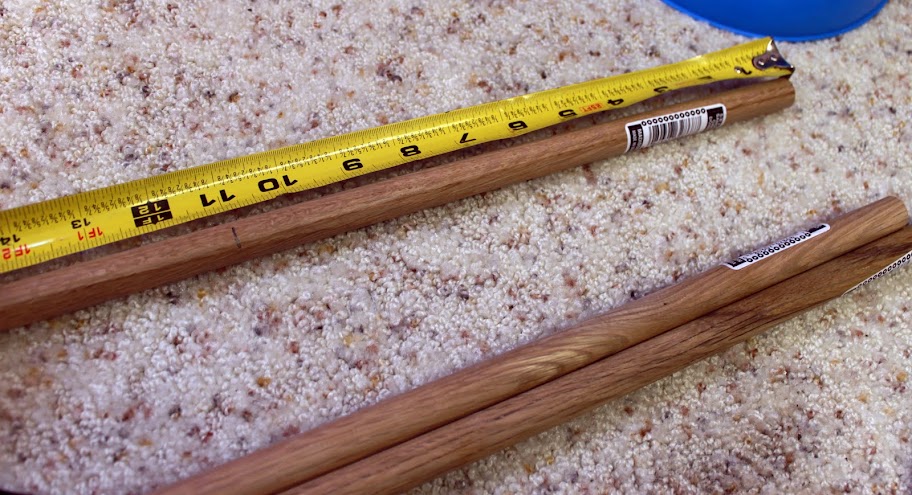
Hang up your book pockets and determine how long you would like the dowels to be.

Measure you cut line and then cut the dowels down to size. (I used our miter saw but a hand saw would work too.)
Place the end caps on the wooden dowels. You can glue one end of the caps on, but need to wait on the other end so that you can slip them into your book pocket.

Now if you don’t like the color of your brackets and dowels, you will need to spray paint them. I wanted mine white to match my shelves above. Spray the brackets, dowels, end caps, and screws for the brackets.
Once all the dowels and brackets are dry, rehang the book pocket on the wall. Place the final end cap on the end of the dowels. (You can glue them, but if you need to take the pocket off it will be very difficult.)
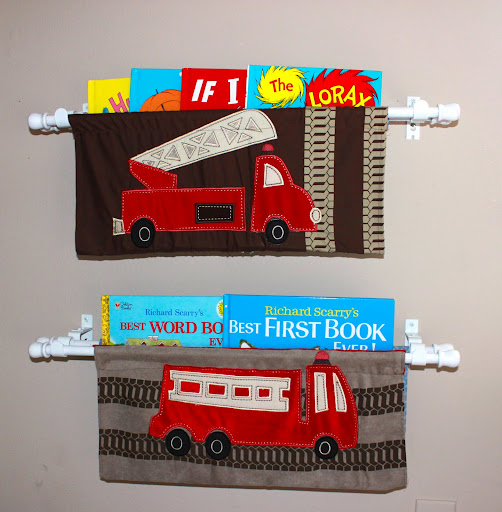
Finally, you are finished with the hanging bookshelf and have a super cute and decorative way to display your child’s books and use those crib bumpers!

Like this post?