

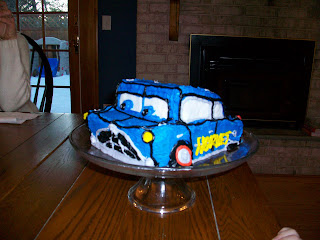
Making a Disney Doc Hudson Cake
For my son’s 4th birthday I decided to make him a cake of Doc Hudson from the movie Cars. It’s a great way to have a themed party at a minimal cost. It takes some artistic ability, but with a little patience you will master the cake carving techniques. Ingredients: 2 cake mixes (any kind) and all the other ingredients on the back of the cake box, you know eggs, oil, and water 2 tubs icing, white Wilton’s Disney Cars coloring paste (used for frosting) Confection sugar water 9″x7″ glass casserole 5″x7″ bread loaf pan
- First, mix the cakes together according to package directions
- Take a 5″x7″ bread loaf pan and fill it half way with the batter
- Fill a 9″x7″ glass casserole (or whatever you want the length of the base to be) with half of the batter. There will be a little batter left over, so make some strange shaped extra cupcakes for a treat.
- Bake the cakes according to the box directions
- While the cakes are baking, mix the white icing with the colored paste. Make sure they each have their own bowl color. Leave out a small amount of white that is not colored. Make mostly blue frosting, and a small amount of black, yellow, and red (for the detailed trim). Cover all the icing till the cake cools.
- When cake is finished, let it cool completely.
- Mix powered sugar and water to a consistency of watery glaze.
- When the cake is cooled, place the larger 9″x7″ cake piece on the bottom and top with the 5″x7″ piece of cake.
- This is where your artistic ability helps out. Look at a toy car (Disney’s Doc Hudson is preferred) and carve the angles in the cake. I recommend a serrated knife.
- After the shape is pretty much carved, take a basting brush and glaze the cake with the confection sugar and water mixture. Let dry completely.
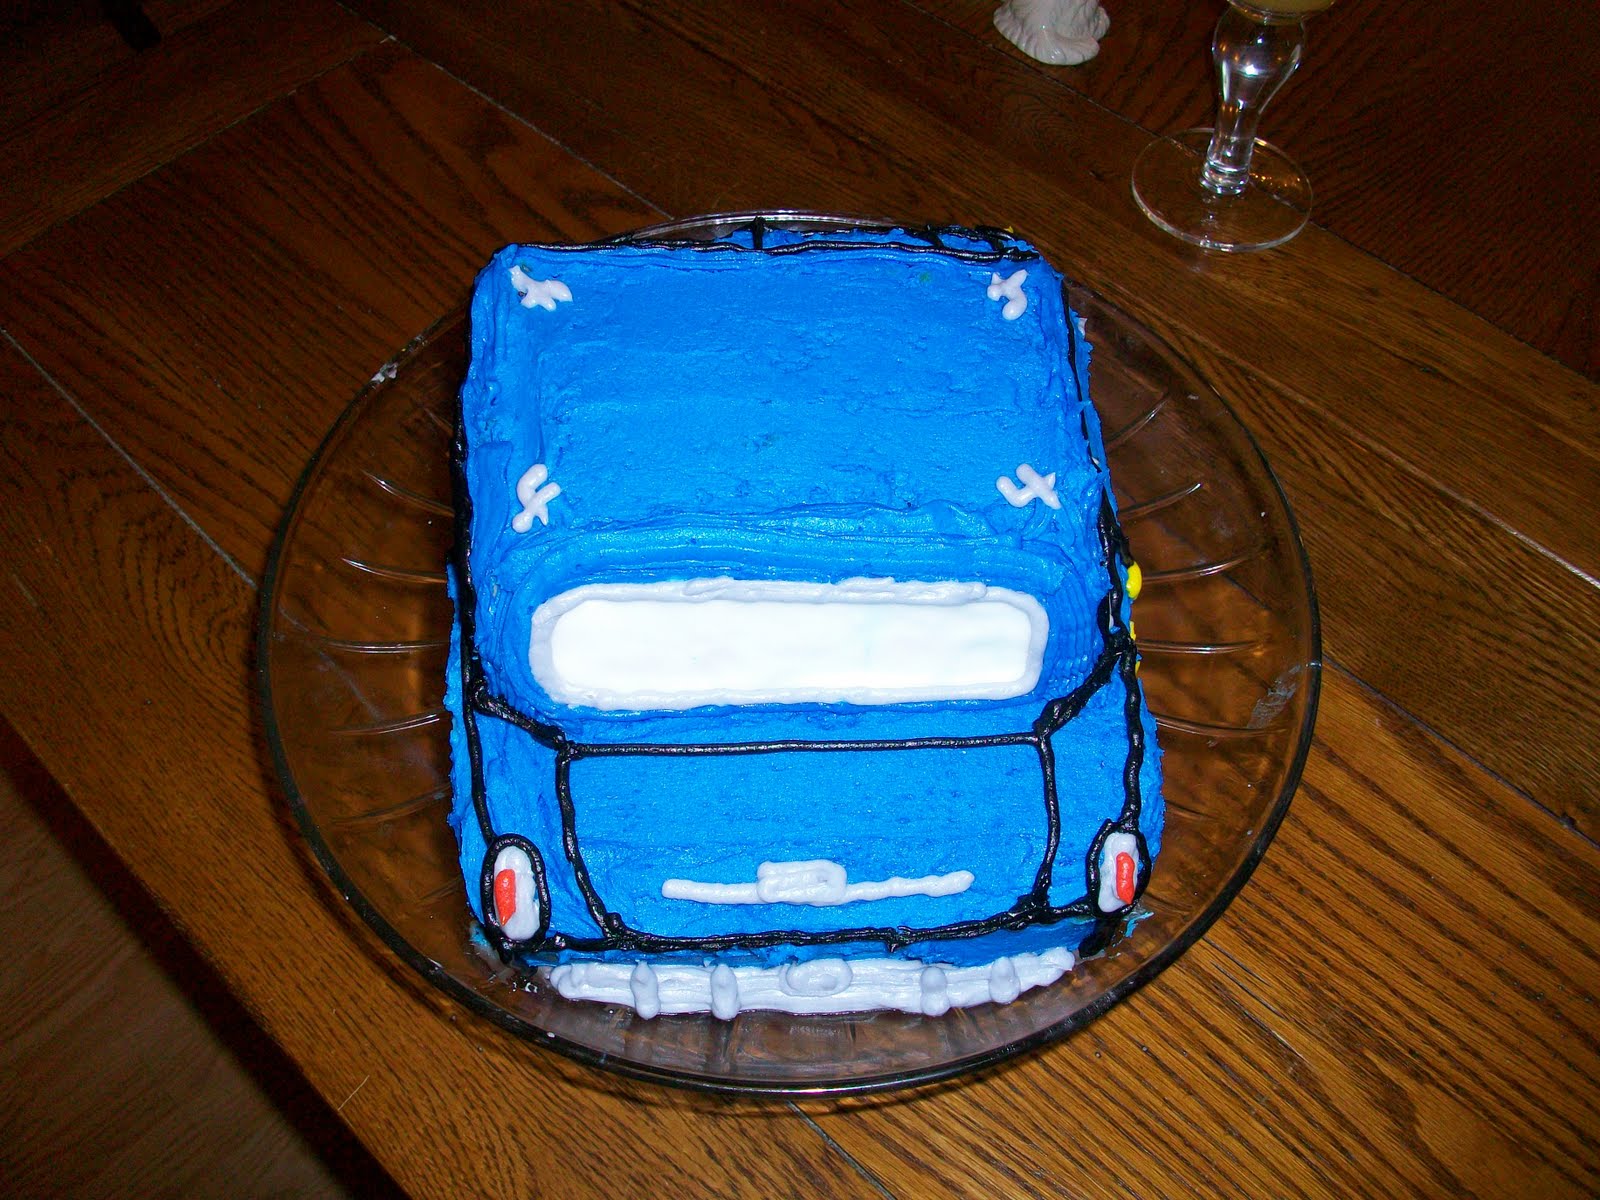
- Take the blue icing and cover the cake.
- Fill a pastry tube (with wide tip) to form tires with the black, white icing for the eyes and windows, red and yellow icing for the details. And goes with out saying, switch the bag out for each color.
- And voila! You have yourself a cake!
 I know it seems like a long process, but my son does not really ask for toys. He really looks forward to the cake I make each year for him…because he gets to chose it. It takes some patience, but over the years I have really developed some, for food. Not to mention the reward of the happy smile at the end.
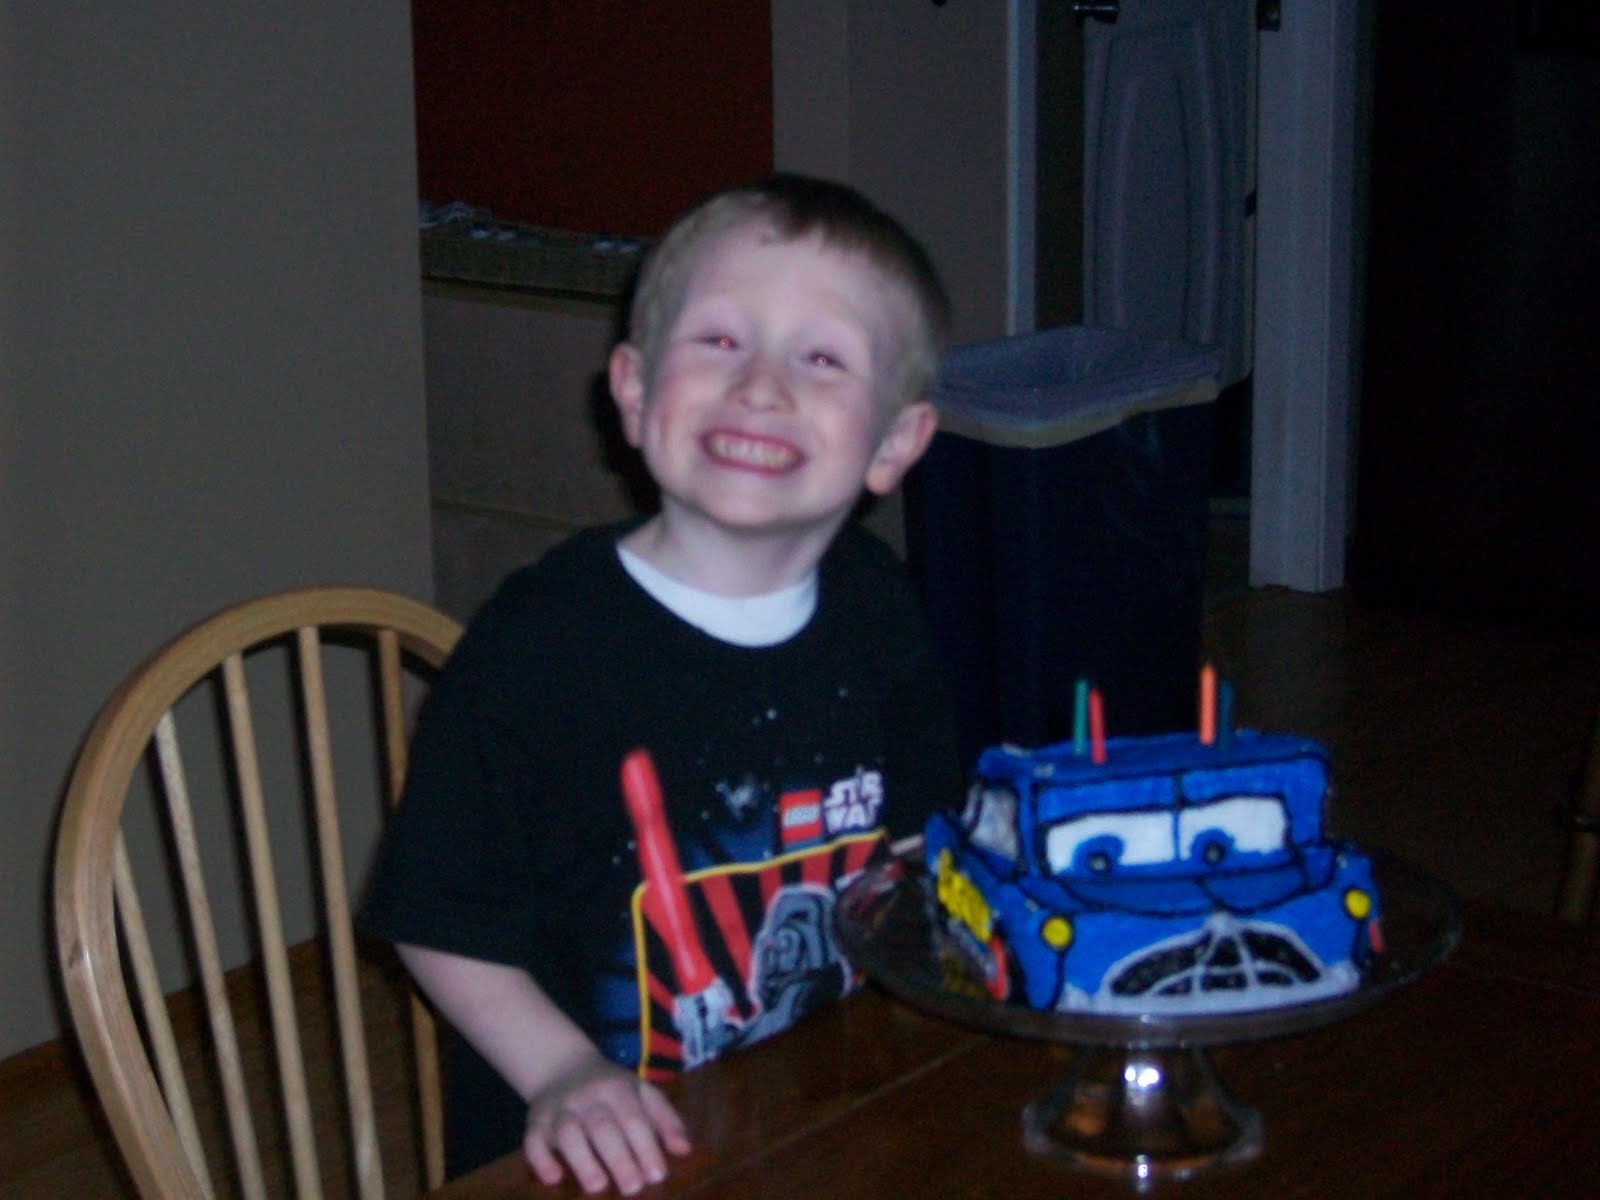
