

Remodeling The Half Bathroom
We are at it again, remodeling another bathroom. This might seem like some horrible deja vu, but when you have five bathrooms and they are all needing work you just keeping checking them off as you go. Here are the first two bathrooms we remodeled:
Main Floor Half Bath
Upstairs Bathroom
This bathroom is on the main floor and another half bath. Who needs two main floor half baths???? Well, I guess the people who built this house did…it’s pretty stupid. I would have much rather had a large pantry in place of this bathroom.
Here is the bathroom when we bought the house:
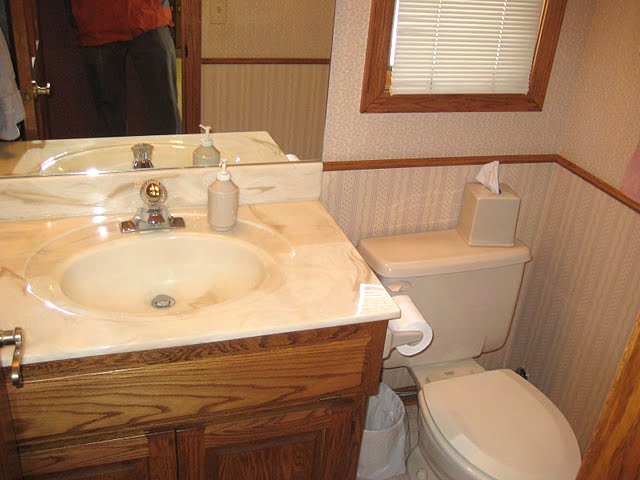 Just like all the other bathrooms, really ugly wallpaper. There is also a dated light fixture but unfortunately this is the only photo I have of the ‘before’ because my husband started tearing it apart before I could take any more.
About four months after we bought the house I was cleaning the floor of this bathroom and notice the linoleum was sagging down behind the toilet. You know what that means: LEAK! (Just another reason why you need a good home inspector when purchasing a home.) When we notice the leak, we decided to shut off that bathroom until we had time to fix it. Well the time has come and we have to deal with the leak.
My husband started by removing the toilet. We found that the tank of the toilet had a leak and it must have been leaking for years. The floor was entirely destroyed under the toilet. He had to tear out the sub floor all the way down to the joists of the house. It was quite the process. Then he had to patch the hole where the floor had deteriorated. He did a pretty good patching job.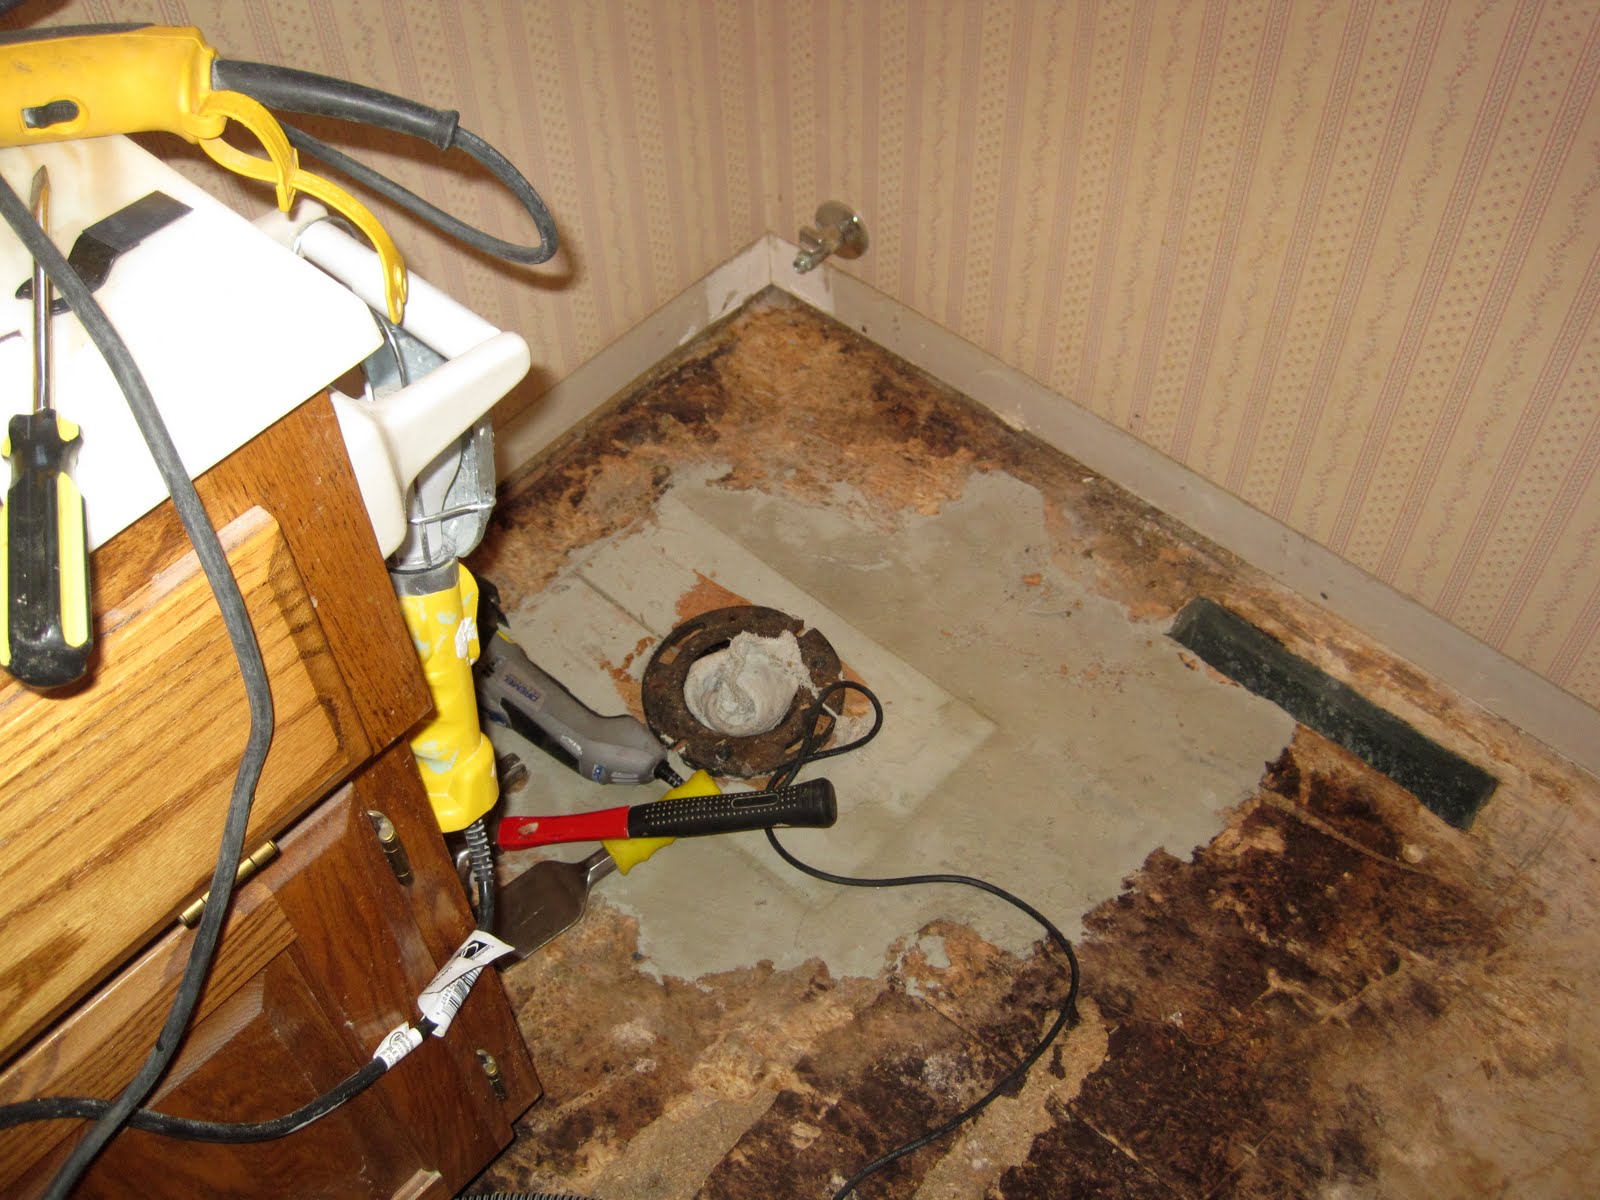
Next we removed the chair rail and I attempted to remove the wallpaper. Like in all the other rooms, it was applied directly to the drywall which made it super hard to remove. I decided to paint over it.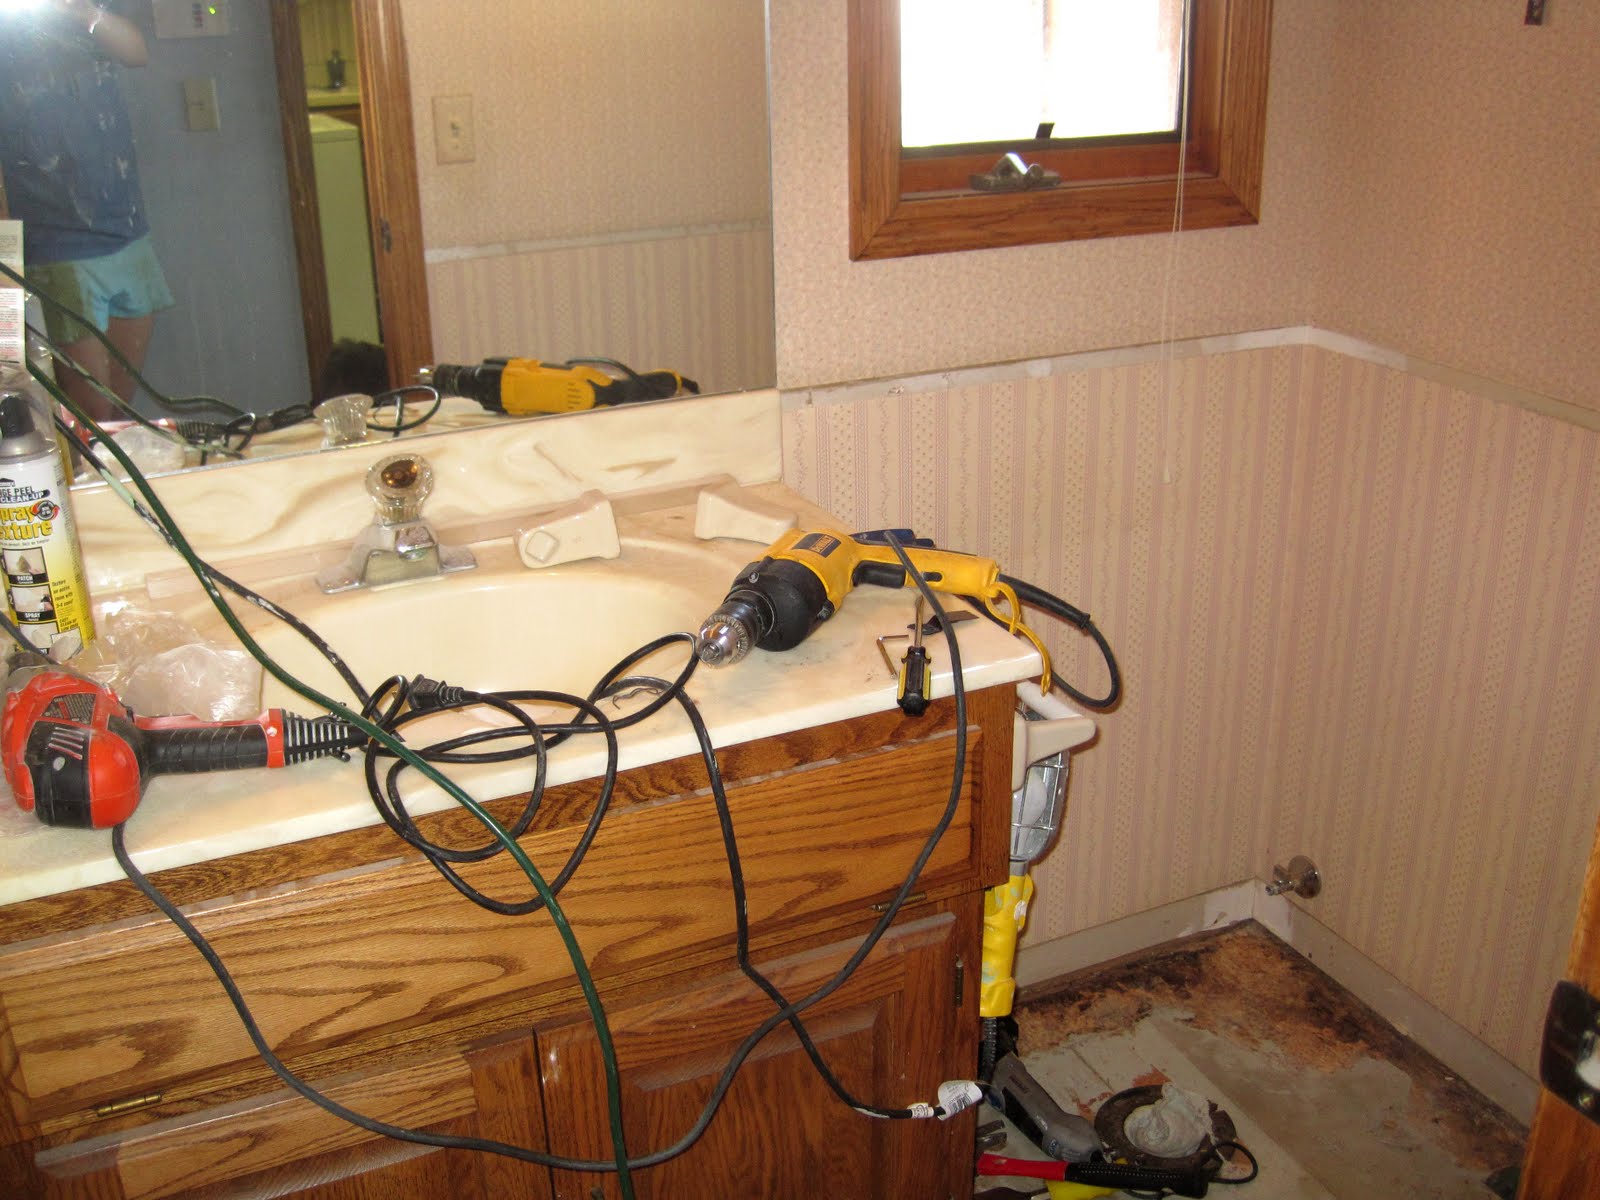 (See previous post here for a step by step ‘how to paint over wallpaper’.)
In short, we removed any lose wallpaper. Next, we applied joint compounded the seams of the wallpaper and anywhere the wallpaper that was lose was removed. Once the joint compound was dry, we sanded it down to make is flat with the wall. Next, I wanted to apply texture. Instead of rolling on a texture or sanding the walls down flat we used this spray on texture you can buy at Lowe’s. 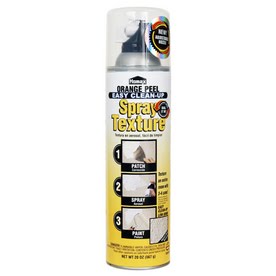
I didn’t trust myself to aim it straight, I am kind of lacking in the hand-eye coordination. So my steady handed husband applied it to the wall and he said it was pretty easy. The only downside of this approach is the cost of it is pretty expensive. It took two cans for this tiny bathroom and it cost $11.89 per can!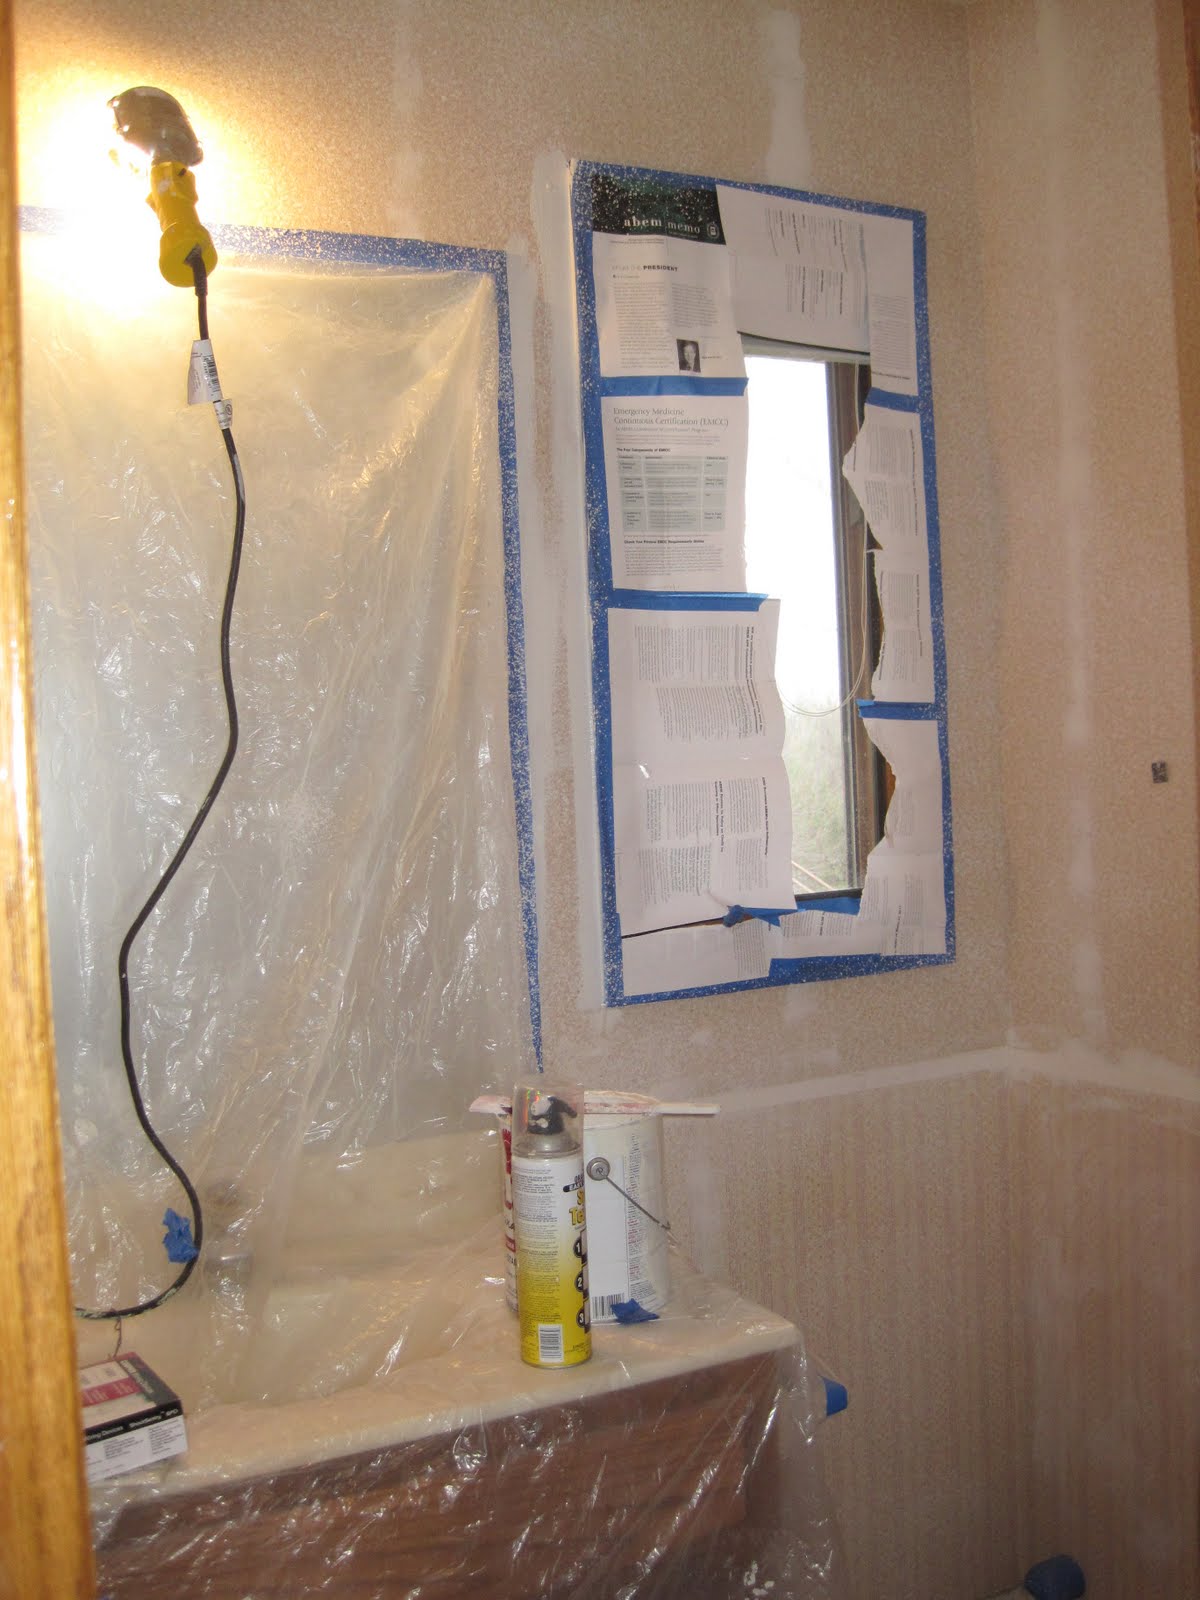 The texture takes about 6 hours to dry. After it was dry, I painted an oil based primer over the top of the wallpaper. Keeping with the spirit of remodeling on a budget, I decided to paint the bathroom with leftover paint from previous projects. This room has a chair rail, so I will use the darker blue from my hallway on the bottom half and the lighter blue from the kitchen on the top half.
Once all the painting is finished, all we have left is to install a tile floor (hubby’s part), reinstall the trim and chair rail, change out the handles on the cupboard, and reinstall the toilet. We should be finished hopefully some time right after Christmas.
~Beth