27 Oct The Foreclosure
Many of you are probably wondering where we went on this blog…well here’s the answer! As you can tell, our blog has been lacking in posts lately. Honestly, the last year and a half have been so busy for all of us, it’s been hard to get normal things done, let alone blog. So what have I been doing??? Well…I designed a new house, revamped a foreclosure, moved houses, bulldozed our old house, landscaped a bunch, and built our new “dream house”. Also, somehow we have managed to do all that and raise our two kiddos (who are in school now) and start another new activity (like we need more) of training in Taekwondo twice a week. Whew!! Just typing all that makes me want to go take a nap!
So needless to say, I have been busy.
I am hoping in the next few months I can get the blog caught up on all that is happening– all the wonderful DIYs I have done, all the recipes I have made, parties I have hosted, food I have canned….
For now though, I wanted to show off this awesome foreclosure we snagged back in December 2014…I mean January 2015…uhh February, March…never mind it was April (barely almost May really). If you can’t tell by my wording, foreclosures are hard to close on. It took almost 5 months to get into this house, but we finally got it and it was a super fun experience for us. So with out further ado, the foreclosure:
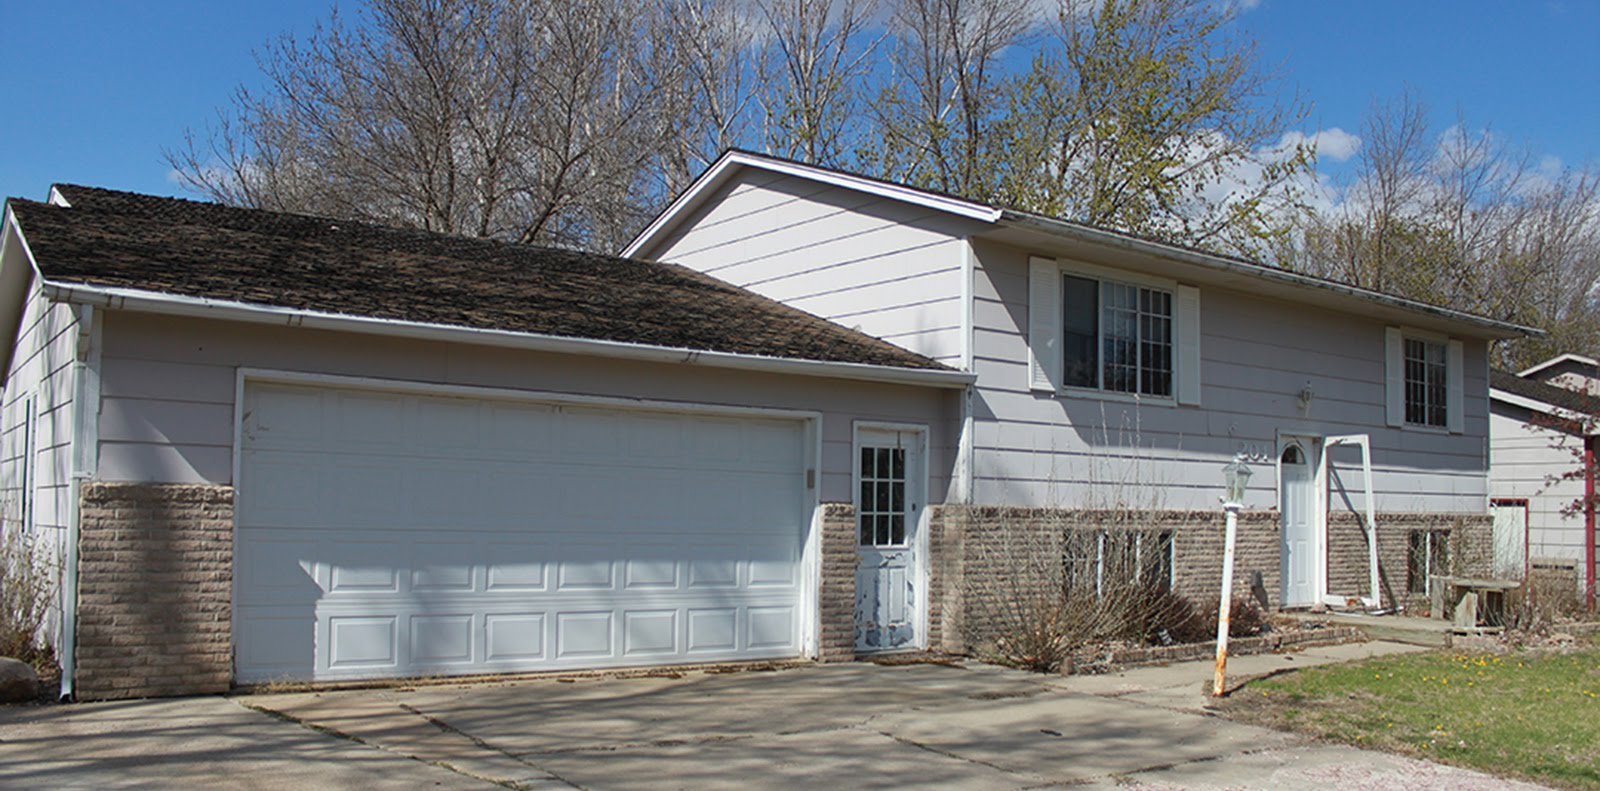
Here is this lovely little foreclosure when we first purchased it:
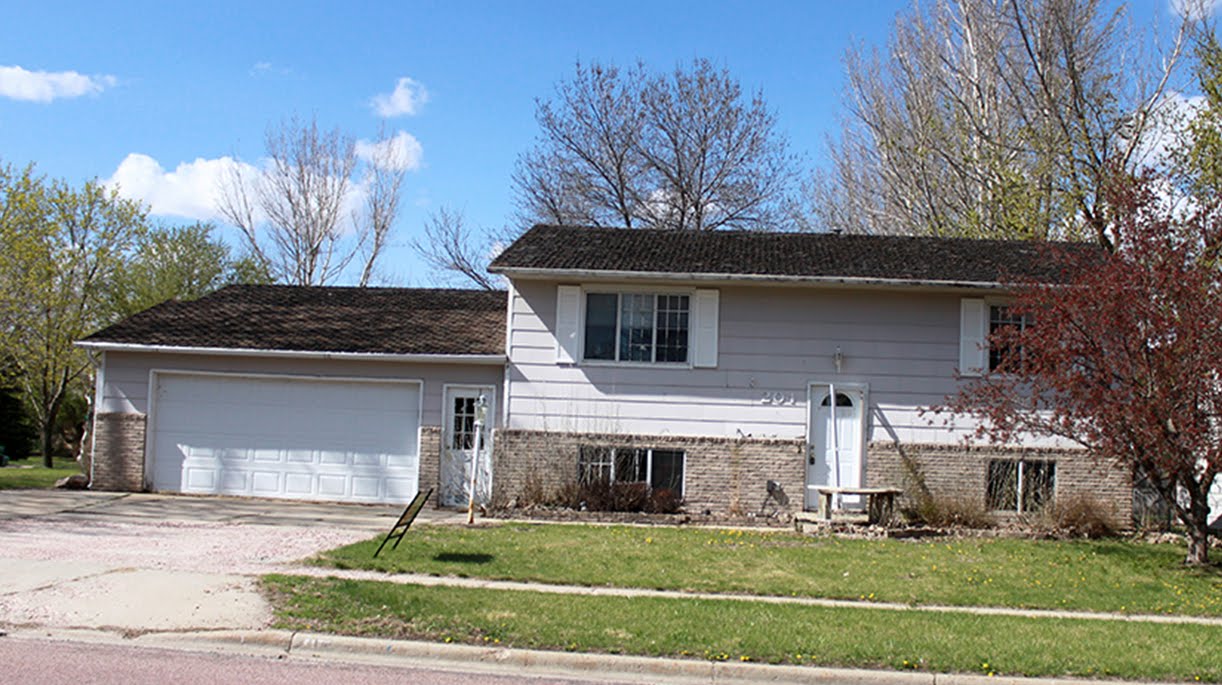 Please note the terrible roof, half hanging off screen door, the missing window grills, the rotten deck (or whatever that is), the rusty light pole, the pitted driveway, the chipped door paint…should I keep going?
Here is what it looked like this summer (with a previous below):
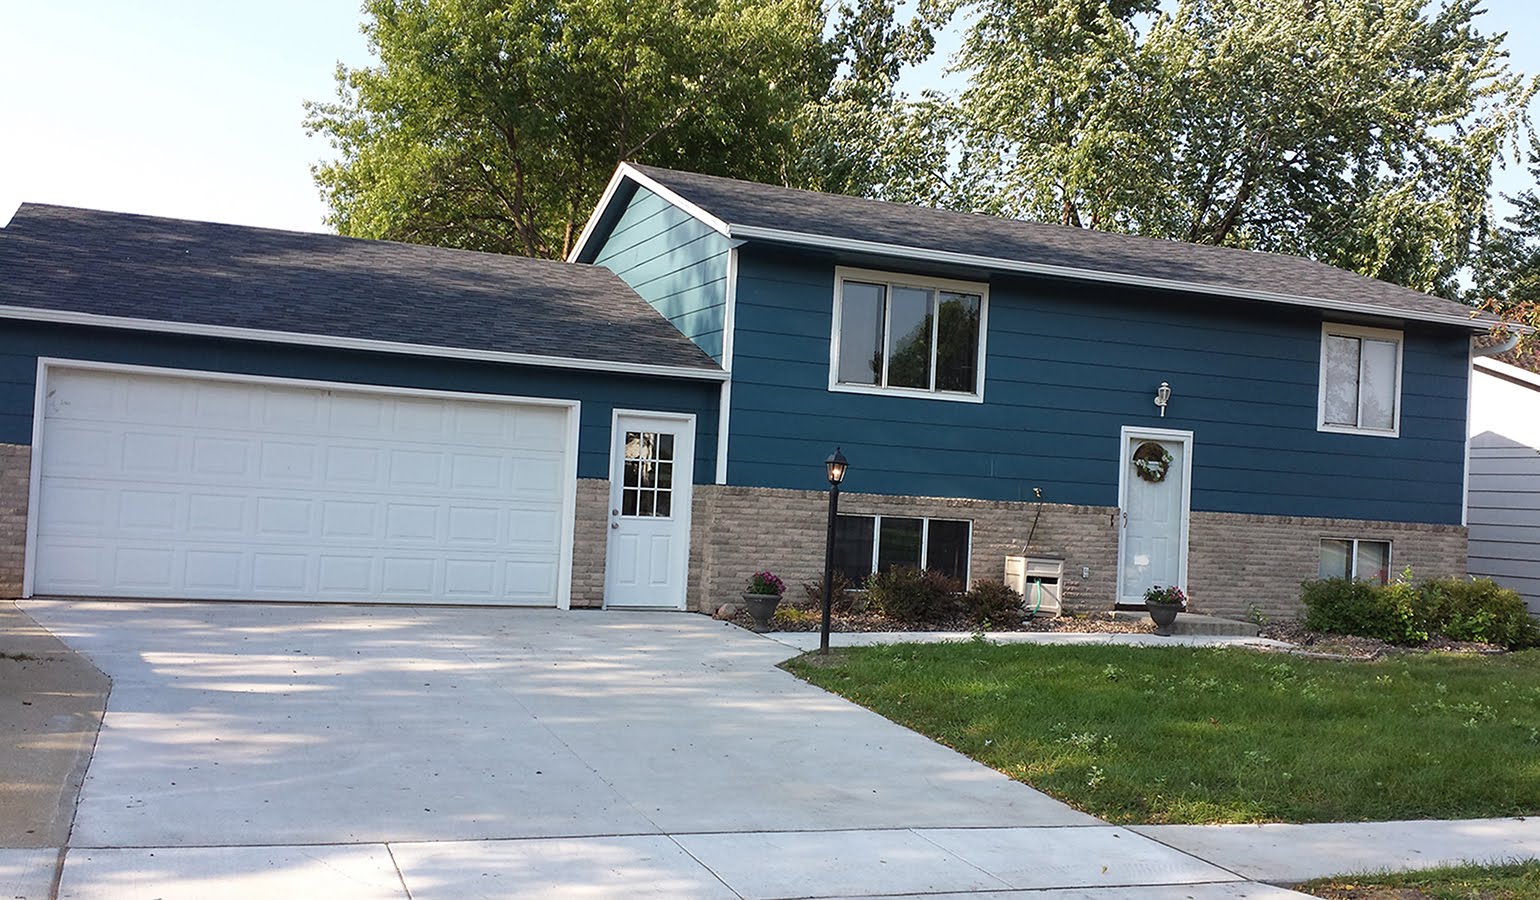
Since I took these photos I really cleaned up the landscaping, added black shutters, and an over-sized light fixture above the front door.
Here’s the beautiful kitchen when we first bought the place. 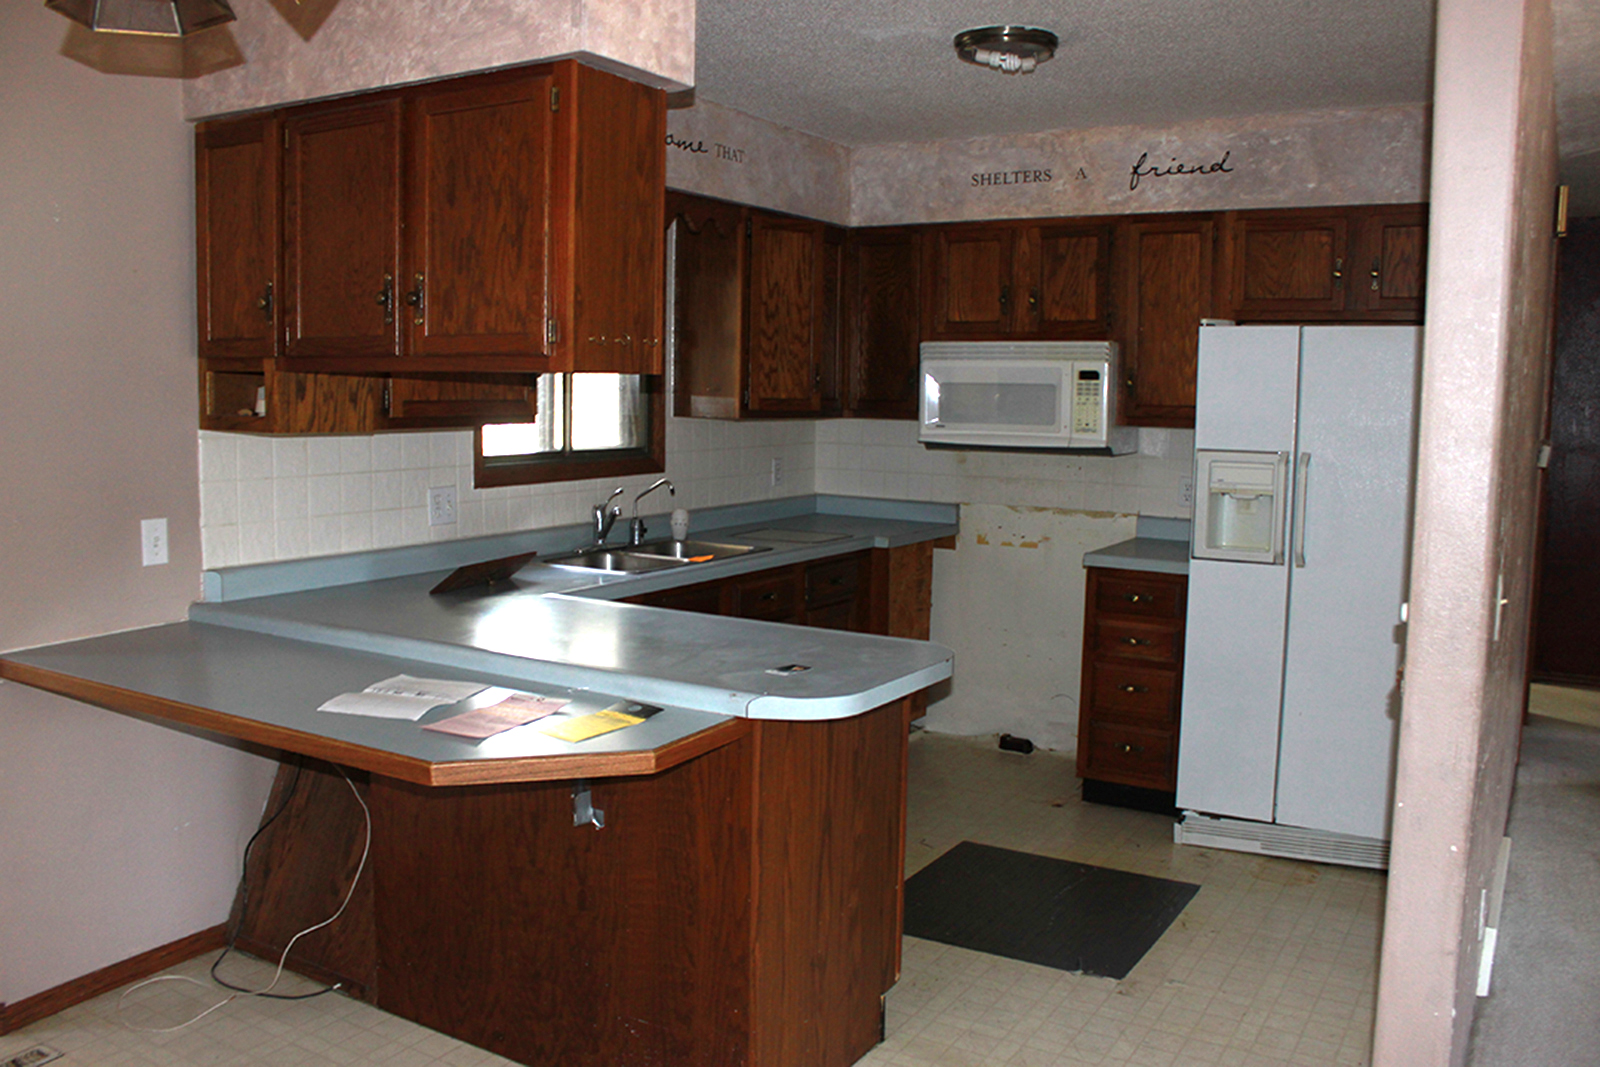
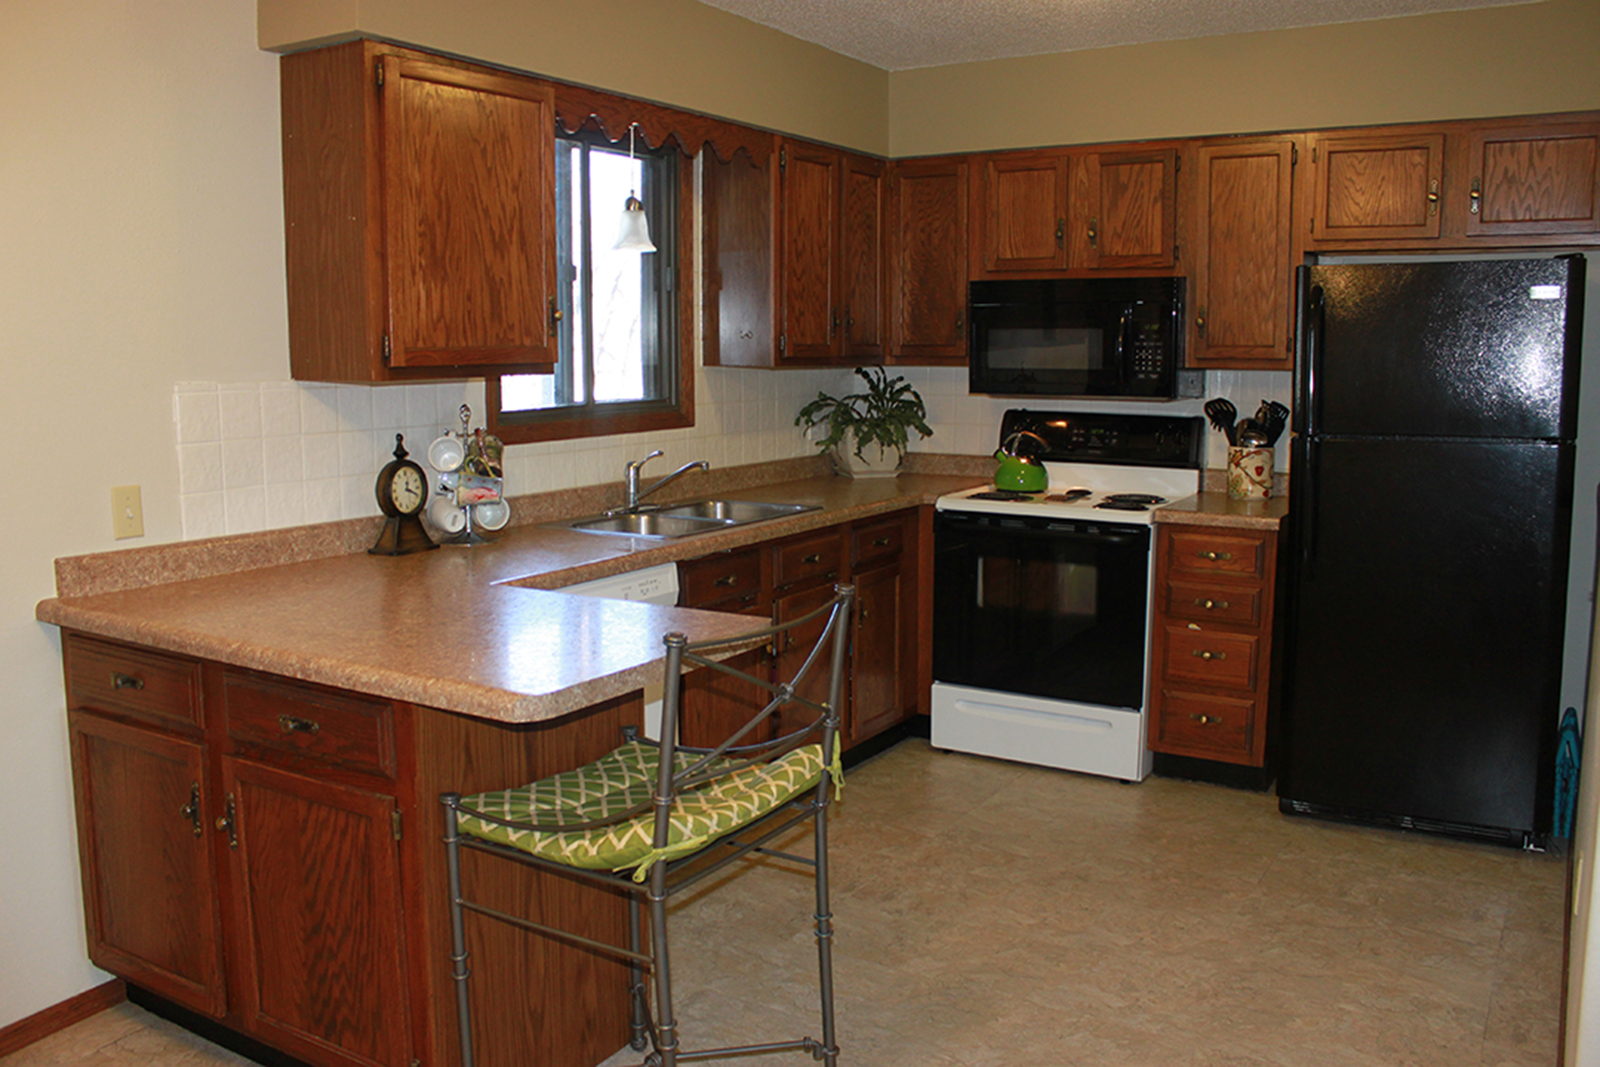
And here is it now. We added a dishwasher so we had to do a little arranging of the cabinets. We also ripped out the old linoleum and replaced it ourselves.
On the side entering from the garage, I made a little pantry storage area and bench area.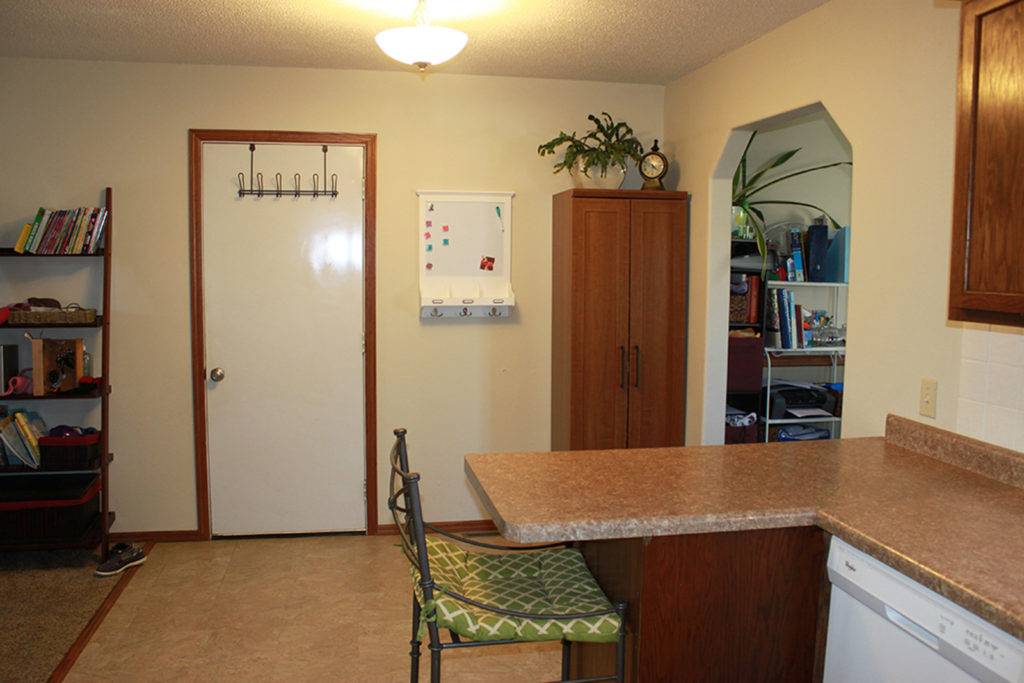
The living room before was pretty plain and the walls were purple! This picture makes it look beige, but they were straight up lavender!
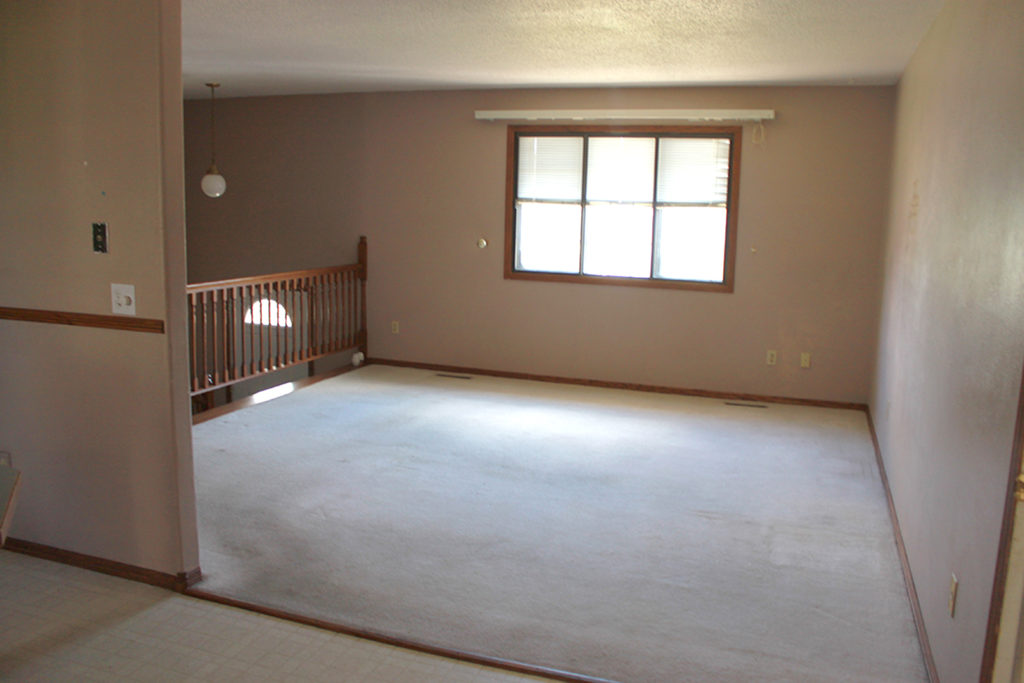
We painted the walls a very light beige and changed out the carpet.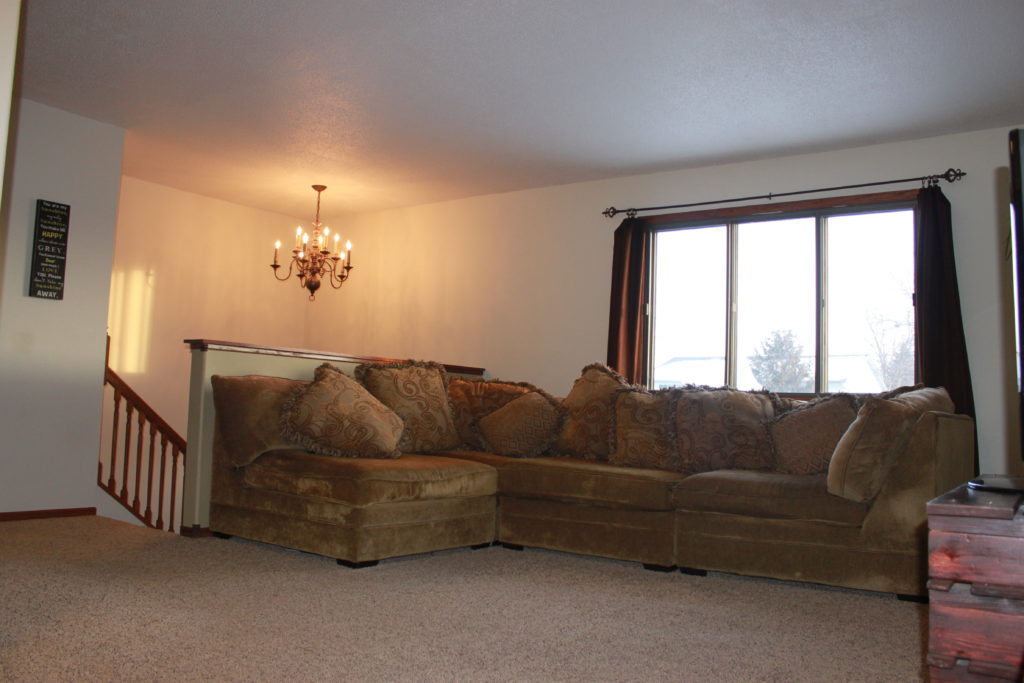
The house has this great addition on the back with a beautiful built in hutch. We had to also replace the flooring in this room and paint.
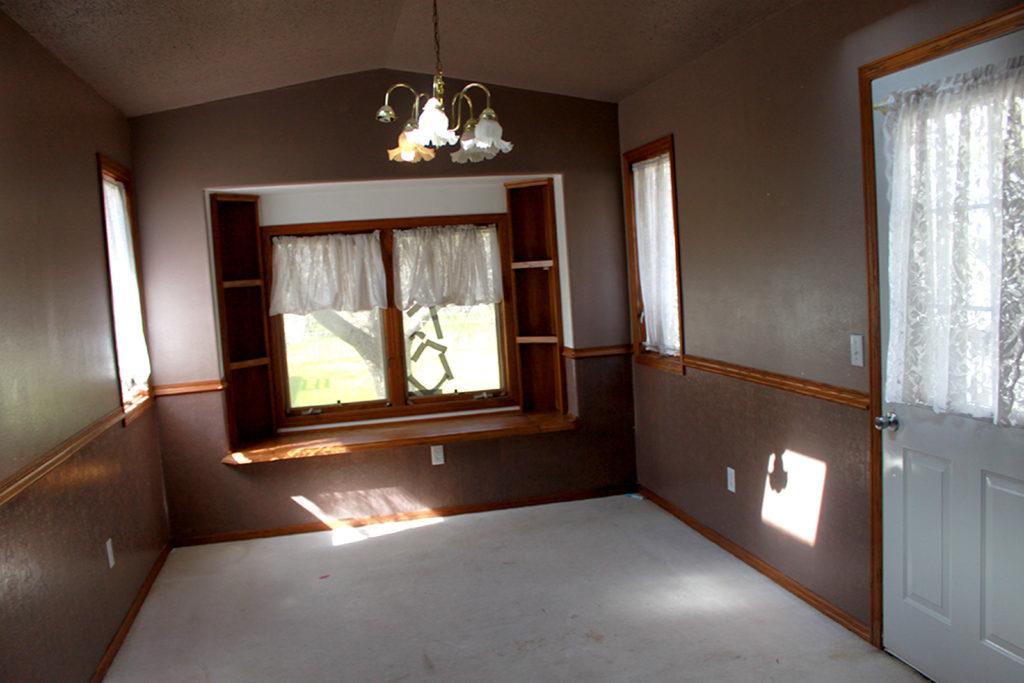
We used this room for our dining room and in the corner was my work area. 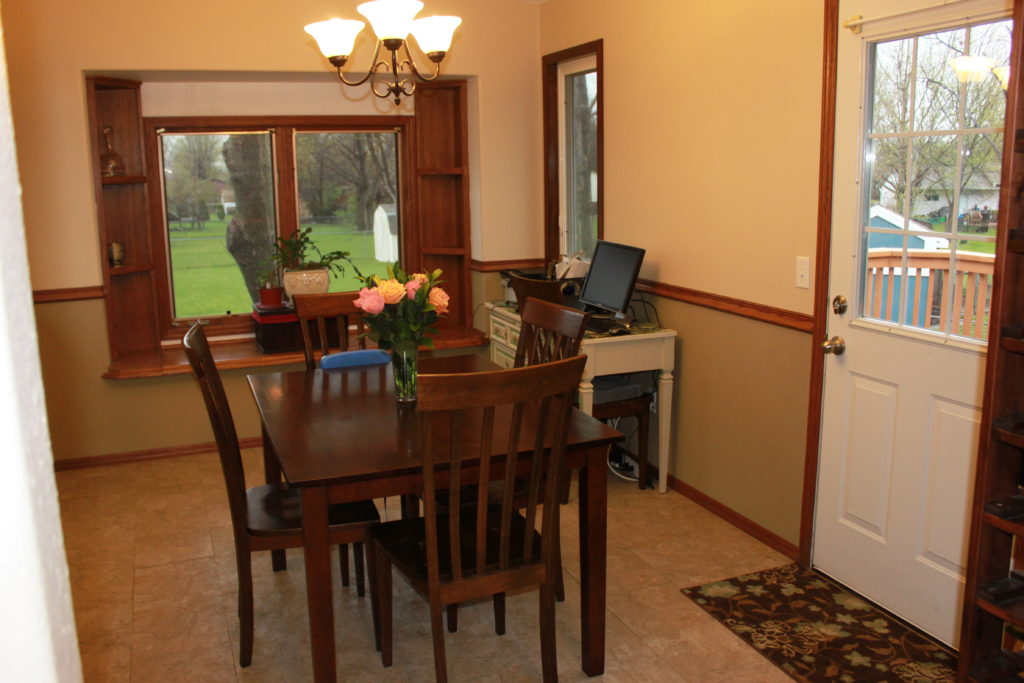
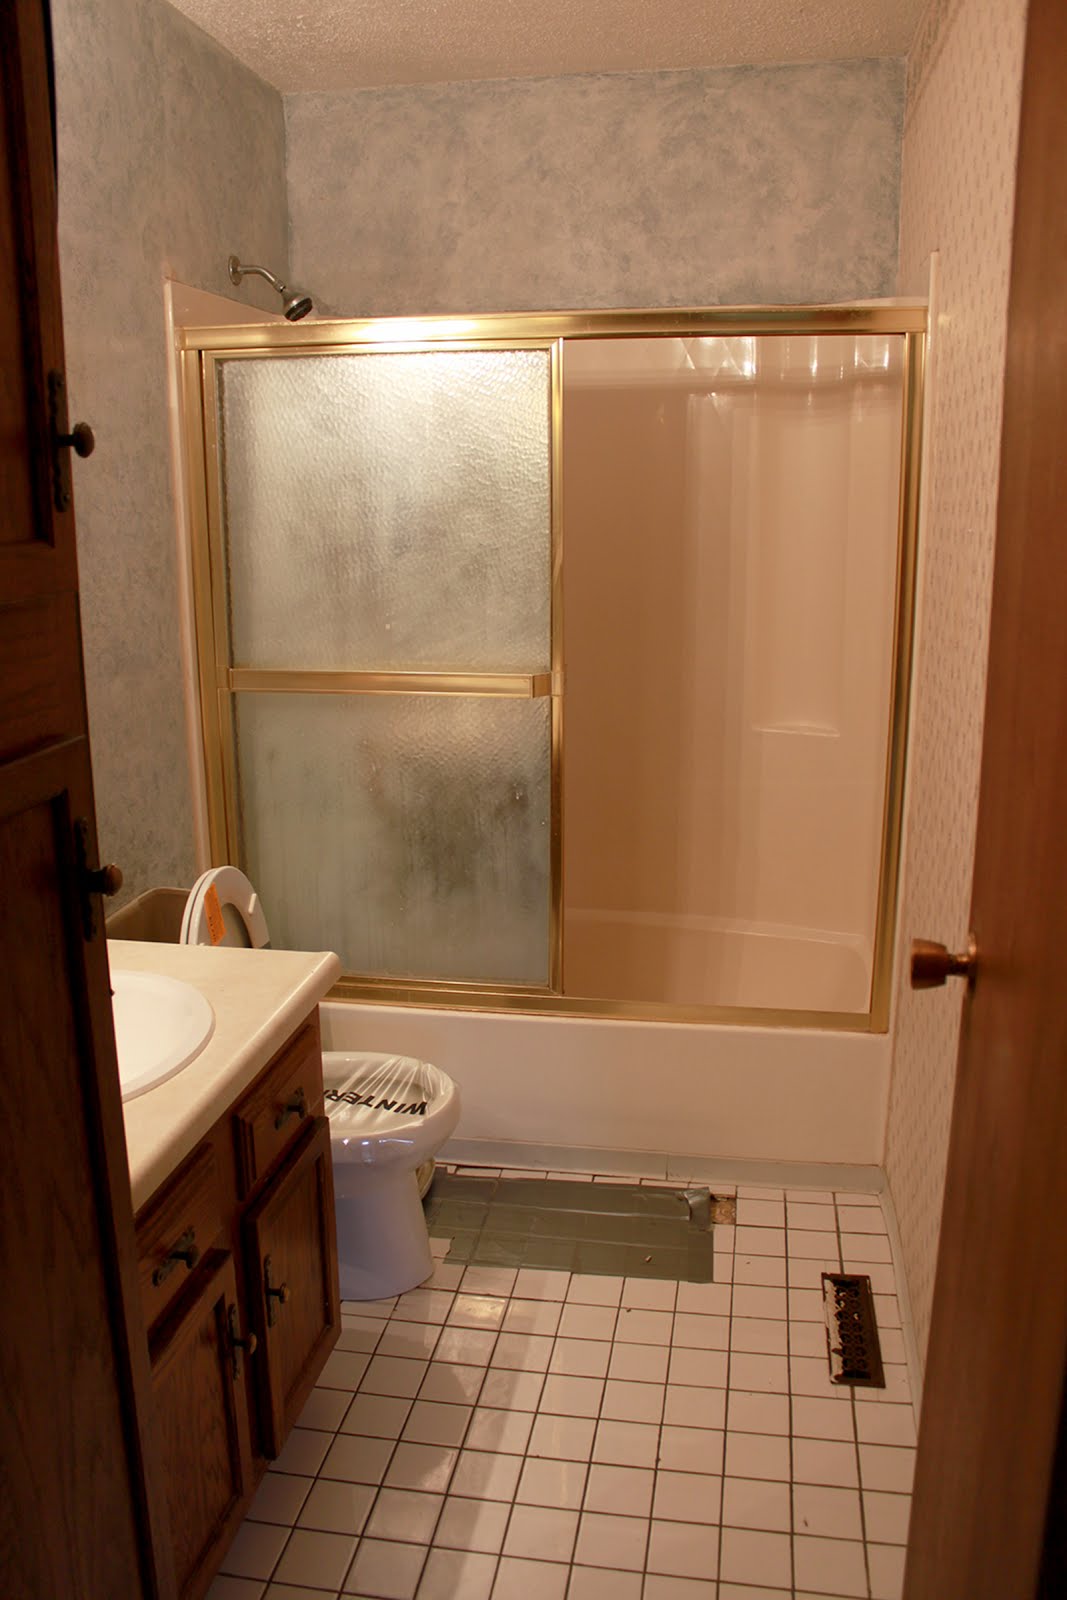
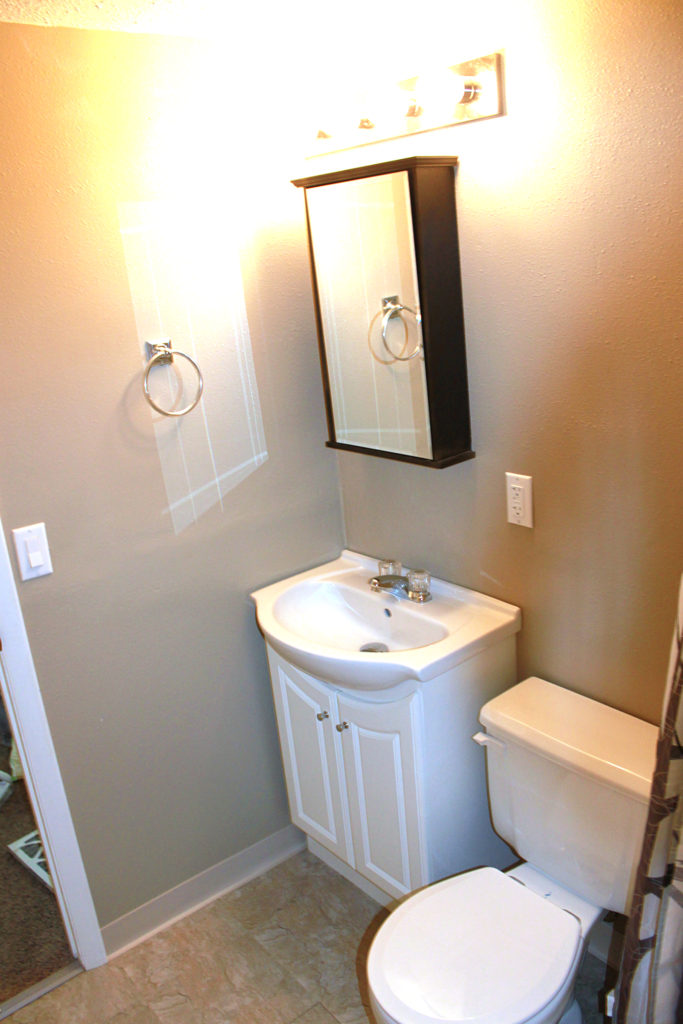
The upstairs bathroom needed wallpaper removed, shower doors removed (GRRR!!! See this post), new sink, new flooring, and a very good clean! (Good thing I used to clean hotel rooms!) In addition, beside the sink were mirrors glued to the cupboard that were cracked and broken. They had to go. (As a side note, DO NOT EVER USE LIQUID NAILS TO PUT IN A CERAMIC TILE FLOOR! I am serious people. Your tile will just crack and you will leave some poor schmuck with the chore of cleaning up your mess!)

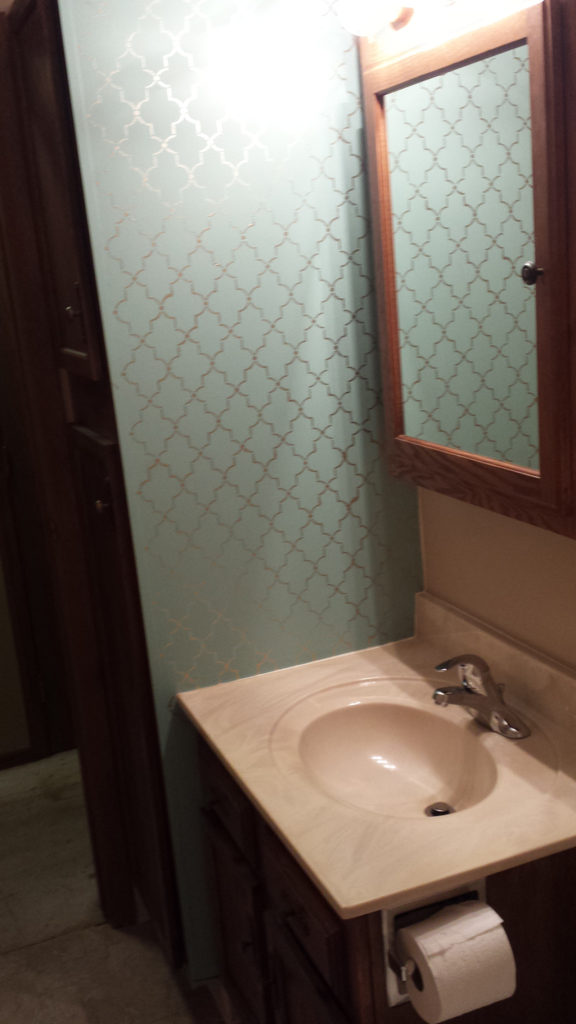
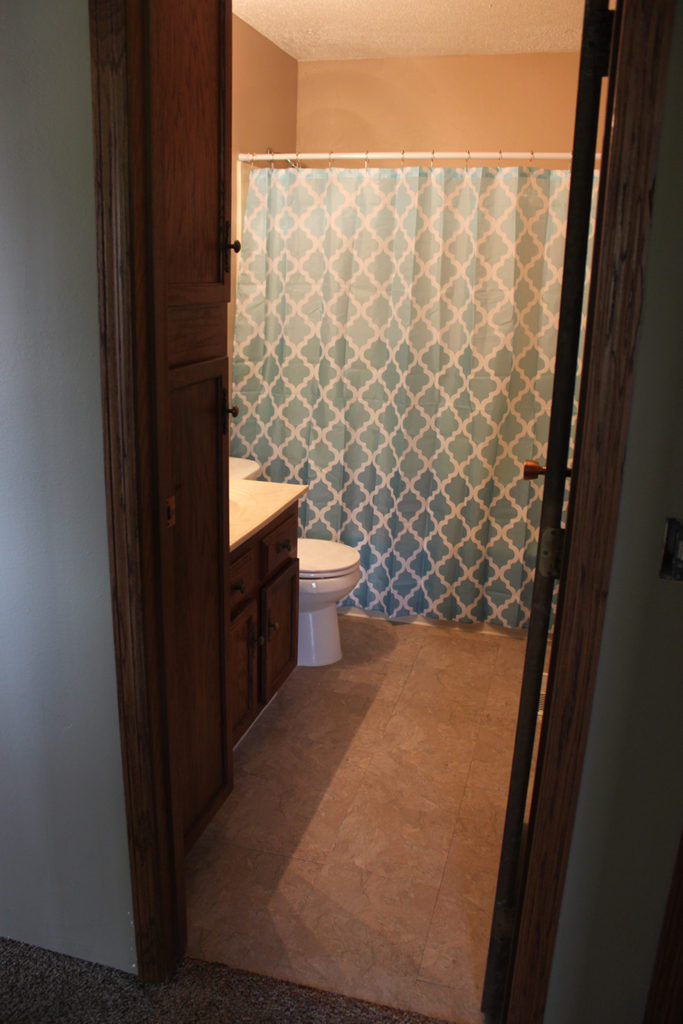
This bathroom is such a bad angle for me to get the right photo, but as you can see the walls have been painted, new floor, and new sink. In addition, I stenciled this super cute design near the sink on the cupboard to cover up the damaged wood the broken mirror tiles were hiding.
The master bedroom was covered in ugly wallpaper as well and needed new carpet.
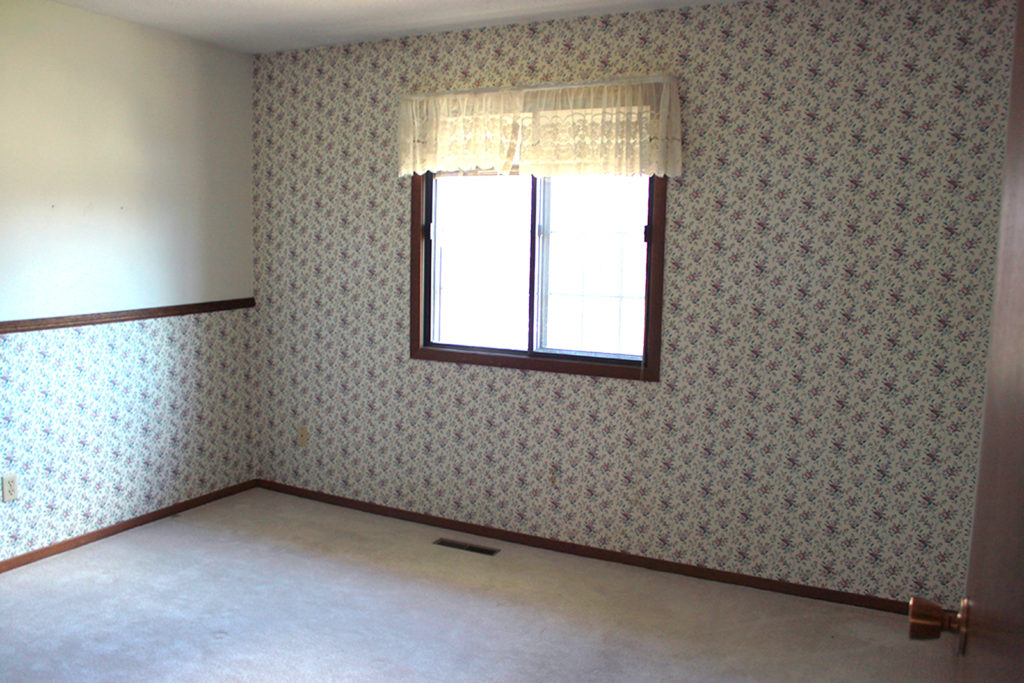
I feel like am a pro at removing wallpaper but it also was an easy fix of painting and carpet.
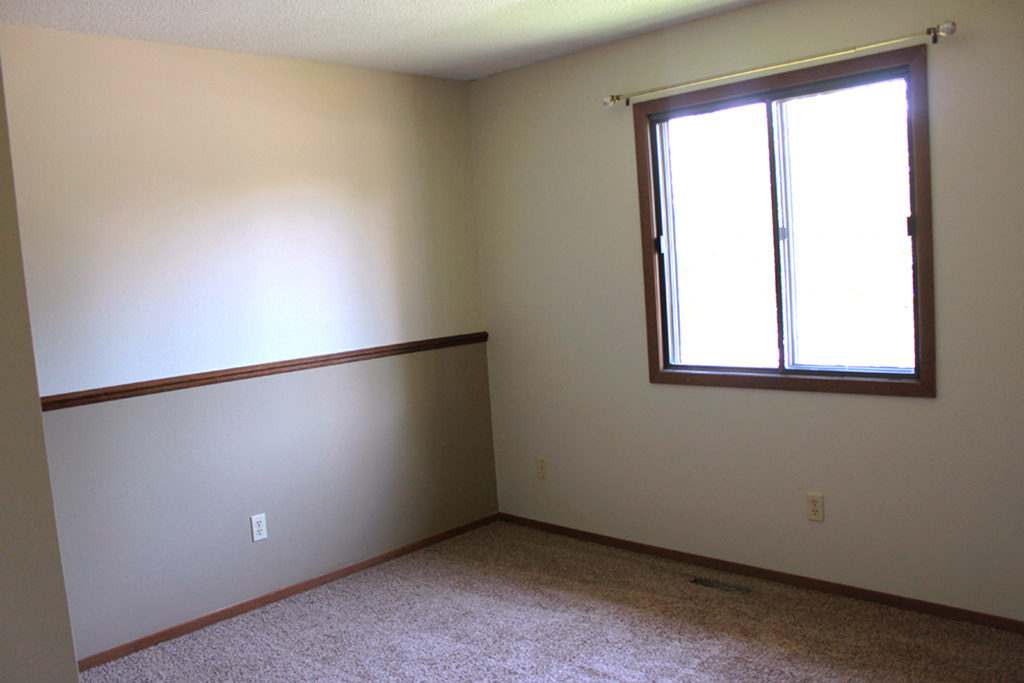
We did all the bedrooms, like I said above, but this one was special as my kids slept/played in it the whole time we worked on this house. I think they must have used this room for a daycare as there were kids hand prints all over the walls.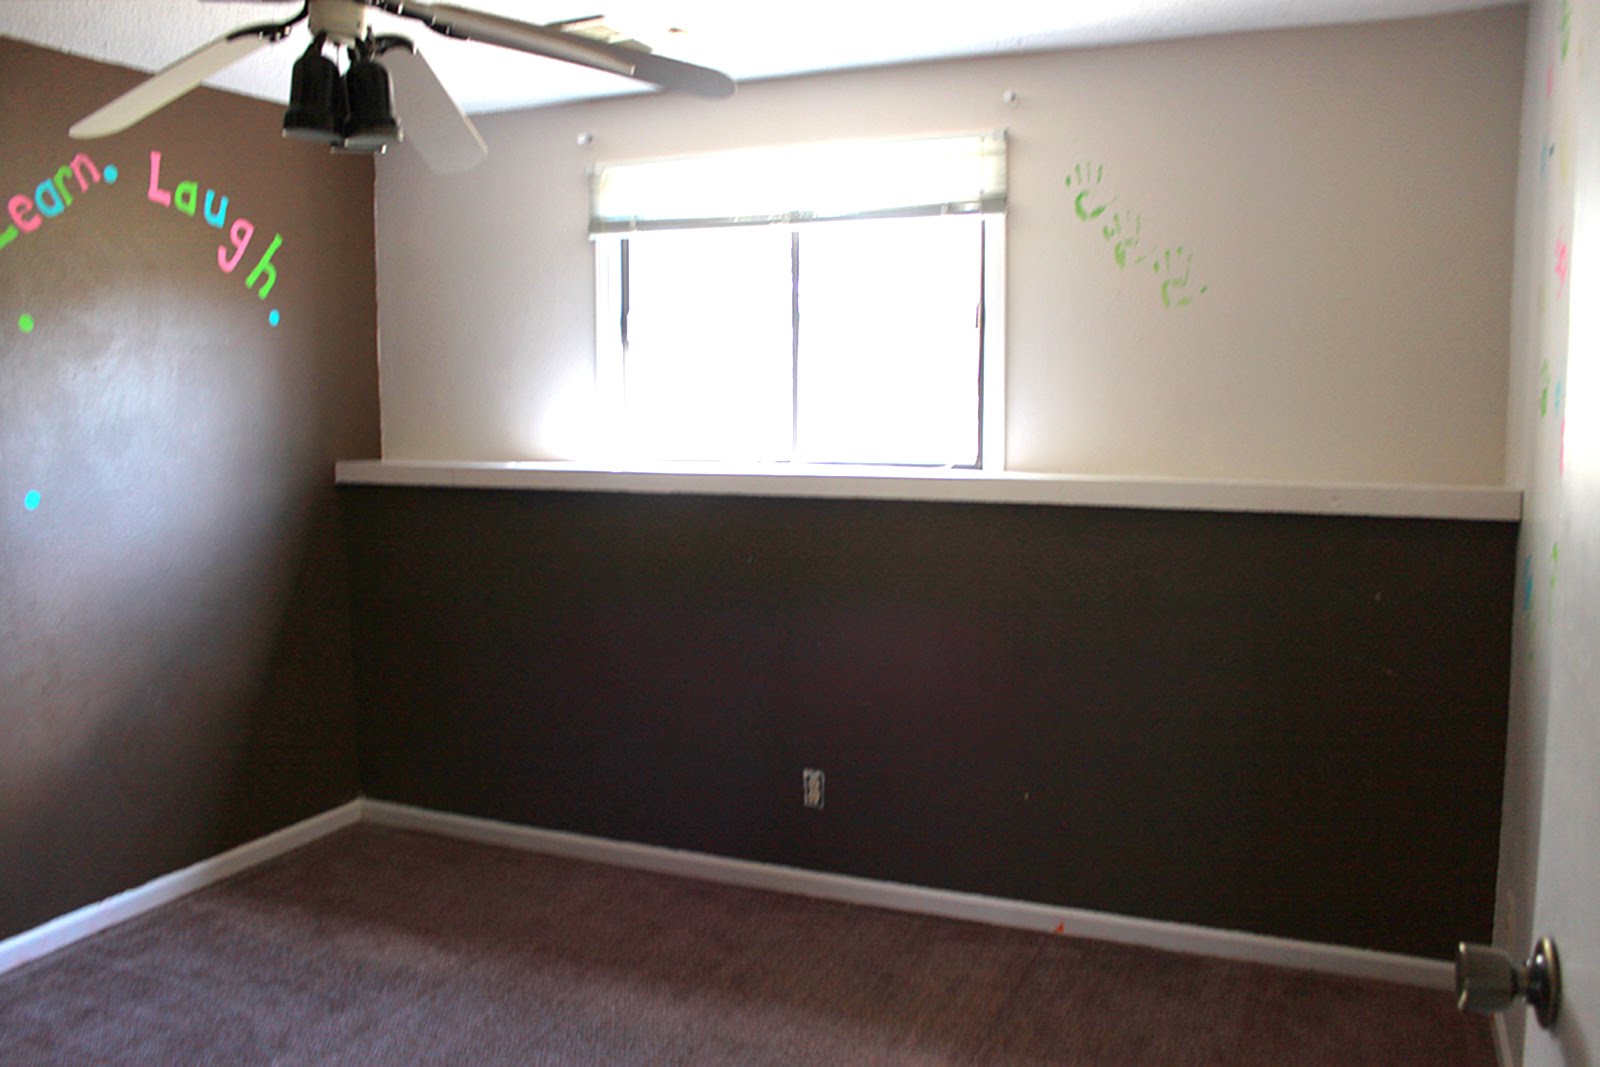
Again, paint and carpet!

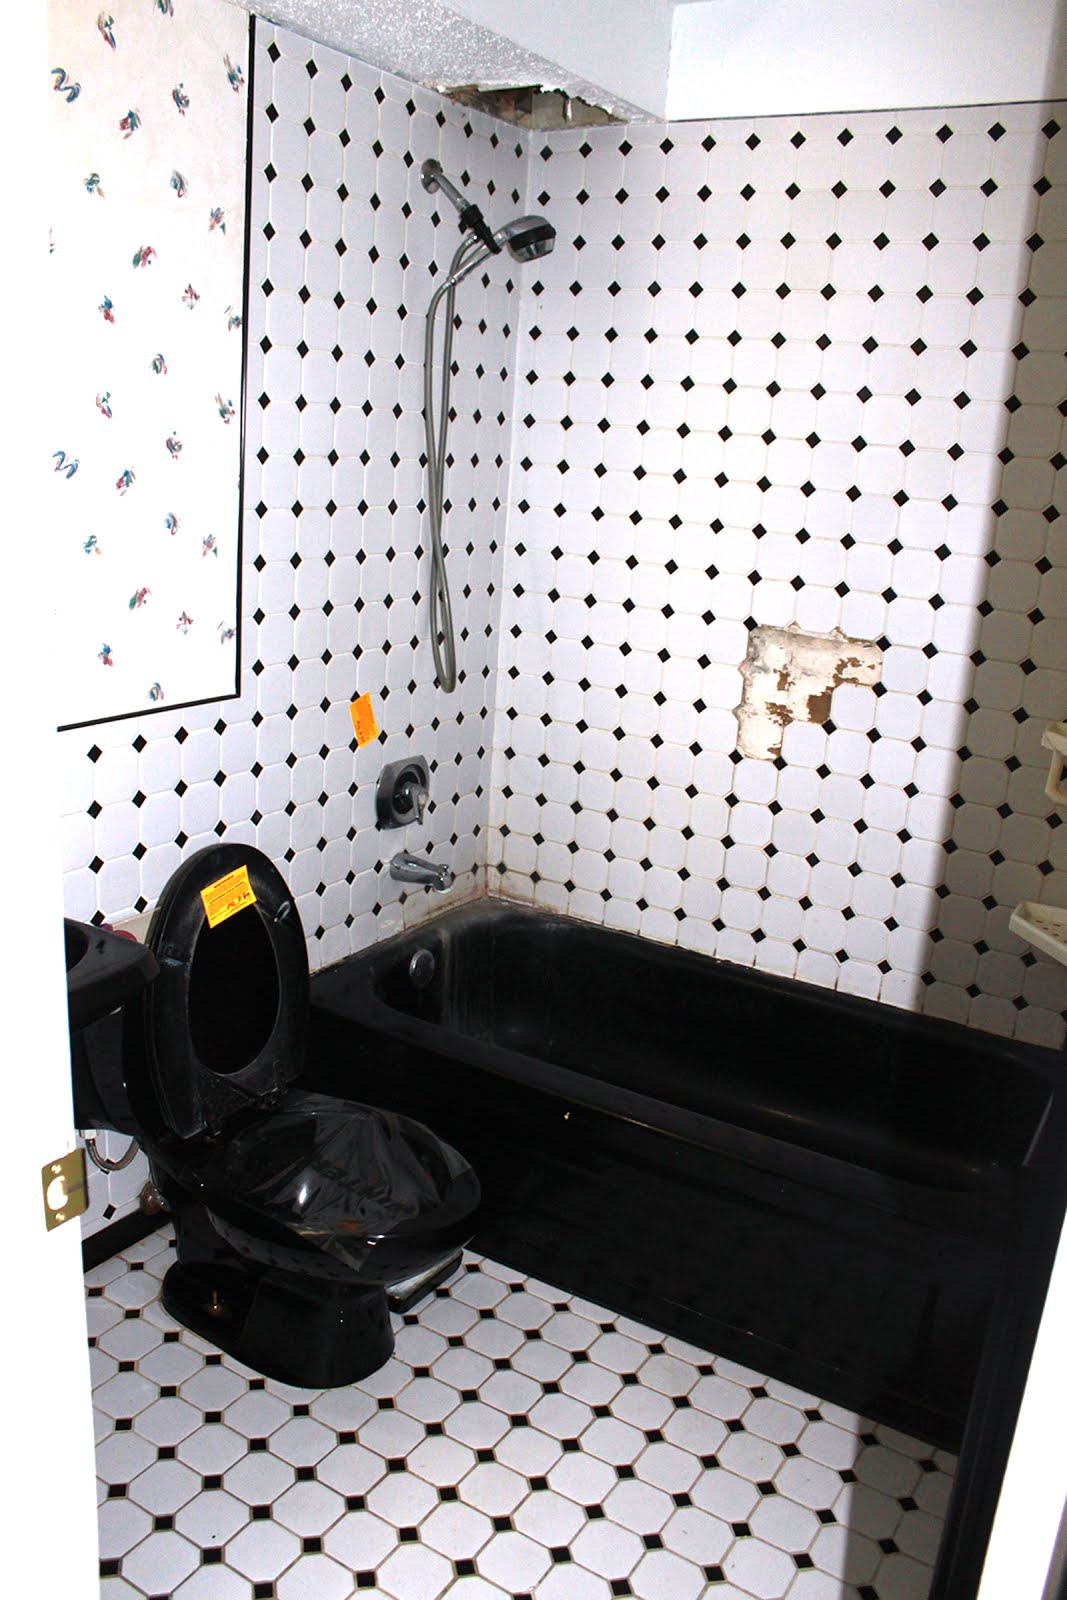
The basement bathroom was our last project on this house. We waited until after we moved in to gut this entire room.


We had to bring it down to the studs, redo plumbing, install a new tub, replace the sink, replace the floor, patch holes in ceiling, paint, and new toilet. It was work but I feel is a really nice bathroom now.
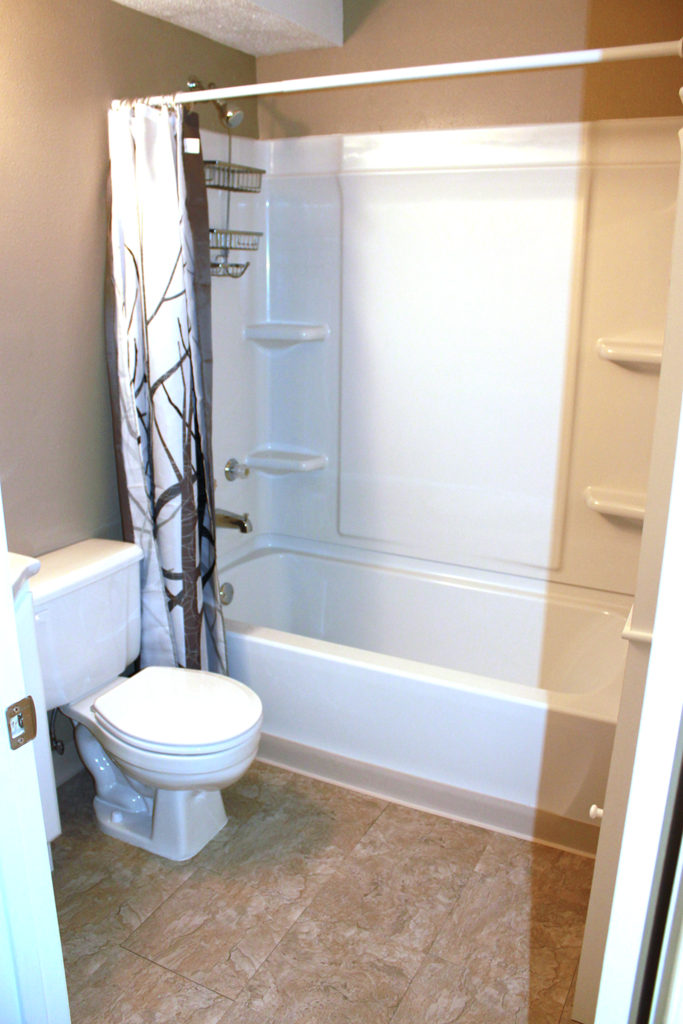
Here’s a little before and after for this one.

Well that is the basics of the foreclose revamp! The house is a 4 bedroom and also has a basement living room, so the photos you did not see were of those rooms painted with new carpet. In addition to all that, we painted the exterior of the house, painted the shed out back, stained the deck, replaced the concrete driveway and sidewalks, replaced some windows painted the laundry room floor, installed pex plumbing throughout, installed new water heater, and I am sure more I am forgetting! We did most of it ourselves but we did hire our the exterior house painting and the concrete work. (Which in my mind was well worth the money!)
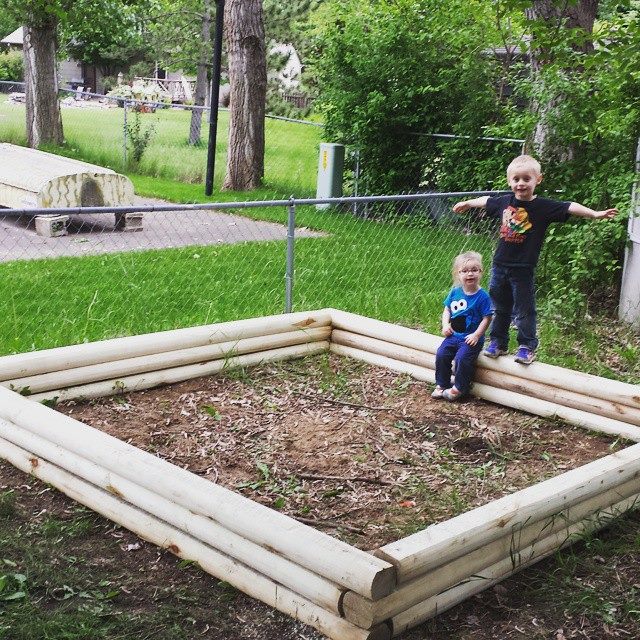 {my kiddos and I build a garden one afternoon}
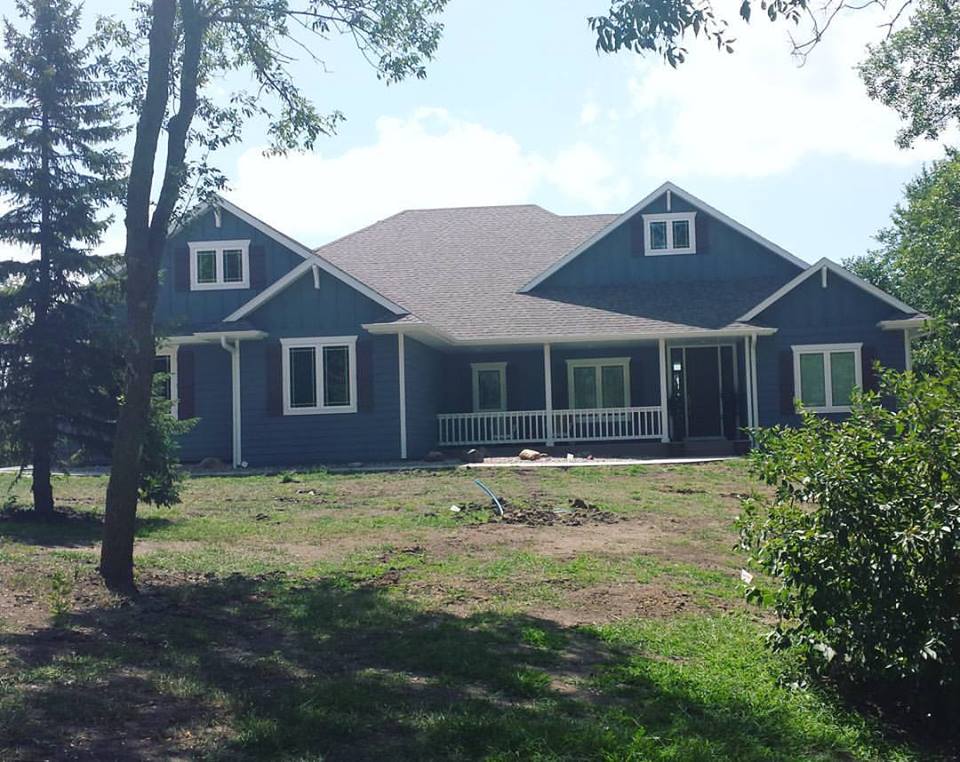
We lived in this house with our family while we built our new house, which I hope to get to in a later post. For now, here’s a little sneak peak at the new place!