05 Apr How To Paint A Golden Oak Hutch
You might remember a post I wrote last year on How To Add Bun Feet To Hollow Bottom Furniture, well I have finally decided to get around to showing off this beautiful hutch that we love so much in our house.
For months I had searched for a hutch for my china and crystal…aka fancy stuff. It was a long search, because with our open floor plan the largest wall it could be placed on was only 33 inches. I spent an entire day going to every used furniture and antique shop in town and I was lucky enough to find this beauty: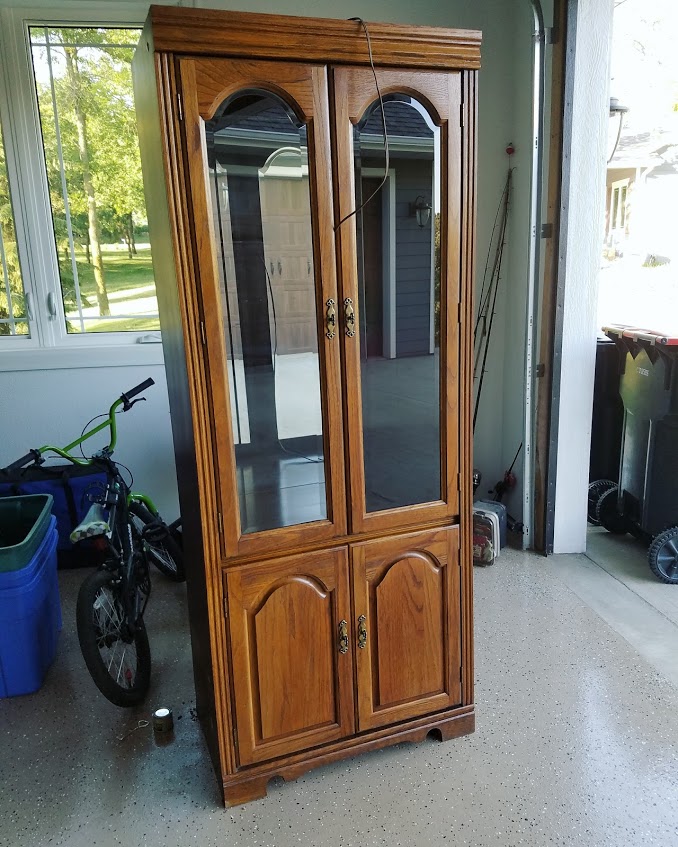 This hutch looks like the missing piece to my parents bookshelf/tv stand they had in their house they built in 1991. Obviously, I am not a fan of the golden oak finish that was such a craze in the early 90s, so I knew painting would be the best option. Here is how I did it:
Step 1: Take it apart and sand it.
My hutch was solid oak, so sanding was very easy to do. I removed all the doors and shelves, removed the hardware, and got to work with first a 150 grit sand (just enough to take off the polyurethane coat) and then a 240 grit sandpaper. 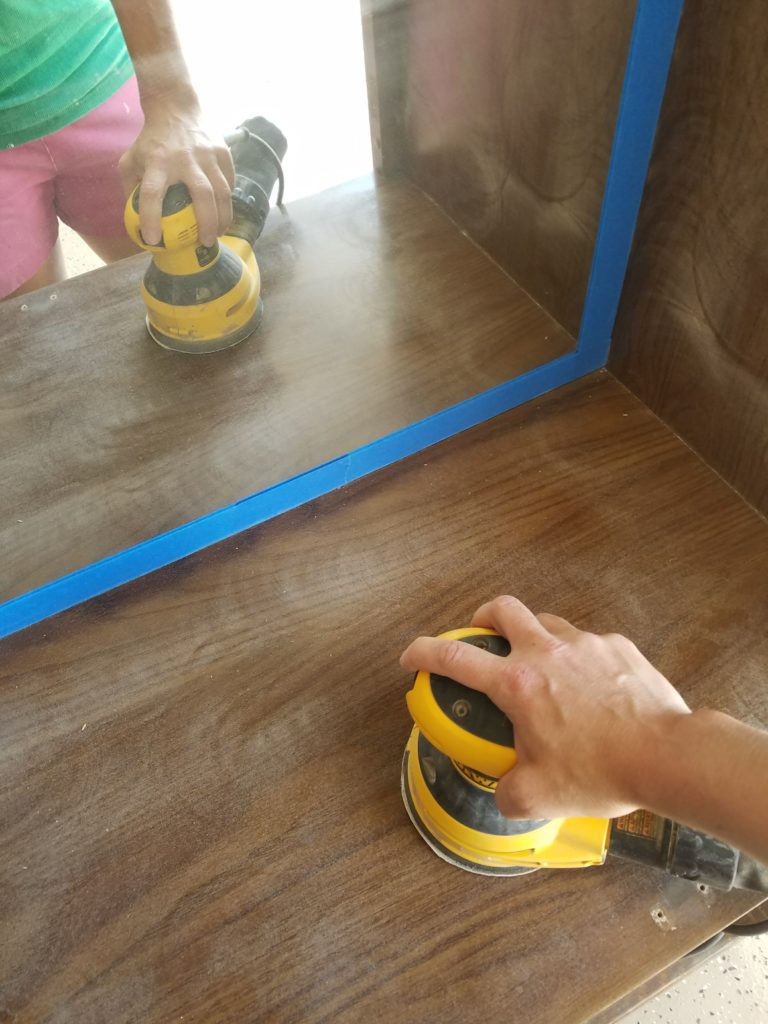 I have a mirror in the back of my hutch so I used some painters tape to protect it from my sander. I am going to brag a bit about some of my tools I used on this hutch. I love our Dewalt Orbit Sander. For years I had just a plain, old rectangle sander and when my husband purchased this baby I claimed it as my own! It’s easy to control and has always done a nice, even job on sanding. When the hutch was all sanded, I was left with a dusty mess like this below:
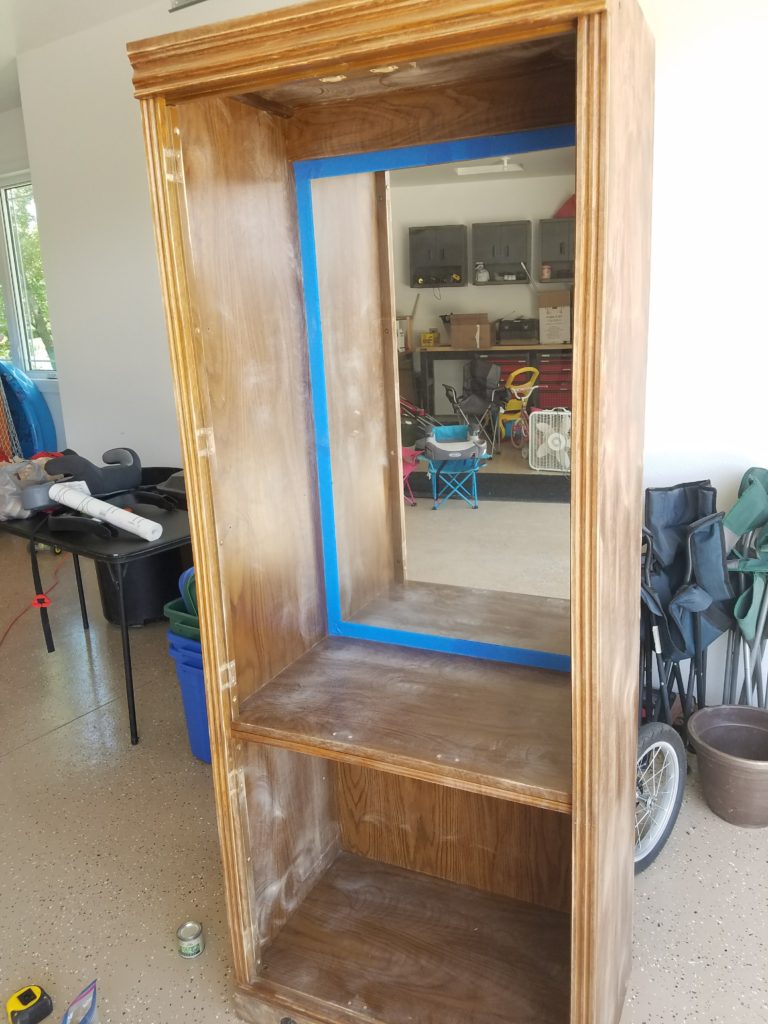 Step 2: Prime it!
I really wanted to use my sprayer on this hutch, so I decided to corner off a little area of my gym to allow me to spray paint like a mad woman. I highly recommend doing this if you have a sprayer, it just makes things so much easier. 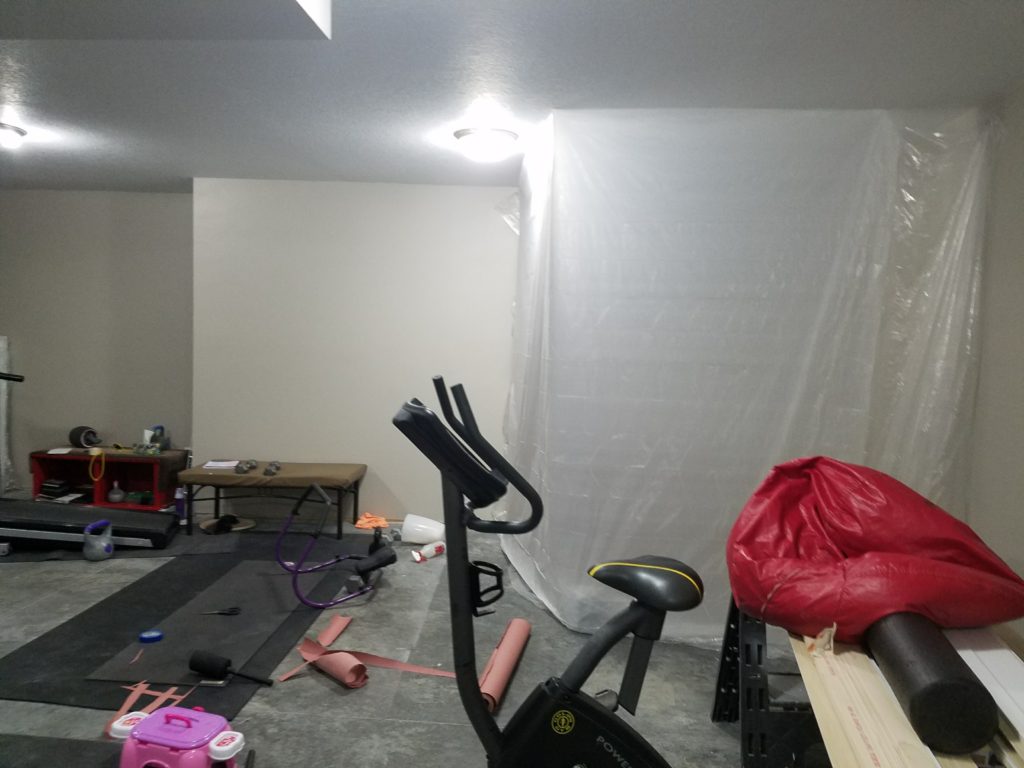 It looks like a little room Dexter has made, but I assure you that the only killing that was done in this tent was me killing it on redoing this hutch! So in this room, I hooked up my handy little sprayer…oh wait, have I mentioned my love for my sprayer? I invested in a sprayer SEVEN YEARS AGO for redoing my kitchen cupboards (See this post: Kitchen Redo #2: Black Cupboards & Some Extras) and I have continued to use it on so many projects. I have painted dressers, bookshelves, chairs, toy boxes and so much more. In addition, I have had two friends borrow it to redo their cupboards and my sister used it to repaint her shutters. This machine just keeps going! Just in case you are looking for one, it is the Wagner 518080 Control Spray Max HVLP Sprayer for $110 off Amazon.com.
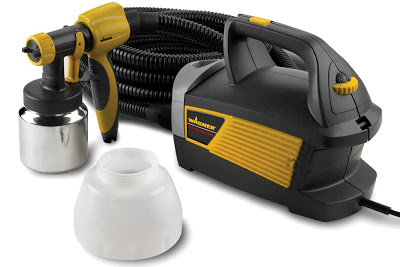
Once I had the sprayer set up, I made sure to cover all the glass on the cupboard doors with some paper and tape. In addition, I taped off the mirror in the back. My go-to primer is always Rust-Oleum Zinsser Bulls Eye 1-2-3 Primer. 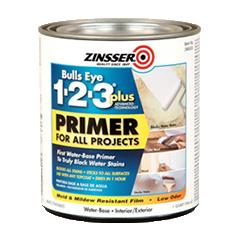 When using a sprayer, make sure to follow the directions on how much to dilute the primer/paint. It is amazing how much smoother your coat will be if you follow this step.
 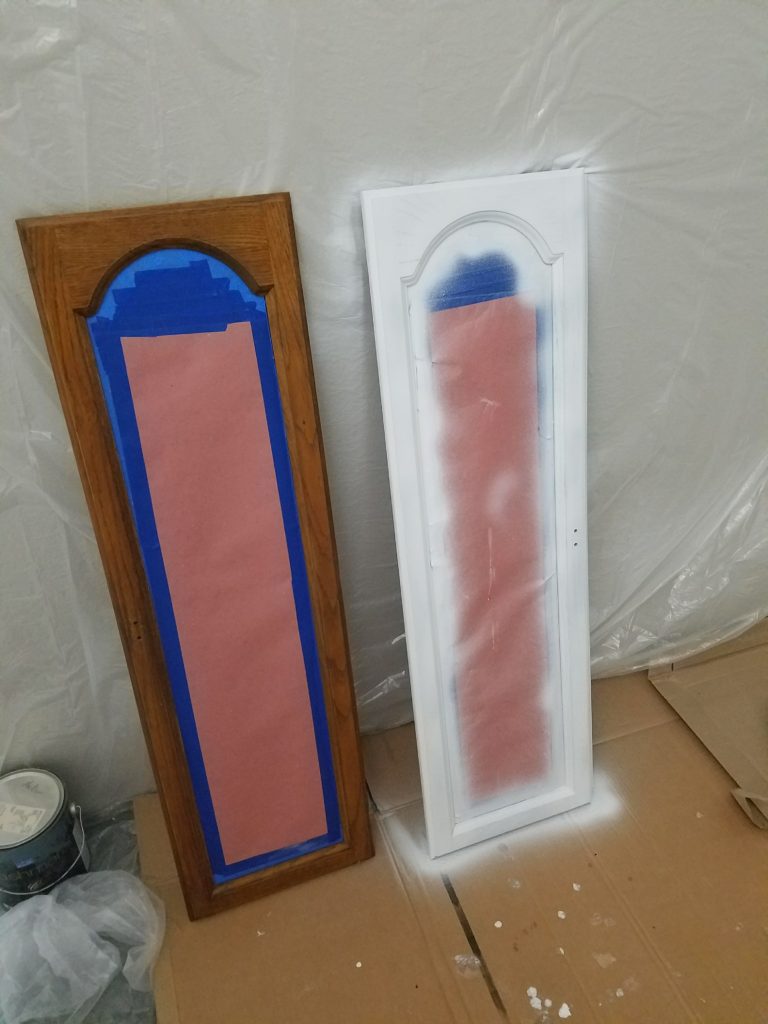 With long strokes, I sprayed primer on the hutch and doors. I also like to keep a little foam brush nearby to catch any areas where I might have drips.
 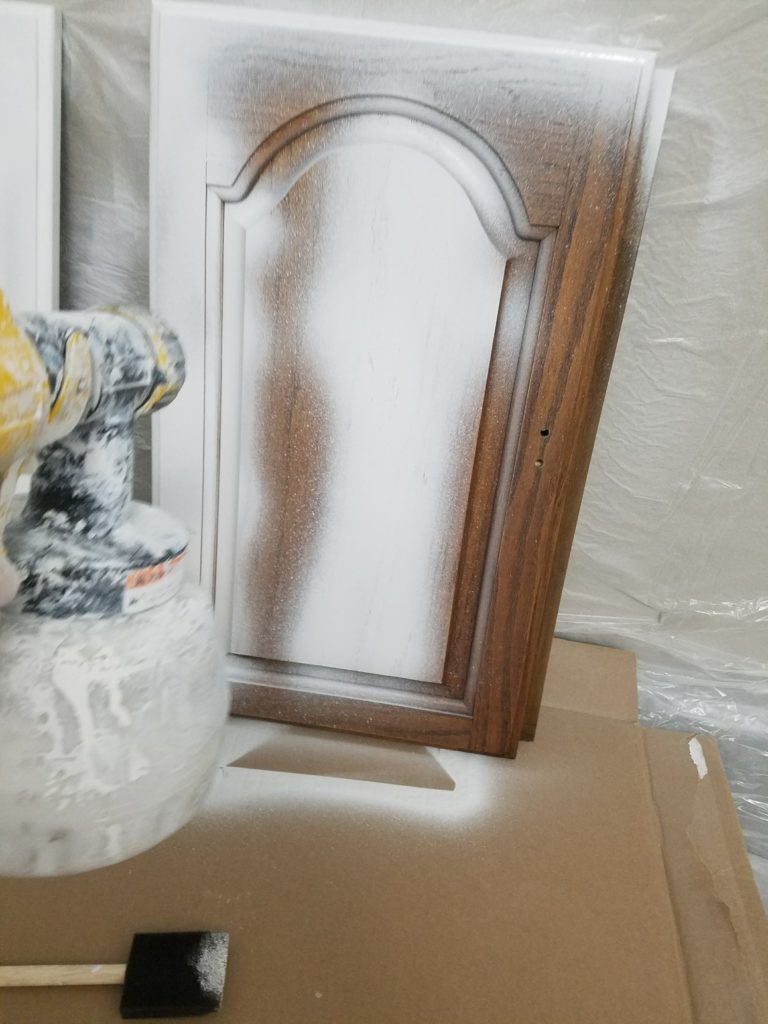 I primed all cupboard doors and the hutch with two coats to make sure that the golden oak color would not show through.
Step 3: Paint it.
I really wish I would have taken more pictures of this part, but for some reason I didn’t. Basically I followed the steps above with my paint color. What was my color of choice? Sherwin Williams 6750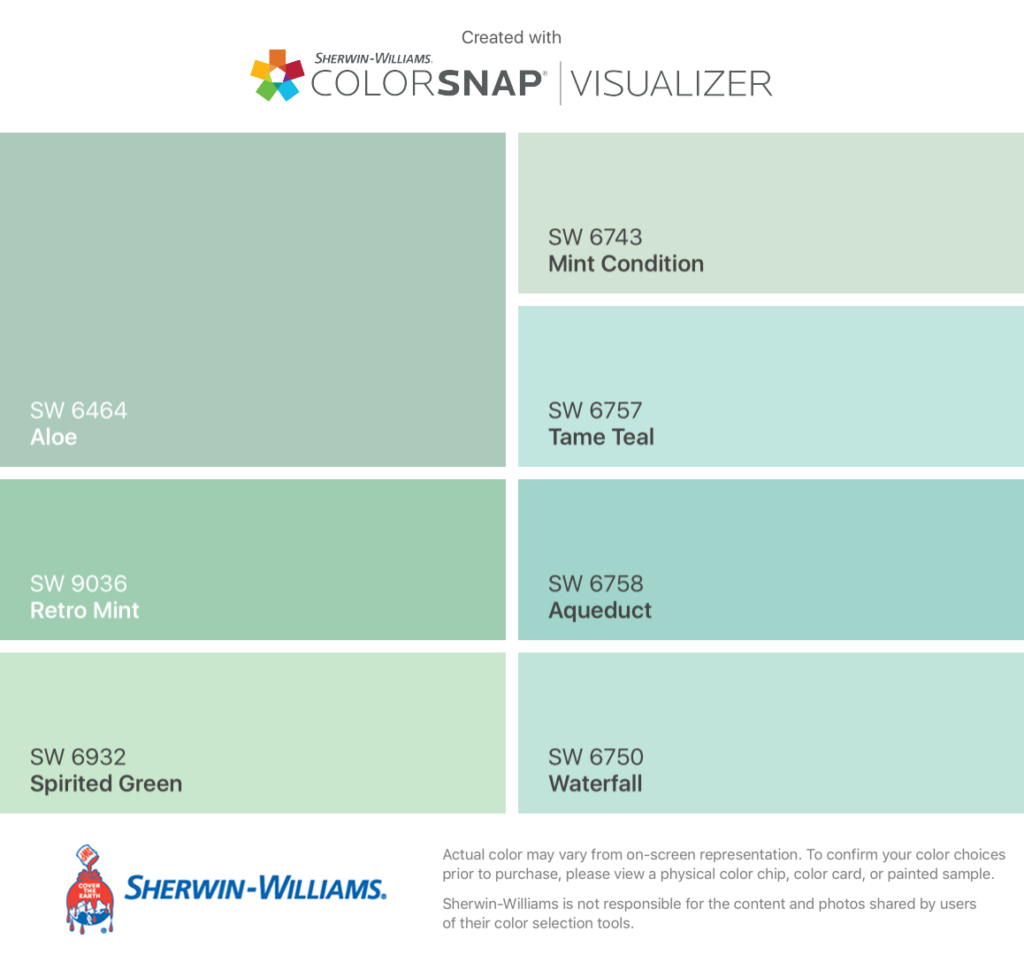 Which also happens to be in my laundry room,
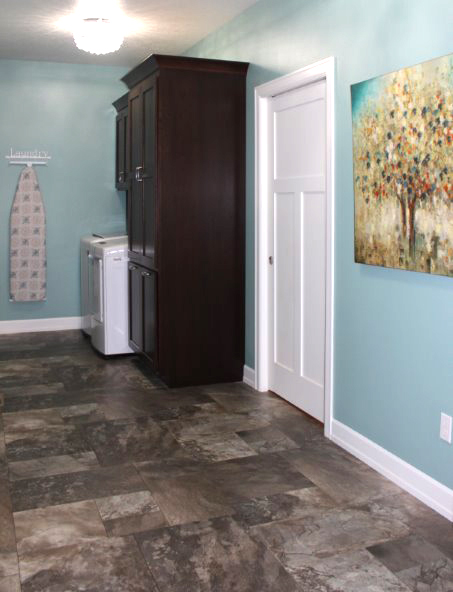 mud area,
 and the pantry in the kitchen. (And yes, some day I will post pics of our new house.)
 On the routed detail, I did decide to hand paint because the sprayer over sprayed too much on this area and caused dripping.
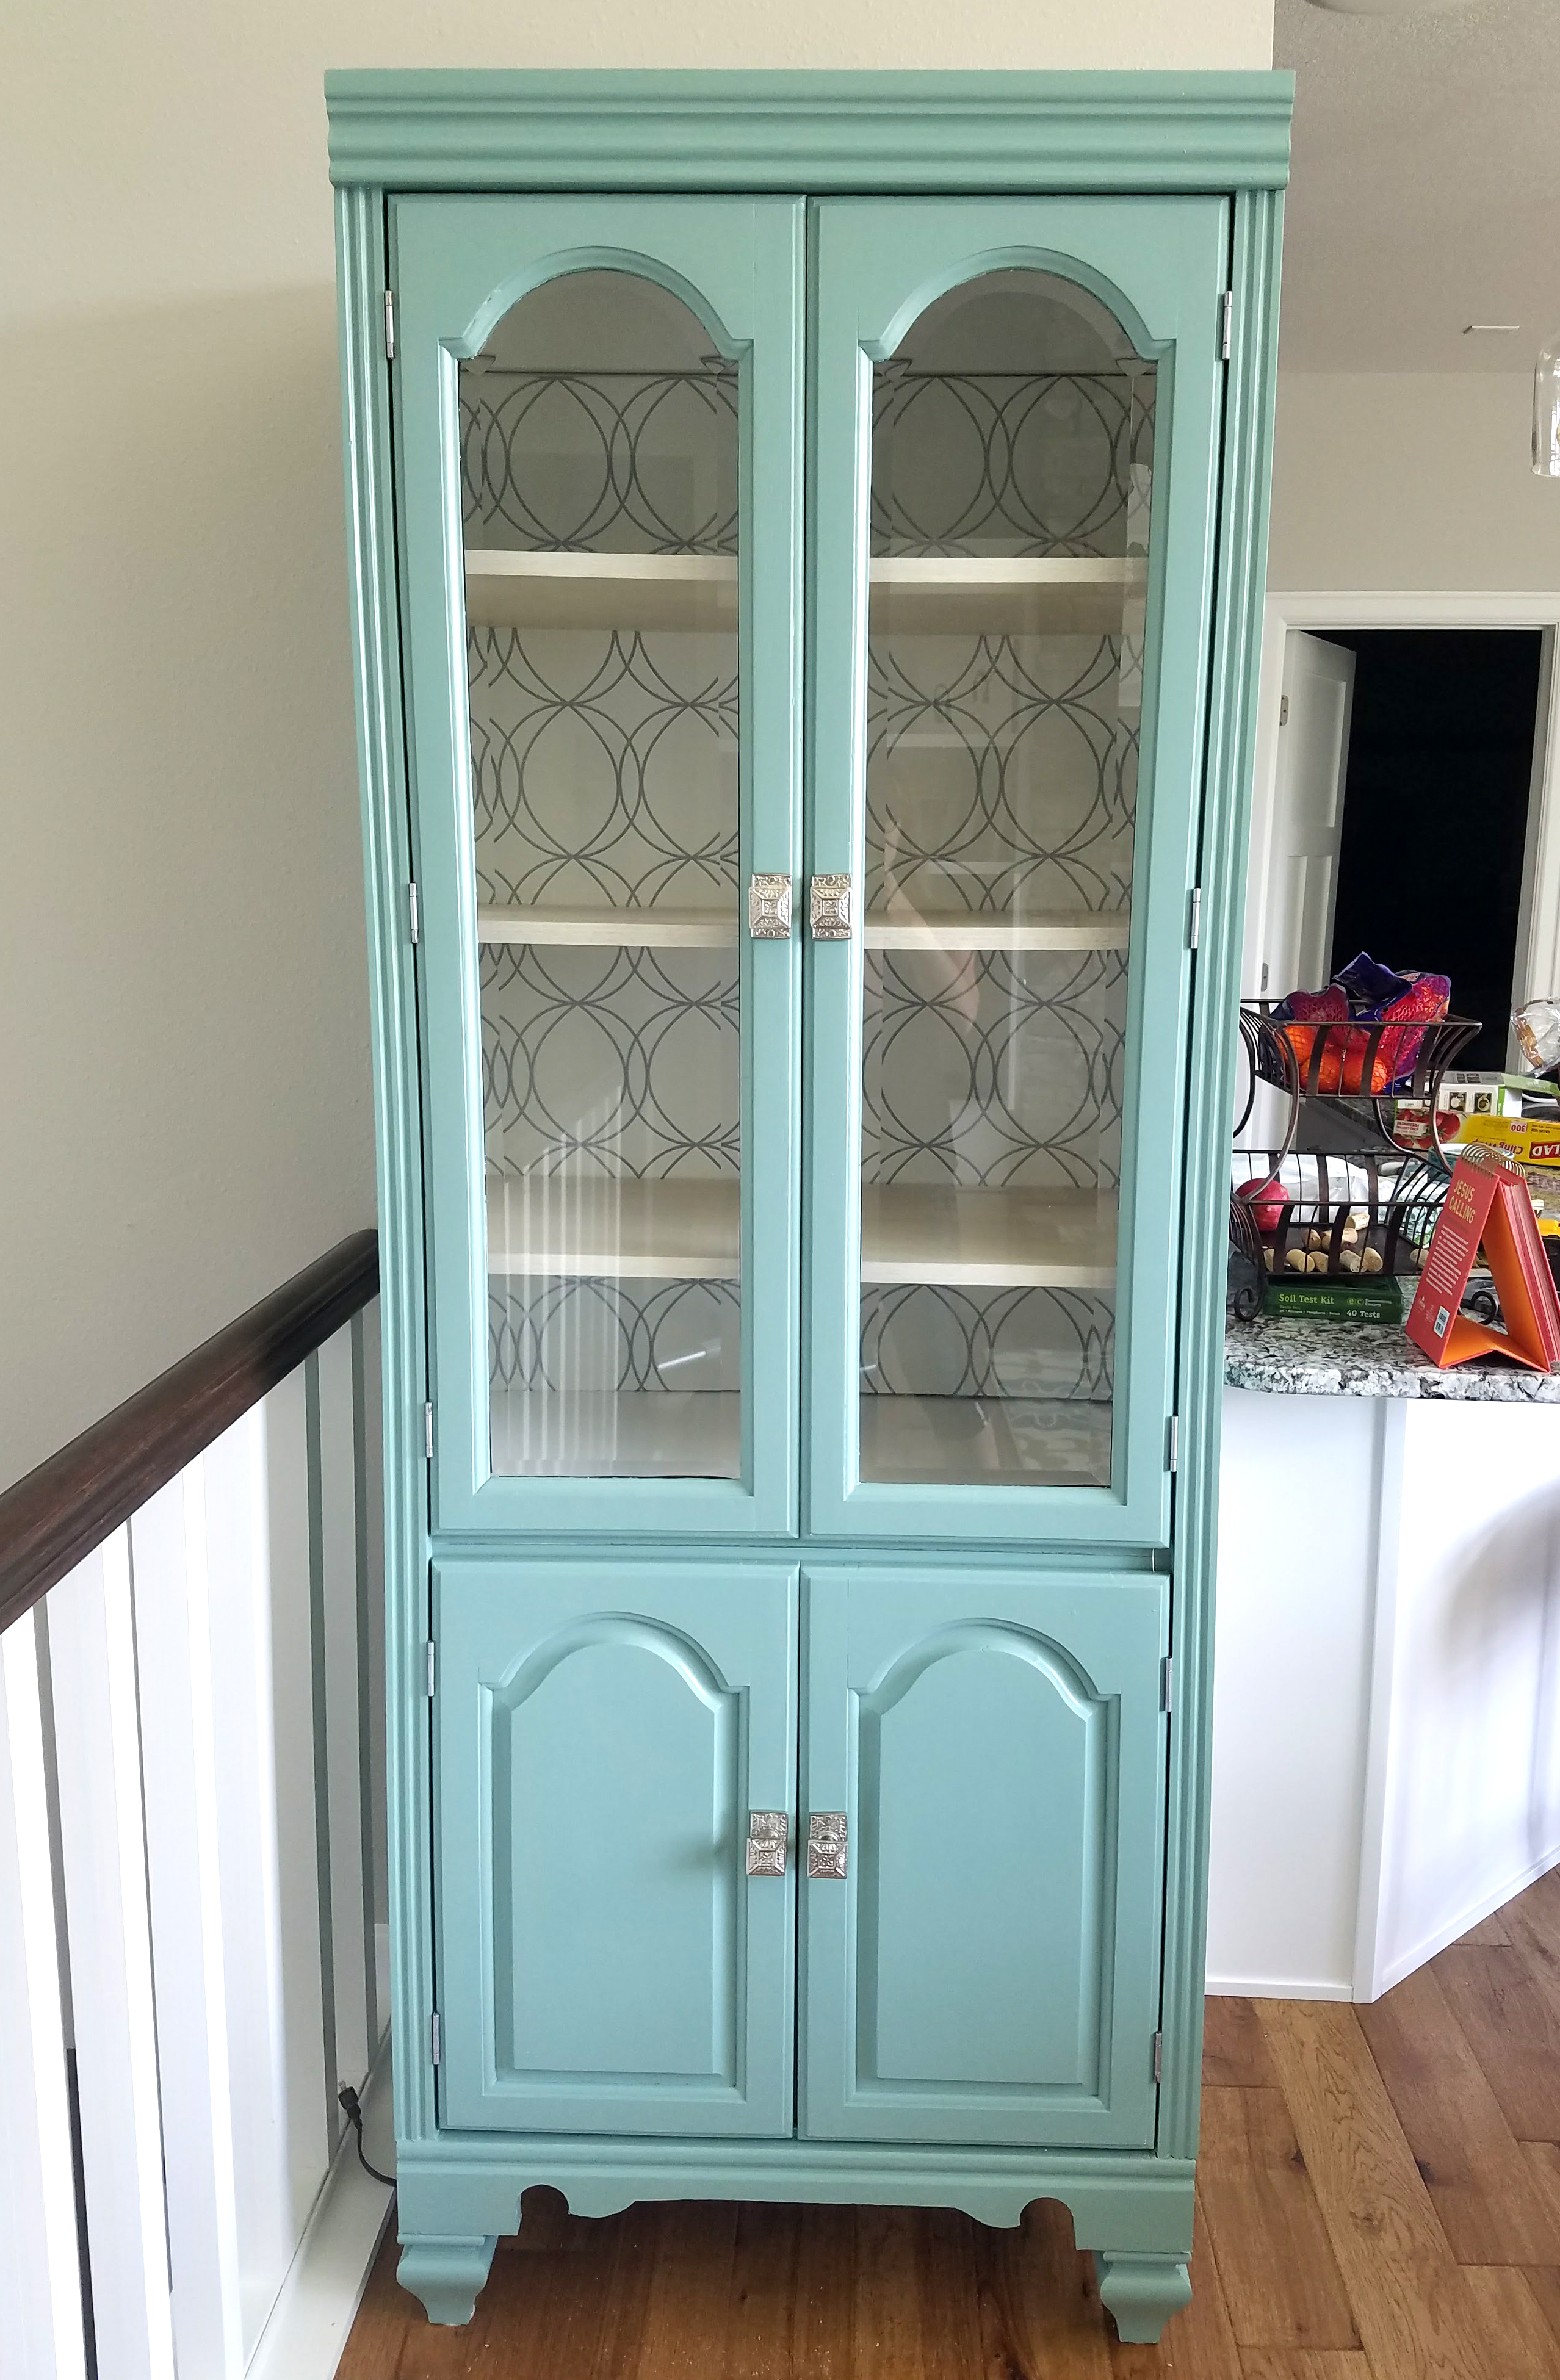
 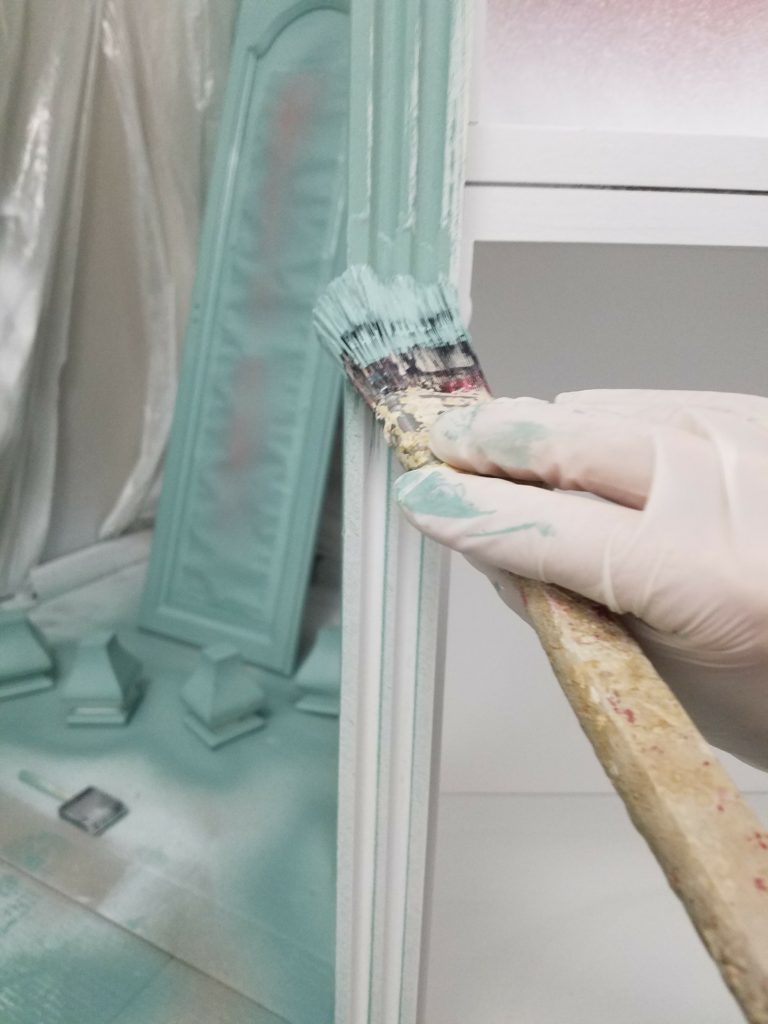 I kept the inside of the hutch and shelves white for the contrast.
Step 4: Cover Mirror (optional)
This step was completely optional. My hutch had a mirror in very good condition, but it was not the look I was going for. I wanted to leave the option open to have a mirror in the future, so I opted to cover it with a false back in the hutch. To do this I purchased a 1/8 x 4 x 4 Hardboard Panel, wallpaper, spray adhesive, scissors and glue stick. First, I cut the hardboard panel down to size to fit over the mirror.
Next, I found some wallpaper I liked, it was the allen + roth White/Silver Vinyl Geometric Wallpaper from Lowes, which I found they no longer carry. However, I did see that Graham and Brown makes a very similar one called the 57218 Darcy Wallpaper in Pearl. 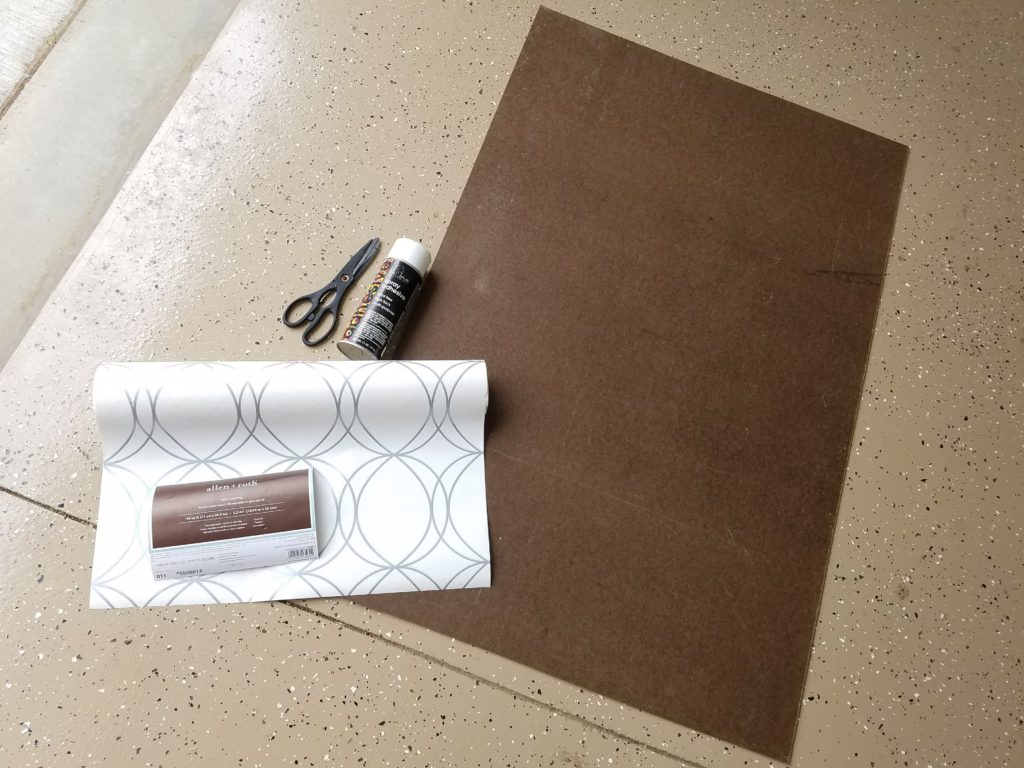 I used spray adhesive to cover the hard panel.
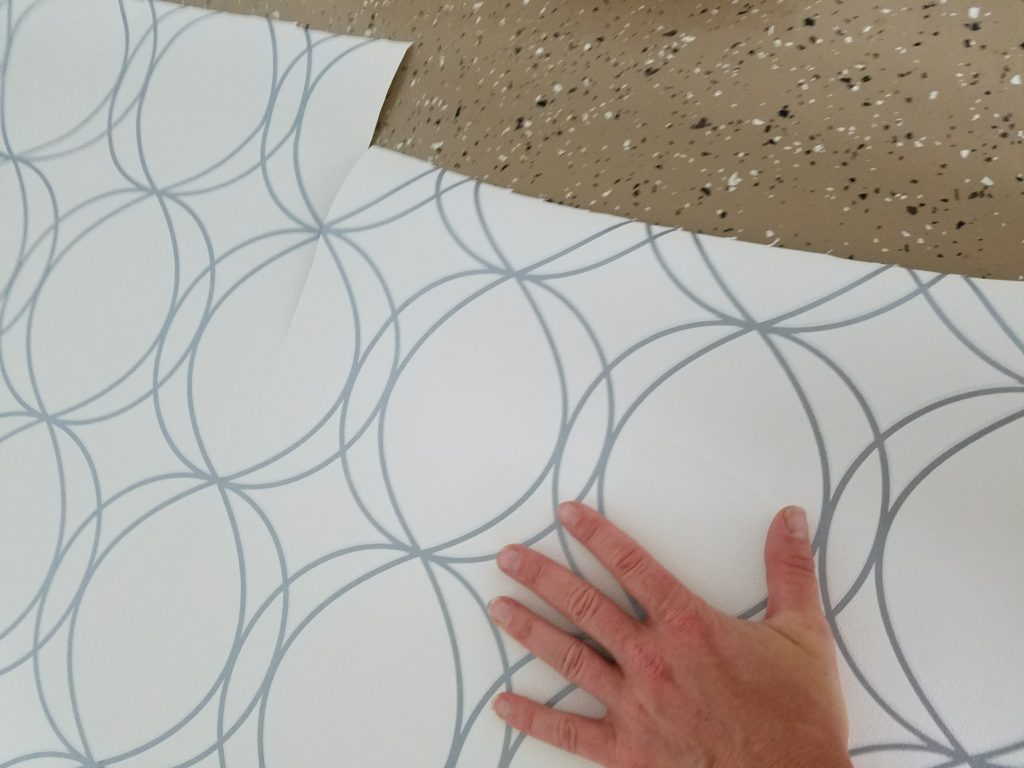
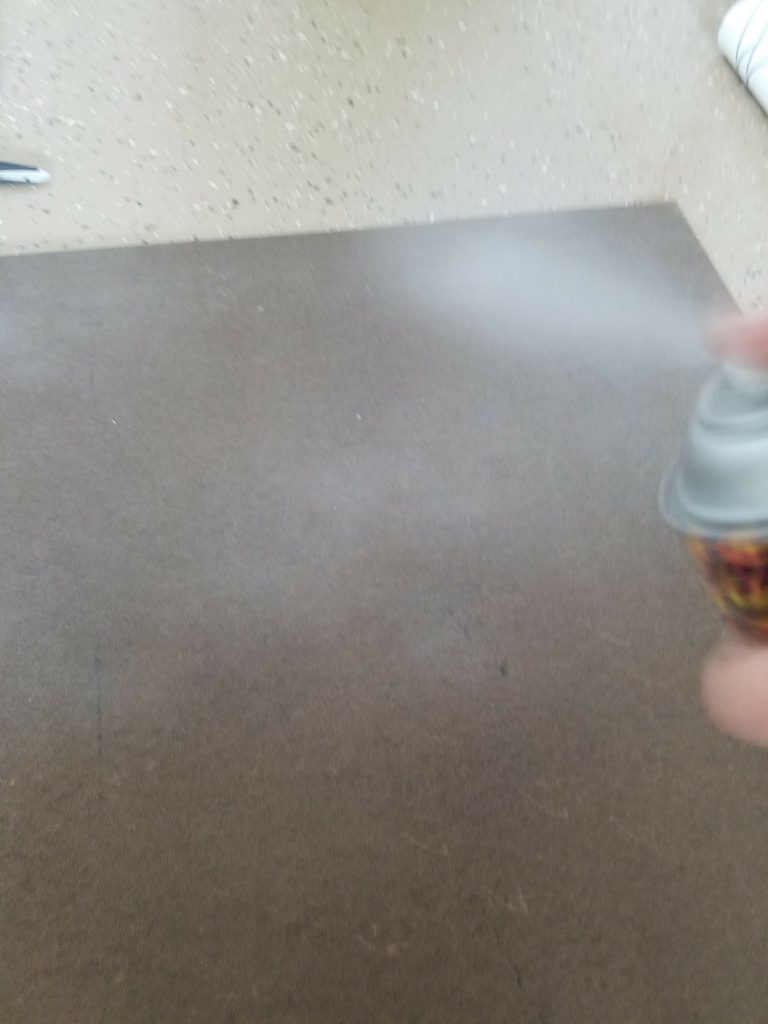 Then I placed the wallpaper on the panel and matched the seems the best I could.
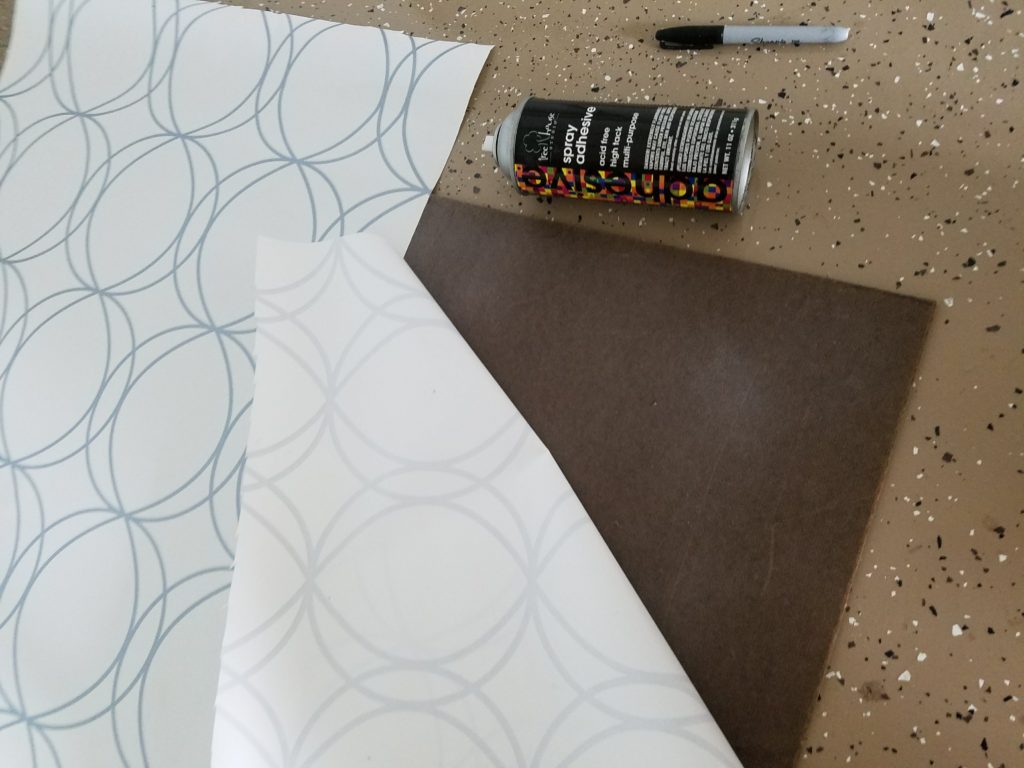
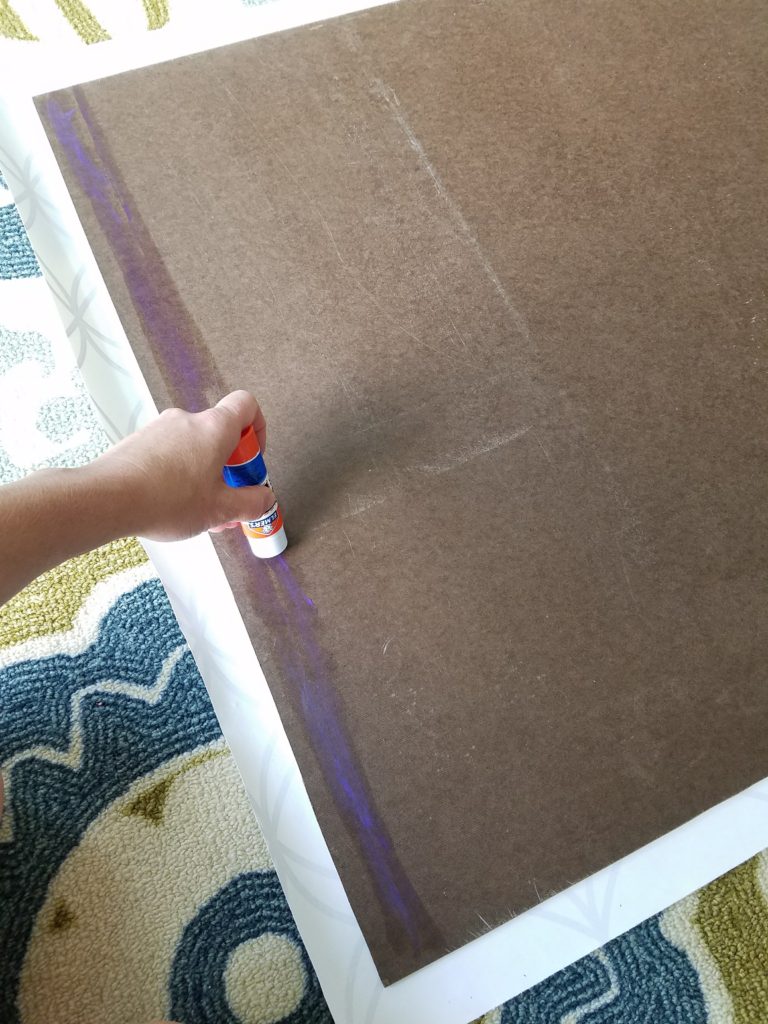
 I let it dry for 20 minutes and then I flipped over the hardboard to fold the wallpaper over the edges. I found a glue stick worked the best.
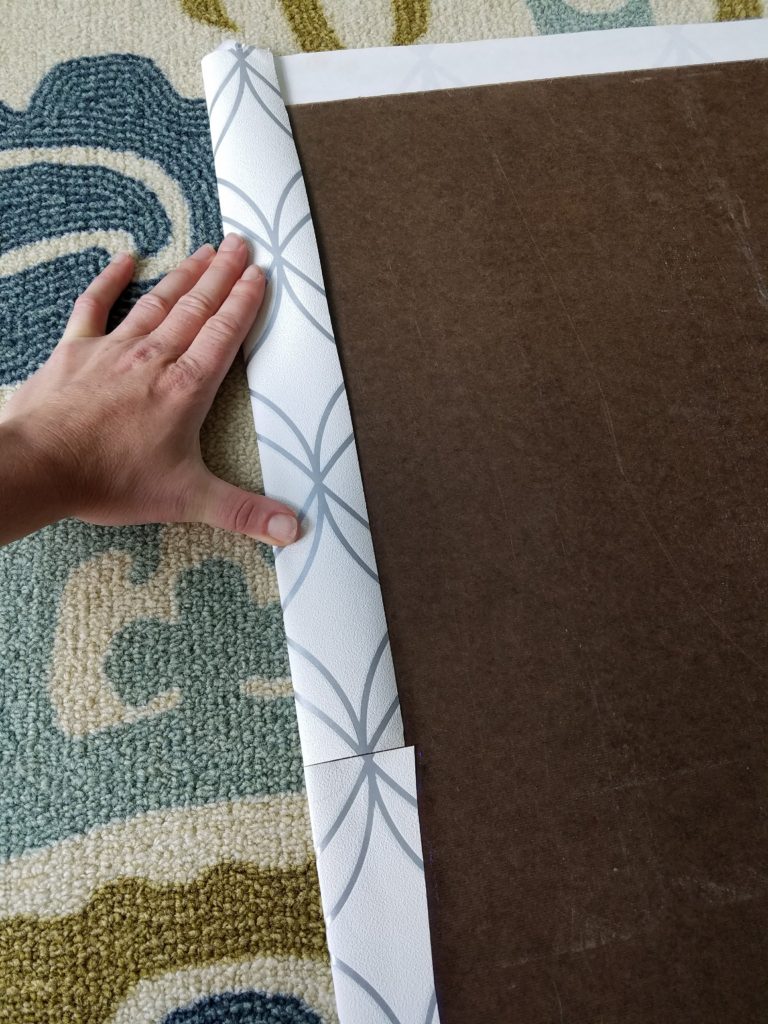 You will end up with something like this, that fit perfectly over the mirror.
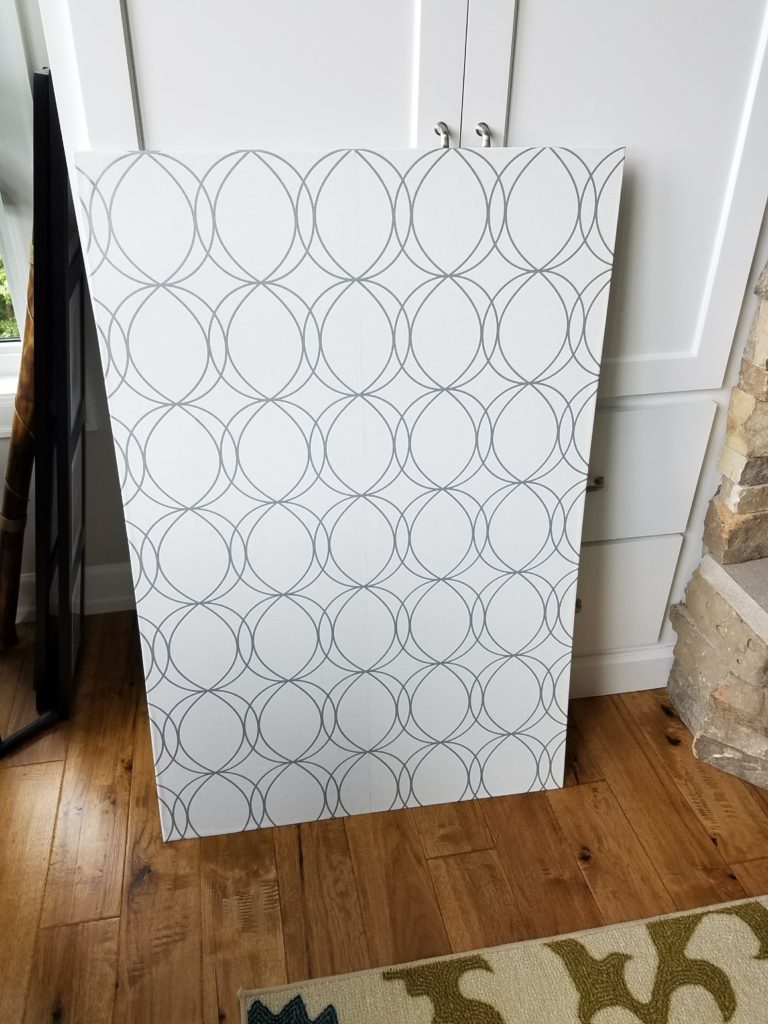
Step 5: Add Feet. (optional)
This was the first intro post to this hutch, How To Add Bun Feet To Hollow Bottom Furniture. I added these feet because I really liked the look, but also the hutch would be placed in front of an intake vent and it would allow more air to go through. After the feet were added, I ended up with something like this: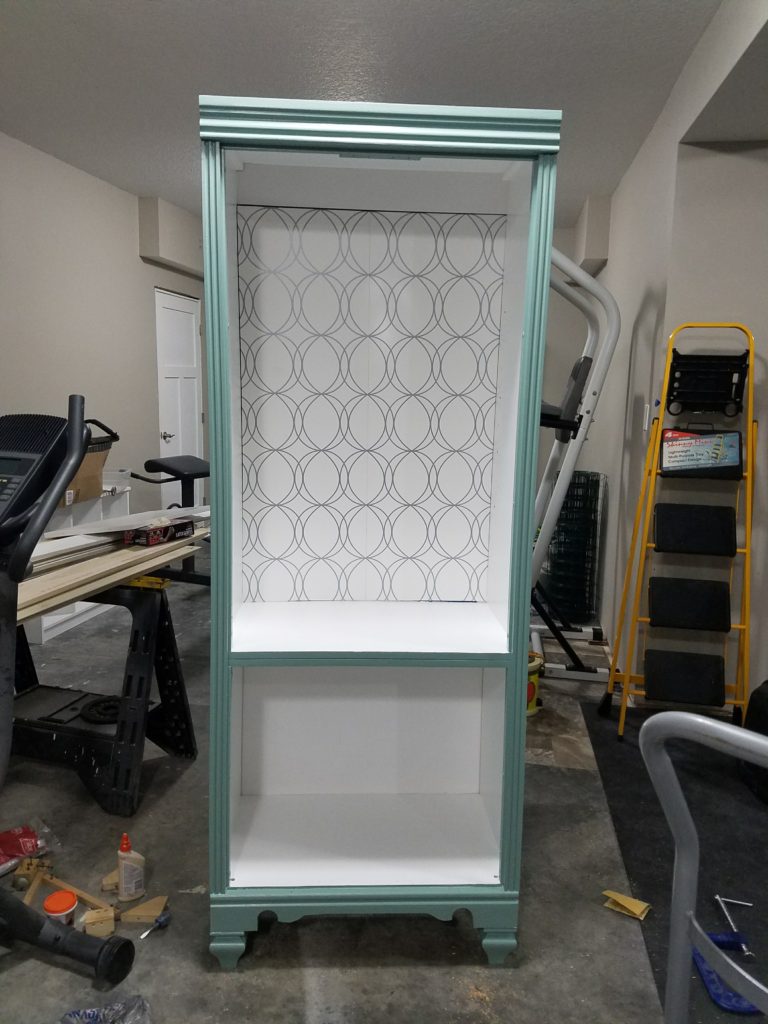 Step 6: Spray the hardware (or purchase new).
I decided to spray all the original hinges and purchase new pulls for our hutch. My choice of paint for the hinges was Rust-Oleum 7277830 Stops Rust Metallic Spray in Matte Nickel.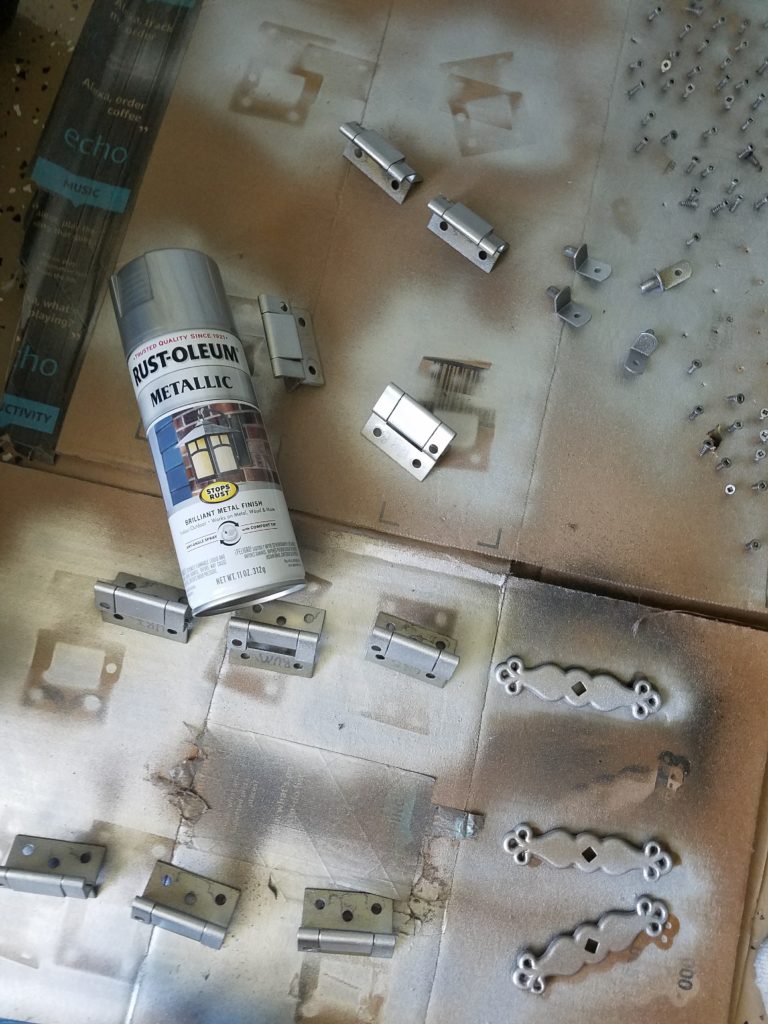 I purchased new pulls at Hobby Lobby.
Step 7: Install hardware.
Many hands make light work and attaching hinges with little screws are perfect for little hands. (Plus fine motor skills! BONUS!)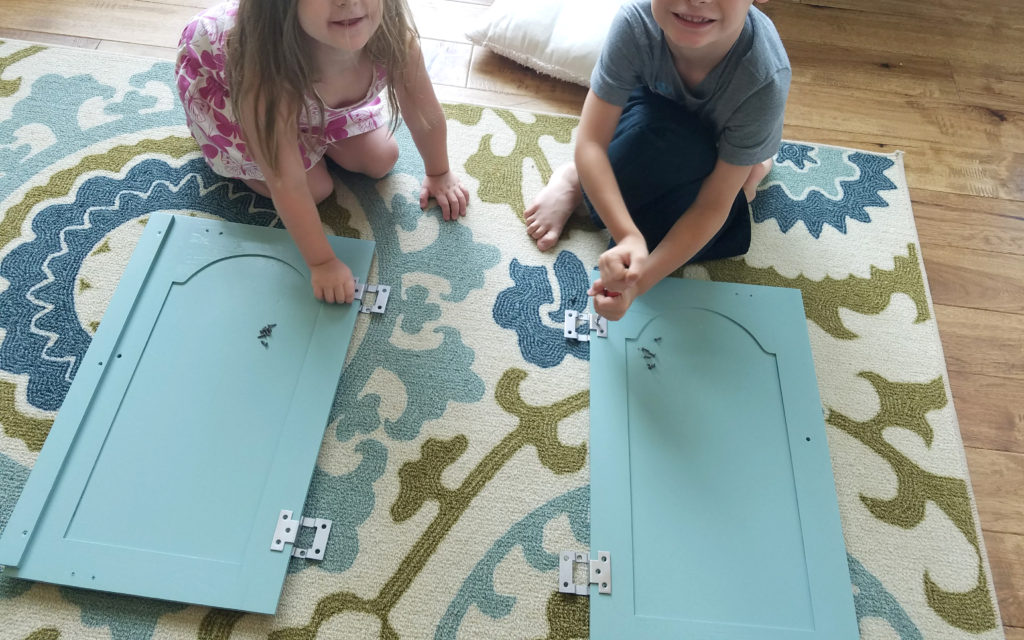
Step 8: Put it all back together.
Install shelves, cupboards doors, and pulls. Once you do this, you are done!!![]() The pulls from Hobby Lobby
The pulls from Hobby Lobby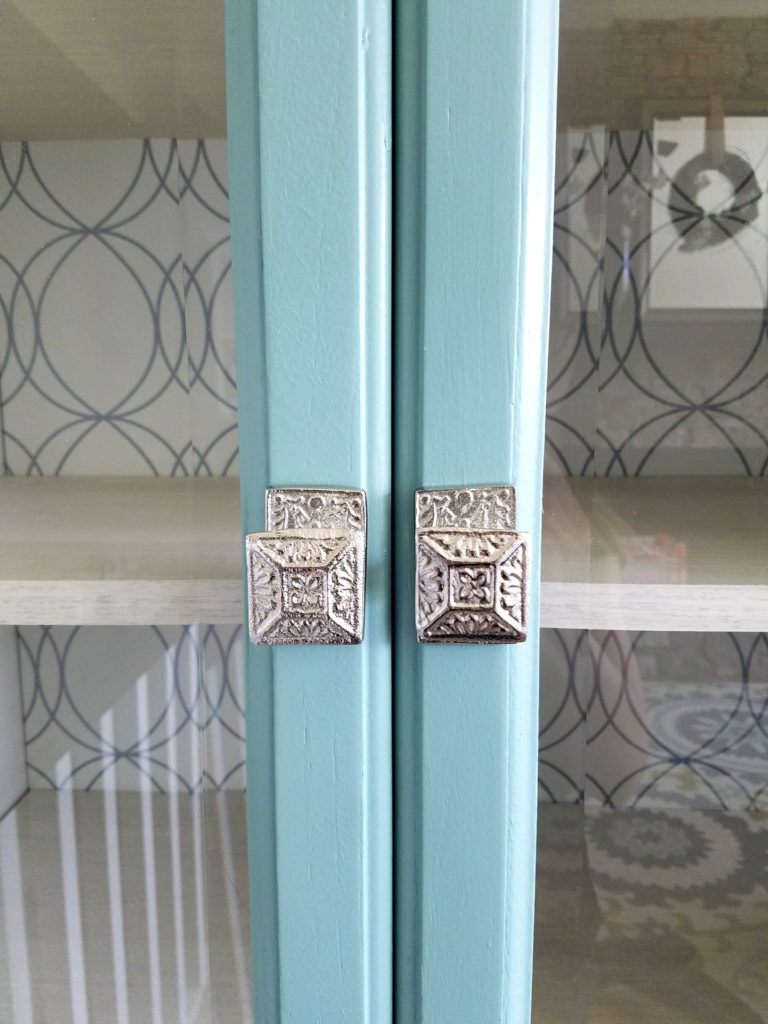 It’s all ready for my to fill it with my china and crystal.
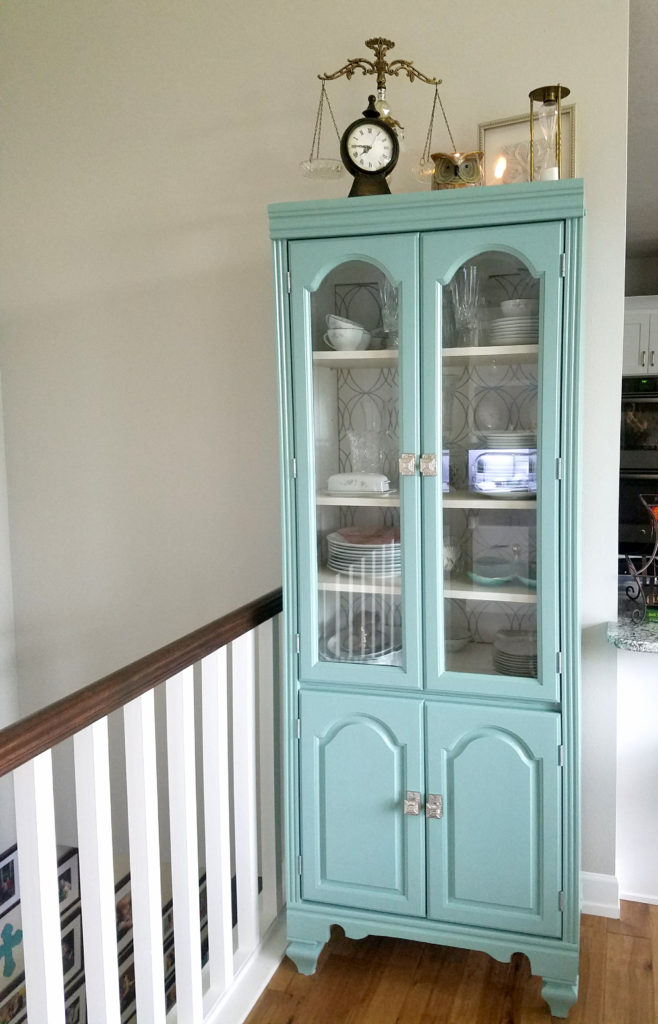
 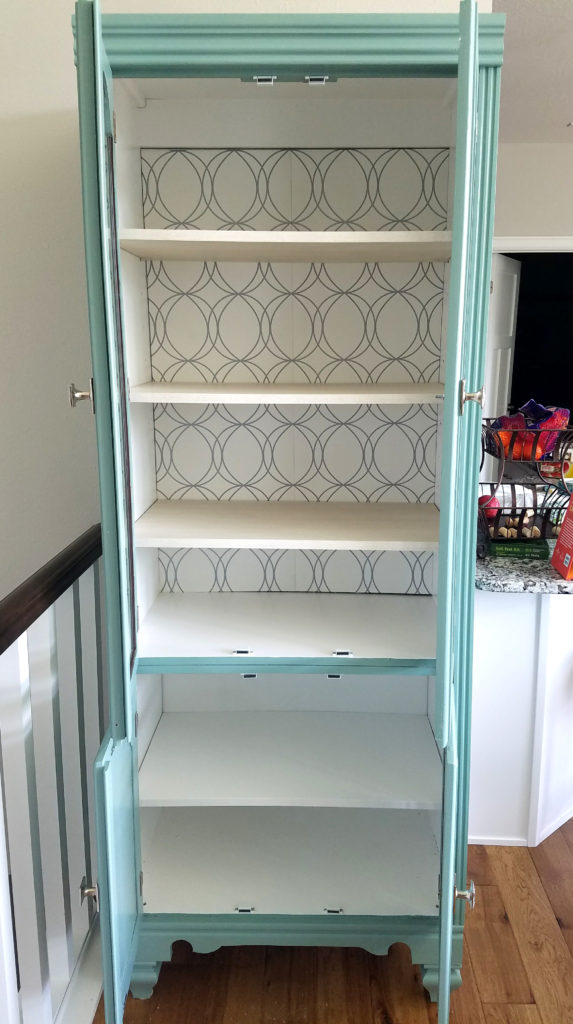 I love how this project turned out! It’s just amazing that I was able to find the perfect fit hutch for my tiny little wall. It holds all my fancy dishes just right! The bottom area of the hutch has been turned into game storage for the kids. Hope you enjoyed this blog and Happy Painting!