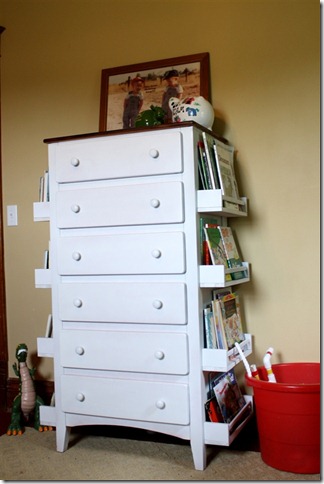
28 Aug DIY: Building Furniture Side Bookshelves

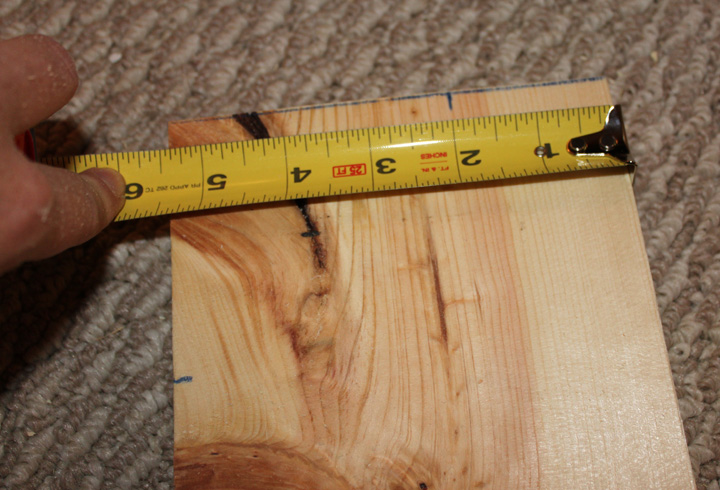
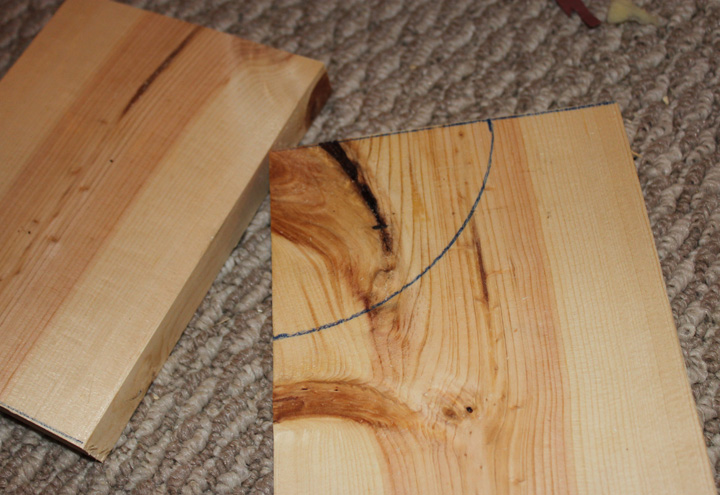
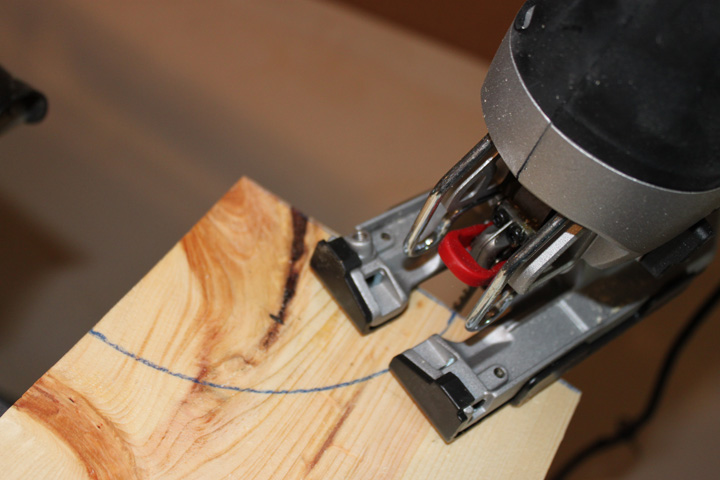
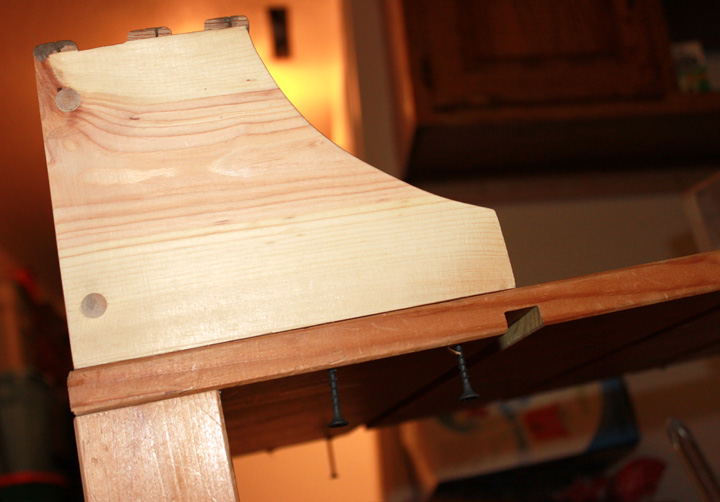
Next to add some decoration, I wanted to put a curve in my sides using a jigsaw. I measured a mark on one side at 2 inches and 4 inches on the other corner.
Here is my path that the jigsaw will follow.
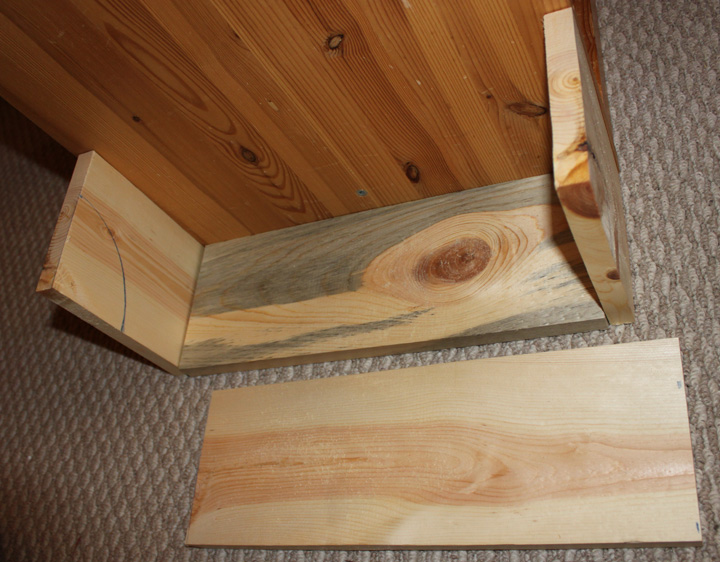
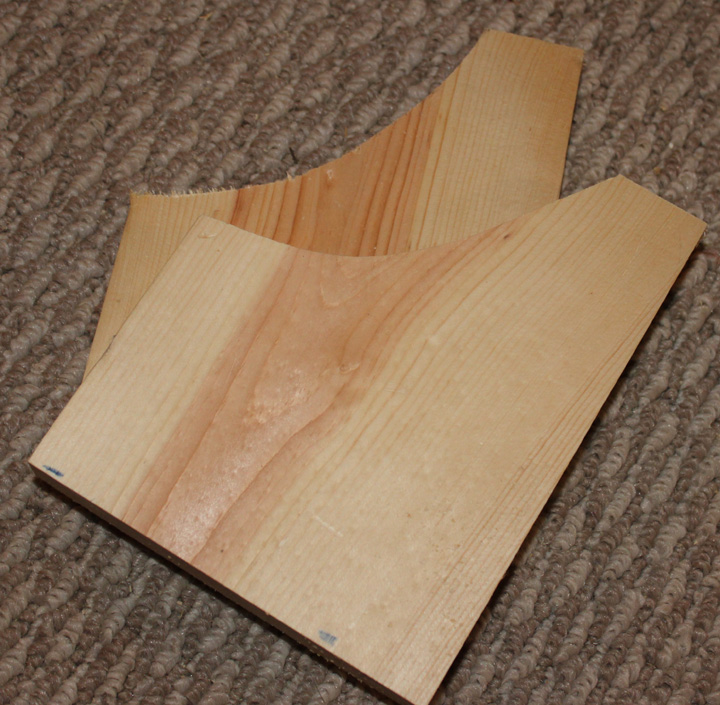
Using your miter saw, cut the curve on the sides of your shelves. (This was my first time ever using a jigsaw. I saw it in the box and decided to give it a try. At one point I was having a hard time getting it to cut and I STUPIDLY, stuck my hand under the board! Luckily with my cat-like reflexes I escaped cutting the tip of my finger off and just cut the side pretty deep. It’s a lesson why not to do woodworking when you are tired from being 35 weeks pregnant. Turns out it wasn’t cutting well because I had hit a knot in the wood.)
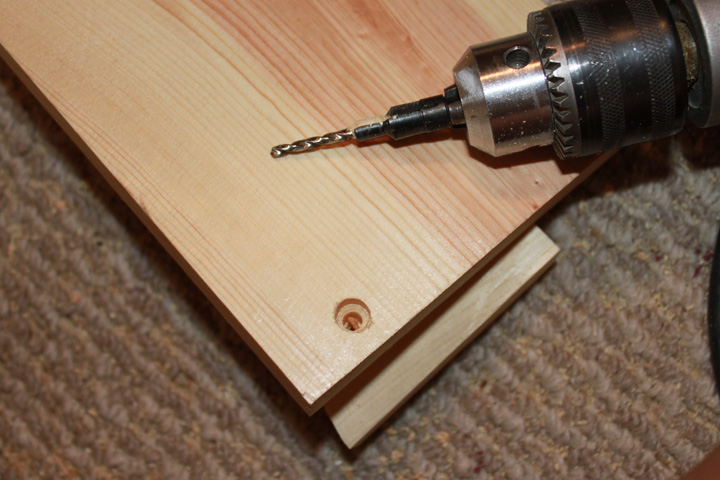
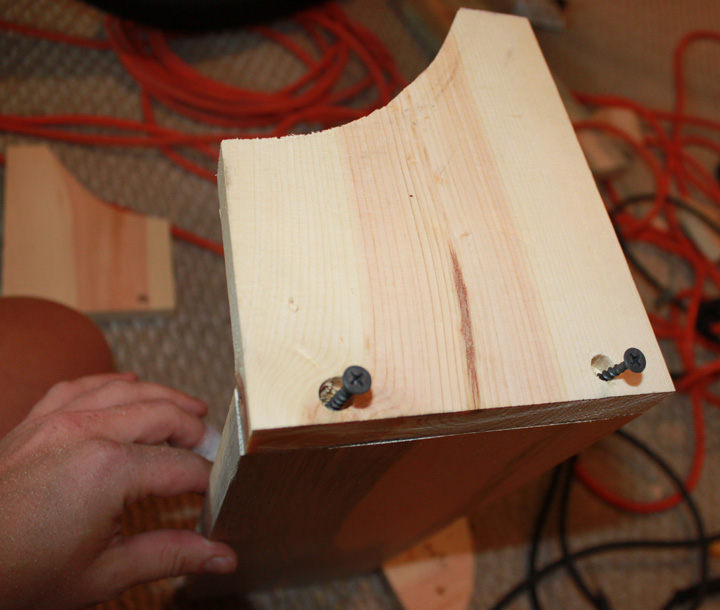
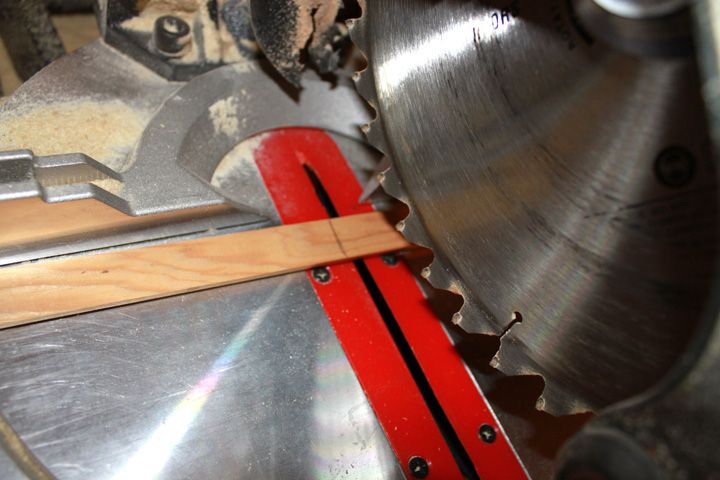
Now you will assemble the shelves. Make marks on the side pieces 1 inch from the edges.

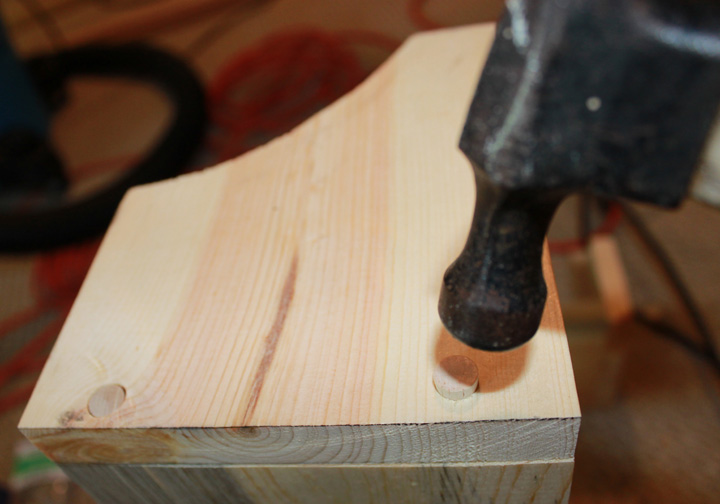
Using a countersinking bit, drill your holes.
Attach your sides to your bottom shelf with screws.
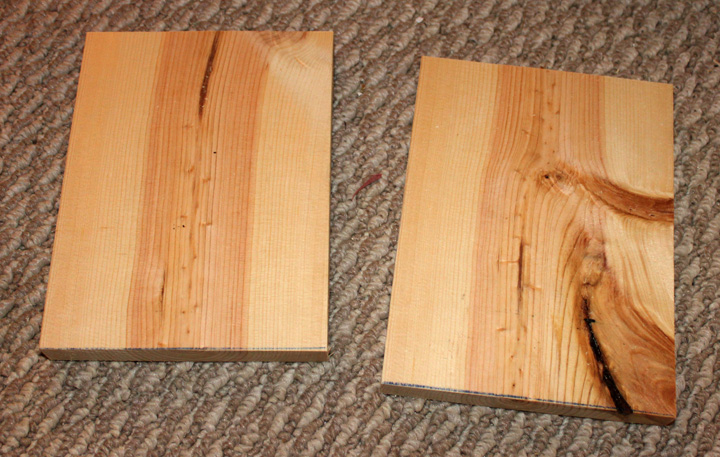
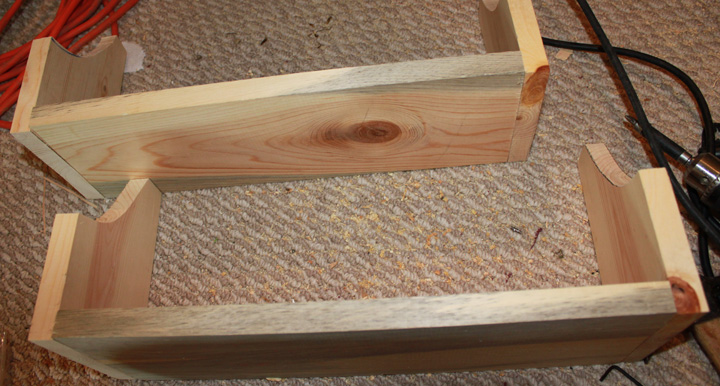
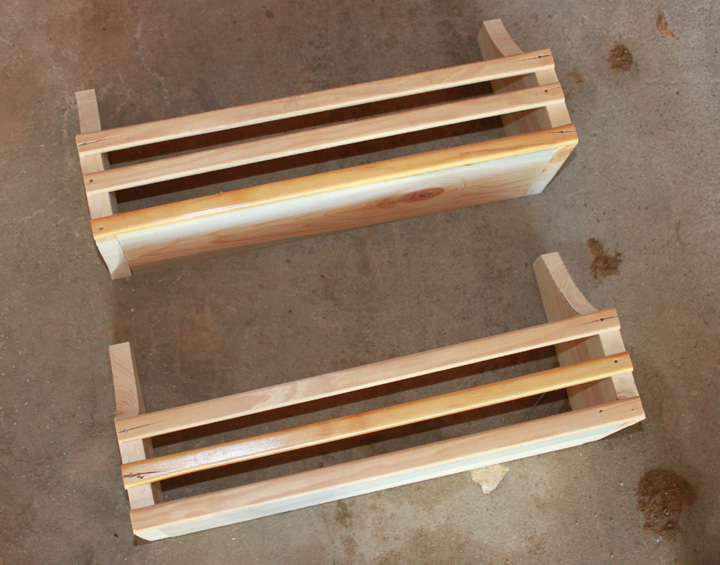
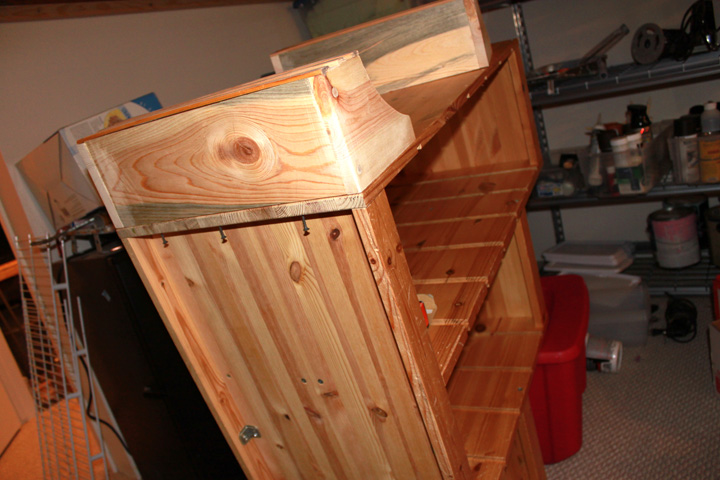
Here are two of my almost built shelves:
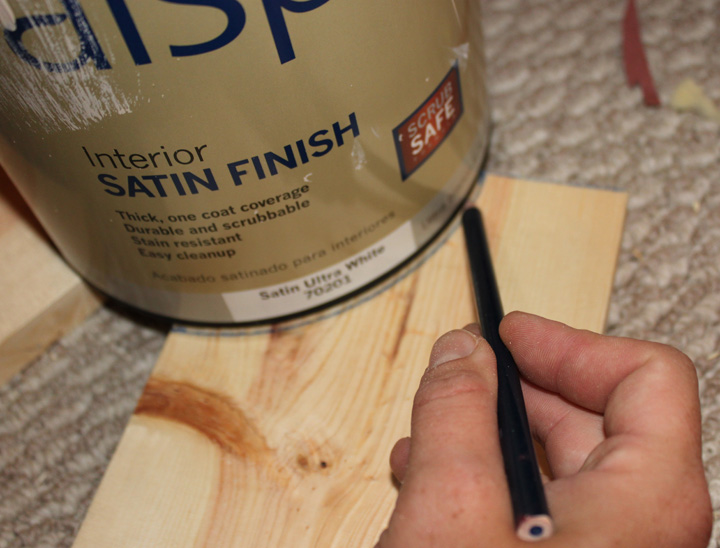
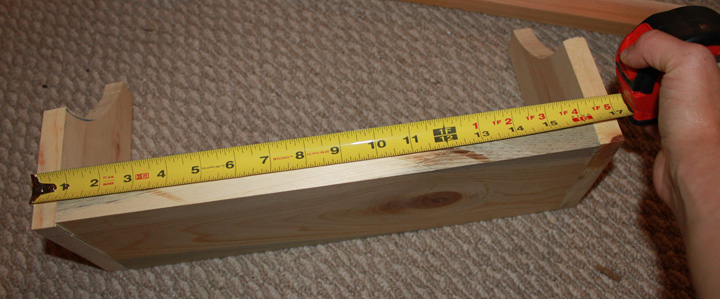
Now you want to work on your front of the shelves. Measure the width of your shelf and choose what substrate you would like to be on the front.
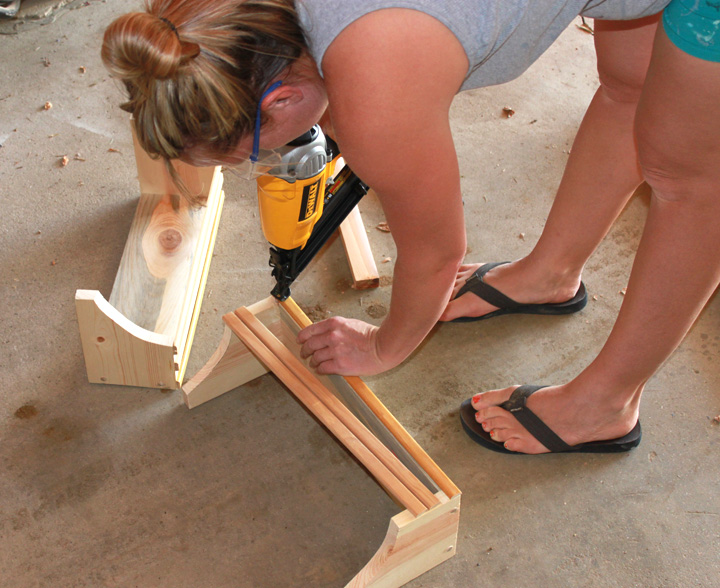
I had some old 1″ trim so I decided to use it up on this project. I cut three pieces of the trim to the proper width for each shelf.
Using a nail gun, I attached the trim to the front of my shelves.
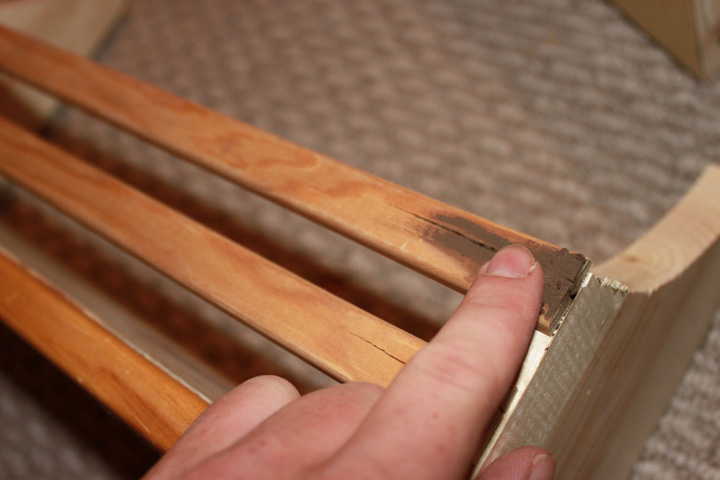
I turned out cute, but the trim is so thin that the nail gun cracked a few of the ends. Hindsight, I should have used finishing nails and a hammer.
No biggy– I just covered up the cracks with wood fill and filled the nail holes.
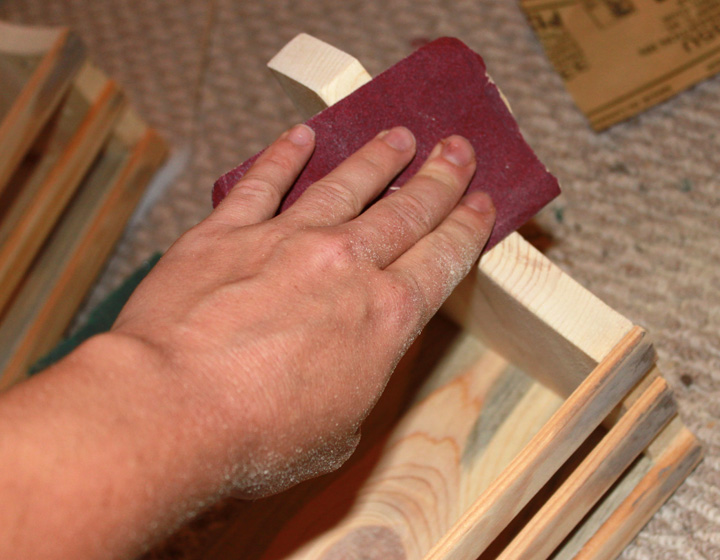
When your shelves are built, sand down all your pieces.
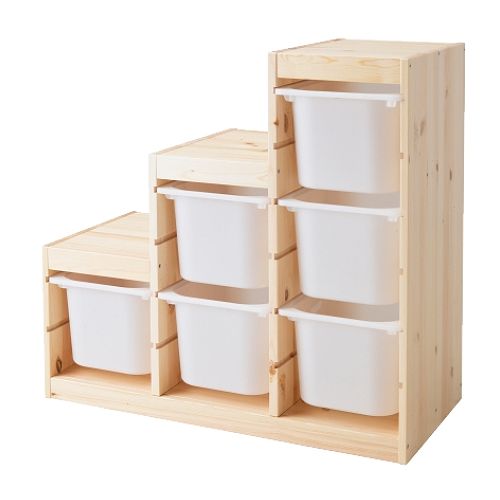
Attach the shelves to your furniture. In my case it was the Trofast shelf. Attach them from the inside of the furniture out so you can’t see the screw heads. Make sure they are level!
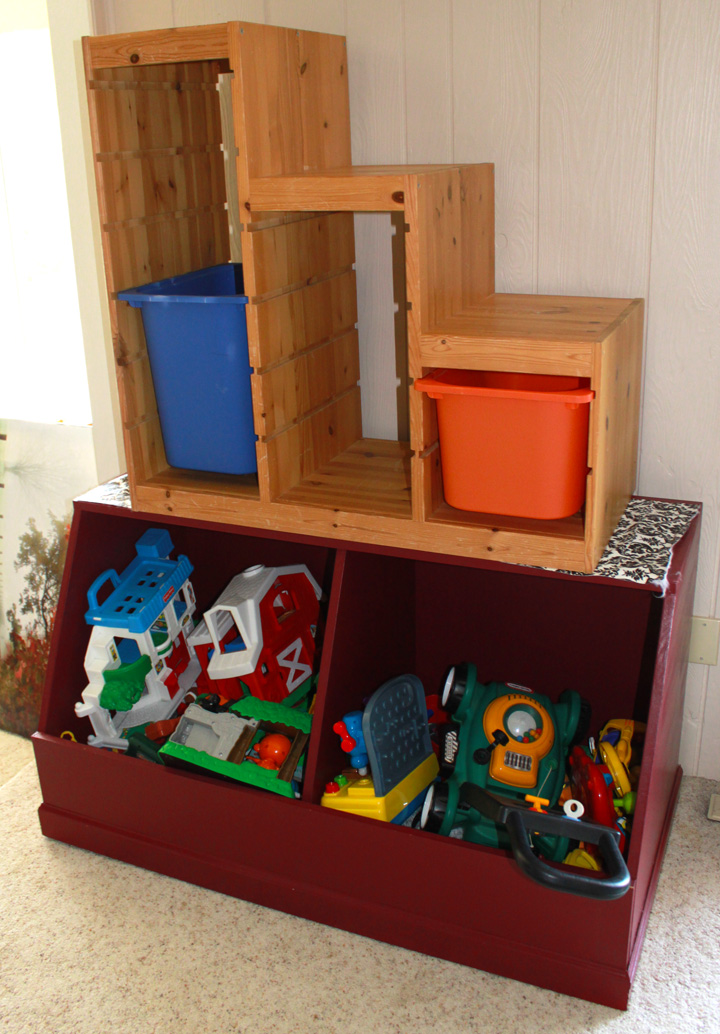
And here is the final product with the shelves….now just to paint and continue on the previous post of Garage Sale Redo: The Ikea Trofast Shelf