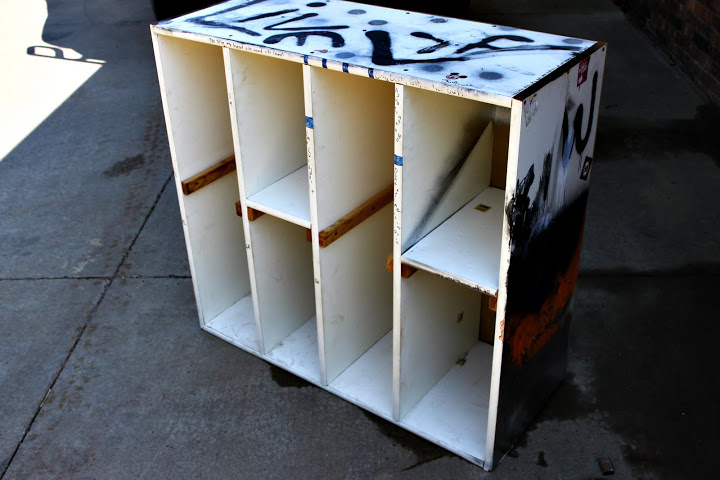
30 Nov DIY: Hidden Storage Wall Cubby
A few months ago, I wrote a blog about my Paint Only Remodels of our Main Bathroom. Now I have talked about this about a million times before, but if you missed it-- I am only allowed to remodel this house...


A few months ago, I wrote a blog about my Paint Only Remodels of our Main Bathroom. Now I have talked about this about a million times before, but if you missed it-- I am only allowed to remodel this house...
This post is dedicated to our mother, the cleaning queen. As long as we can remember, our Mom has always had some crazy cleaning tips that work like magic! To this day, we still bring over our laundry to have...

It is sort of a heartbreaking day when you realize that your kids toys are taking over your house. When you finally move into a home, you dream of the perfect living room. In my old house, I had the...

The big nursery reveal day is finally here!! It's officially 6 weeks until we can expect to see the face of our little girl! In May, we found out our second child was going to be a girl and I started scheming ideas for...
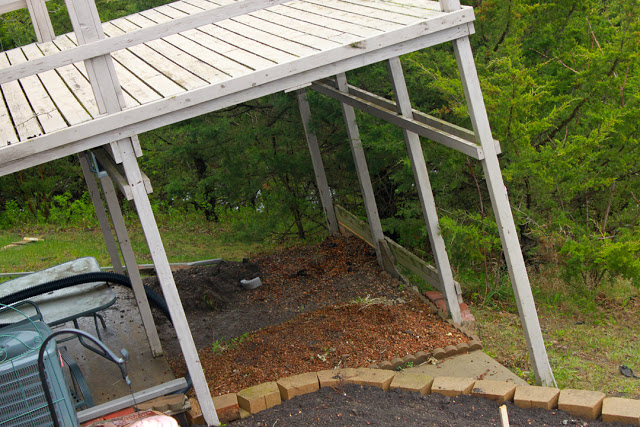
I am sure many of you have a raised deck, most likely from a walkout basement. Most people are normal and turn the underside of the deck into some type of great patio or grilling area. However for us, we...
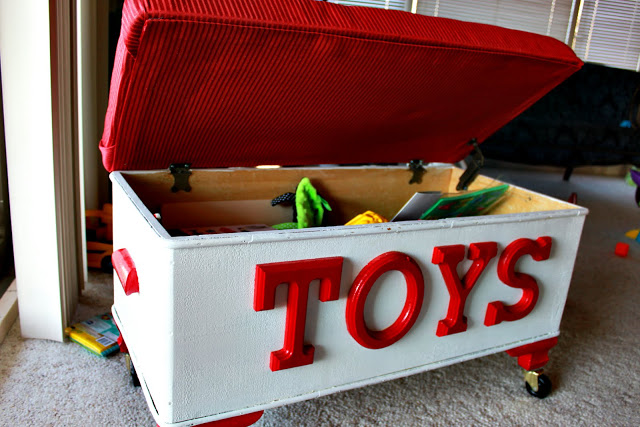
If you have been following our blog, you probably read the post about me creating my son a Fire Truck Room. I have slowly been redoing furniture to be a part of his room, such as the Toy Box and the...
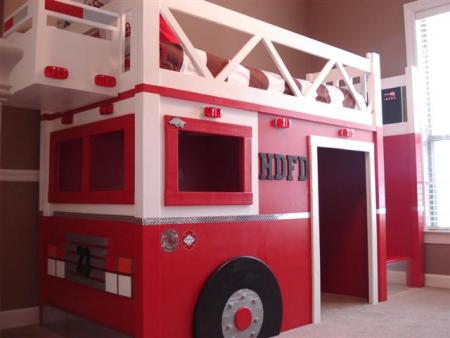
I have said this a few times before on this blog, but I have decided to reveal my grand plans to make my little toddler a fire truck theme room and I thought I would share a few of my...
A few weeks ago, I wrote about my garage sale toy box transformation. I am on a quest to turn my son's room into a firetruck theme room eventually, so I have been finding random furniture and painting them red...
A few weeks ago, I wrote a post about Organizing The Garage for the Fall. It's the perfect time of year to do it. As I said before, I can't imagine spending the winter hunting for that screw driver or...
This post is dedicated to our mother, the cleaning queen. As long as we can remember, our Mom has always had some crazy cleaning tips that work like magic! To this day, we still bring over our laundry to have...